Getting Started with Cloud-hosted Databases using Spawn
This article will get you started with Spawn, a hosted database cloning service running entirely on Amazons AWS.
Spawn makes it easy to create disposable copies of databases for your development and testing environments, and to automate them within DevOps pipelines. To get started, I’ll show you how to set up a Spawn account and walk you through the basics of creating data images and then spinning up data containers hosting your disposable databases.
In subsequent articles, I’ll start to explore how Spawn fits into DevOps pipelines alongside other Redgate tools so that you can create disposable databases to support each stage of your development process. This might include creating databases for each branch of your version control repository, as well as for continuous integration and testing of development changes.
Why Spawn?
The ideal Database DevOps process would allow every developer to spin up their own, ‘private’ copy of a specific version of a database, complete with data, whenever they need it. Each developer would then be free to experiment with different approaches and run destructive tests without interfering with the work of others. For such a system to work, it must be very fast and easy to spin up a database, run tests, and then reset it back to its original state, or remove it, without adding excessive overhead, in terms of maintenance or disk space. Also, it should be possible not only for SQL Server databases, but also others such as Oracle, PostgreSQL, MySQL, MariaDB, MongoDB or Redis.
The first technology that comes to mind for providing this type of ‘data service’ is containers. They are like virtual machines, but a container is short-lived and has a very specific goal, in this case running a database. Many developers will already be familiar with, or at least aware of, Docker containers. However, they will also tell you that using Docker containers for databases requires a considerable amount of ‘docker management’ code, as well as power and storage space on the local machine, for the containers.
The premise behind Spawn, is that you stop using your own computer and start using disposable databases as a cloud-hosted service. It uses a command line (SpawnCtl) and web interface to create and manage those copies, and makes scripting and automation very simple, with minimal coding.
Step 1: Sign up for Spawn
I’m only going to cover the basics you need to get started quickly with Spawn, and give you a feel for working with disposable, cloud-hosted databases. Please refer to the excellent documentation at https://docs.spawn.cc/ to immerse yourself in more details.
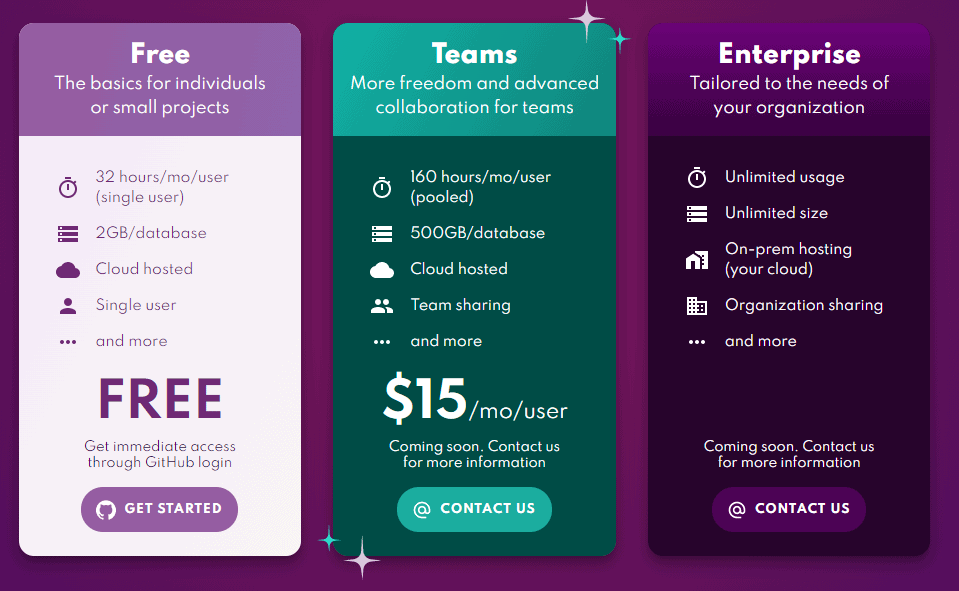
To get started with Spawn, the first step is to sign up at Spawn.cc, using your GitHub account. For small databases, and single user projects, you can use the “Free” account tier, which will allow you to spin up your first spawn-hosted database in minutes, free of charge.
Spawn can be accessed via an Internet Browser, but the real versatility of the tool is realized via the Spawn command line, SpawnCtl.
Step 2: Install SpawnCtl
Download SpawnCtl for your OS and install it. After installation it’s necessary to authenticate yourself from the terminal. Below I use the spawnctl auth command, from PowerShell, which open an Internet Browser to do the authentication.
Step 3: Spin up a data container from a public data image
The base of every data container is a data image. This image is just a YAML file specifying the source of the image, such as a database backup, and its location, plus details of the database engine and version, and a name, for the hosting container.
Spawn uses the instructions in the data image to spin up the data container, which is the read/write database engine instance of the type and version you specified. From a single data image, each developer can quickly create a ‘clone’ of that image, inside a data container, and then connect to the data container to access any databases and data in the original image. Each data container is isolated from any others.
To help get you going quickly, the team at Spawn have provided some public data images based on familiar sample databases. You can see view them either from the Spawn web interface, https://app.spawn.cc/, or using spawnctl get data-images, as follows (if you have any existing private images, then add the --public flag to see the public images as well):
spawnctl get data-images
So, let’s now use Spawn to create instant copies of the Stackoverflow database within a cloud-hosted data container, first using spawnctl, and then the web interface.
Spawnctl
The following command will, within a few minutes, create a data container (I called it tutorial-ctl), hosting a SQL Server instance on which the Stackoverflow database is installed. The lifetime argument specifies that the container only runs for an hour.
spawnctl create data-container --image mssql-stackoverflow --name tutorial-ctl --lifetime 1h

The response of the create data-container command is the connection string for the freshly created container. In case you missed that output, it can be queried via this command:
spawnctl get data-container tutorial-ctl -o yaml
Web interface
From the web interface, https://app.spawn.cc/, simply click on the “+” icon for the Stackoverflow public image, give the container a name (I called this one tutorial) and, optionally, an expiry date and then hit “create“:
Once the data container is ready, you’ll be presented with its connection string, the port, and credentials for the sa account. Although the use of sa is not a best practice, in these short-lived databases it is common and the only default option available when using SQL Server on Linux in a Docker container.
A Select – Delete – Reset example
We can now access either of our cloud-based copies of the Stackoverflow database, the one we created via the web or one from the terminal. We can just use sqlcmd with the correct connection string for the data container, as follows:
sqlcmd -S instances.spawn.cc,31614 -U sa -P moJlRMmu4D6aUh2r -d stackoverflow
Alternatively, SQL Server Management Studio, Azure Data Studio or your favourite SQL editor will work too.
Once connected, we can run a test query on the tags table (SELECT COUNT(*) from dbo.tags) in Stackoverflow, and then we DELETE the table:
The tags data is now lost now but don’t panic, because we can easily get it back just by resetting the data container to its original state:
spawnctl reset data-container tutorial-ctl

Step 4: Create your own data images and containers
The public images are useful for an initial demo, but of course for your Database DevOps processes, you’ll need to create your own shareable data images.
As briefly discussed earlier, a data image is really just a file containing instructions on how to create a data container. Like Docker image files, Spawn data images are defined in YAML (YAML Ain’t Markup Language™). The source for the new data image can be empty, scripts or a backup. We’re only going to use a SQL Server backup as the source, but please refer to the links for details on the other sources.
Create the data image
Open your favourite code editor and start a new file called dataimage.yml. In this file we will specify the following details:
- The name of the data image – mine is called whiskytrace
- The source – in our case a backup
- The engine and version of the data container – I’m using SQL Server 2017
- Finally, the folder and file location of the source for the data image – I’ll assume that there is already a SQL Server backup available in the folder C:\SQL\Backup
The file should look as this, of course you can vary with the database and backup filenames as needed.
|
1 2 3 4 5 6 7 |
name: whiskytrace sourceType: backup engine: mssql version: 2017 backups: - folder: C:\SQL\backup\ file: whiskytrace.bak |
Optionally, the data image can have tags associated with it, so you can include a few more details about the source, such as the fact that the data image comes from a backup of production:
|
1 2 |
tags: - production |
After saving the file we submit this file to Spawn with the create data-image command:
spawnctl create data-image --file="C:\SQL\Backup\dataimage.yml"

But something is not right, and the Spawn server suggests that we inspect the log. This can be done with this command:
spawnctl logs data-image 16089

The problem appears to be that the version of SQL Server we specified in our dataimage.yml file is 2017, but the backup is made with SQL Server 2019.
Changing the version to 2019 in dataimage.yml solves that problem:
|
1 |
version: 2019 |
This time the data image is created successfully:

To tidy up, we delete the image on which the create failed:
spawnctl delete data-image 16089
![]()
Spin up the data container
For large databases, the step of creating the data image will be the slowest one but with this done, spinning up data containers, based on this image, should be fast. The syntax for creating a private data container is the same as for a public one:
spawnctl create data-container –-image whiskytrace --name first-dram -–lifetime 1h

The container is started within the minute and as you can see it contains the data, and you must believe me on this: it’s the data that was previously backed up.
Cleaning up
In our examples we specified a lifetime of one hour for the database containers. This means that there’s no cleaning up needed, unless you want to free those resources earlier, which can be done with the delete command:
spawnctl delete data-container tutorial-ctl
spawnctl delete data-container first-dram
Summary
In a few steps we created our first disposable SQL Server database in the Spawn cloud, and then explored how to create a private data image and then a clone (database container) of that image.
In subsequent articles, we’ll look at the use of Spawn within a team, introduce other DevOps tools such as SQL Change Automation and Flyway Desktop, finally setting up a complete DevOps workflow with Azure Pipelines.