


Getting started with SQL Doc and PowerShell
SQL Doc keeps everyone in the development team informed about a database. It provides more information than what is in source control, including server settings, and it formats and color-codes the information so that it is as easy to read as possible.
It generates the source of all of the metadata of a database, along with a list of the settings. It also allows you to attach comments as extended properties to any item of metadata, such as the database itself, tables, views, and functions. All these comments are saved in the database and are displayed alongside the item of metadata to which they apply.
You can generate the documentation in a variety of formats, from help files, Markdown files, Word documents, or an intranet site of HTML files.
It has a command line interface that enables you to run PowerShell scripts that automatically generate database documentation. This feature is often used to update the documentation automatically on every successful build so that the team can view the source of the database with the confidence that it represents the latest build.
There is also some extra functionality that is only available in the command line such as documenting all the databases on the server, or getting help for using SQL Doc at the command line.
Basic Database Documentation
The easiest way to get started using PowerShell with SQL Doc is to simply tell SQL Doc the name of the server and database that you want documented. Assuming that you are using integrated security, and you have all the necessary permissions, then Listing 1 will do the trick. Just change MyServer to the name of your server, MyDatabase to the name of your database, and amend the path in the Alias to point to your installation of SQL Doc.
Set-Alias SQLDoc 'C:\Program Files (x86)\Red Gate\SQL Doc 3\SQLdoc.exe' -Scope Script
sqldoc /server:MyServer /database:MyDatabase
Listing 1
Well, that's all there is to it. It will whirr away and produce an HTML report, placed in 'Documents\My Database Documentation\' directory.
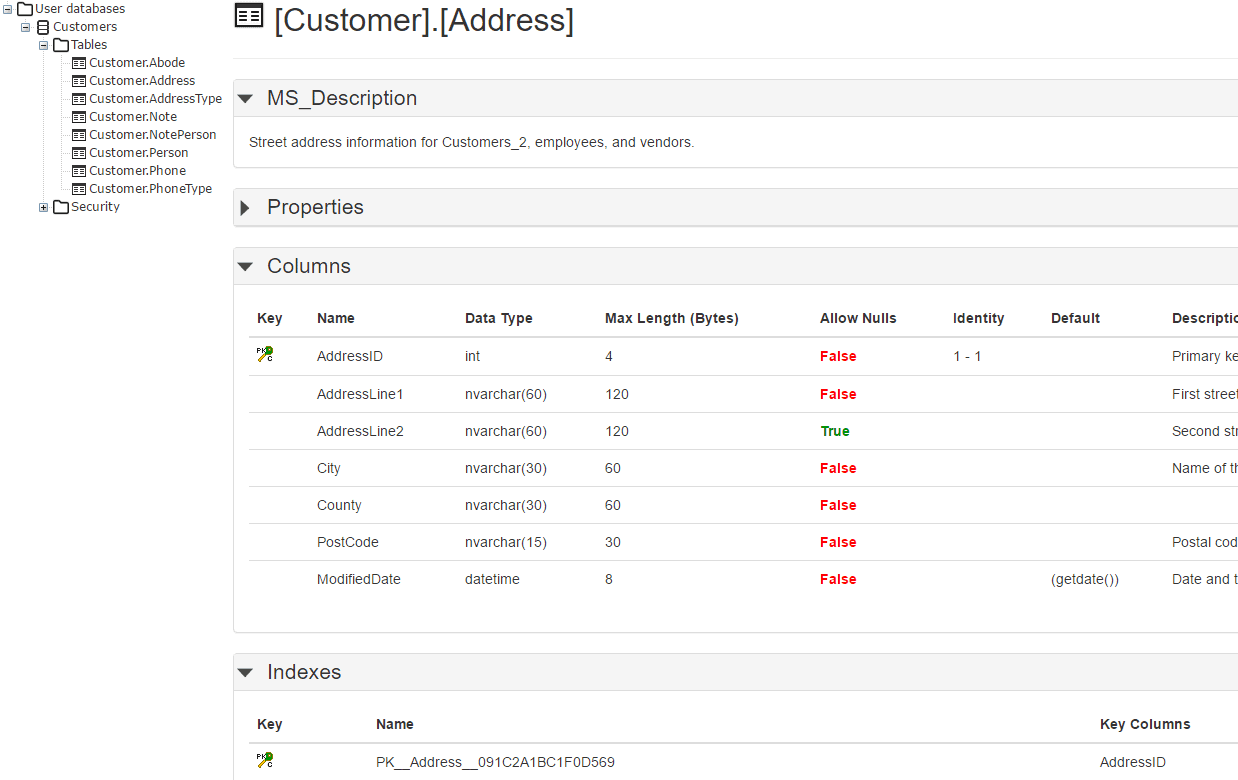
Figure 1
You can do a list of databases:
Set-Alias SQLDoc 'C:\Program Files (x86)\Red Gate\SQL Doc 3\SQLdoc.exe' -Scope Script
sqldoc /server:MyServer /database:MyFirstDatabase, MySecondDatabase
Listing 2
Or, if you're feeling reckless, all of them:
Set-Alias SQLDoc 'C:\Program Files (x86)\Red Gate\SQL Doc 3\SQLdoc.exe' -Scope Script
sqldoc /server:MyServer /allDBs
Listing 3
Now, you need merely inspect the Options table at the end of the article, and try out all the other switches. I can guarantee that you'll get what you want, eventually. Eventually!
But do you really want an HTML report placed in the 'Documents\My Database Documentation\' directory? Do you want everything put into the report, including such things as permissions? Are the titles, credits and so on what you want? You can set all of these with individual switches but once you feel the limitations of this sort of simplicity, it is time to use a template instead.
Using a template to set up a documentation project
When using PowerShell with SQL Doc, you can, if you prefer, use an existing SQL Doc project file (.sqldoc). This file is an XML document that contains information such as the connection details and objects to document. This can be used directly by SQL Doc to repeat the document generation process either through the user interface, from scripts, or from PowerShell.
If you specify the path to this project file, SQL Doc will use these values as defaults. You need then pass only those values that are different from those contained in the file, if any.
The safest way to create a SQL Doc project file, is to set up a documentation project, generate the documentation at least once, and then save the project. This creates the project file.
This allows you to repeat exactly the document generation process but not the insertion of documentation. Just use the command line to generate documentation exactly as it is defined by the project file, specifying the /project option. In PowerShell, this will look as shown in Listing 4.
Set-Alias SQLDoc 'C:\Program Files (x86)\Red Gate\SQL Doc 3\SQLdoc.exe' -Scope Script
$LocationOfProjectFile='MyPath\MyProjectFile.sqldoc'
#change the path to your version of SQLdoc to suit your system
SQLdoc /project:$LocationOfProjectFile
#do what the project file specifies
Listing 4
Figure 2 shows some sample output from a PDF documentation report for the AdventureWorks database, generated from a project file.
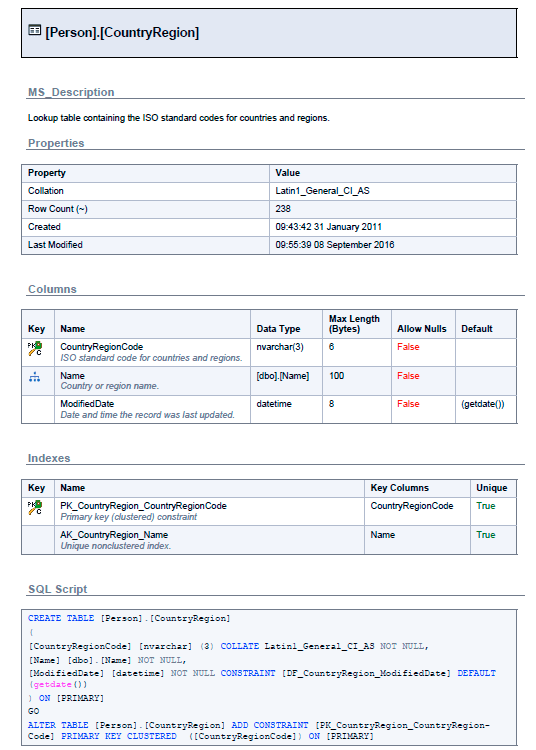
Figure 2
Using a project file as a template
You can override any of the values in the project file by specifying additional command line options. Each command line option overrides the equivalent setting in the project file.
SQL Doc will, for example, generate documentation using the project file you specify, but with a different author name displayed for the author name on the front page of the documentation. Listing 5 will credit the documentation to Sir Walter Scott.
Set-Alias SQLDoc 'C:\Program Files (x86)\Red Gate\SQL Doc 3\SQLdoc.exe' -Scope Script
$LocationOfProjectFile='MyPath\MyProjectFile.sqldoc'
$author='Sir Walter Scott'
#change the path to your version of SQLdoc to suit your system
SQLdoc /project:$LocationOfProjectFile /copyrightauthor:$author
#do what the project file specifies but change the author to Sir Walter Scott
Listing 5
Specifying the server and databases
If you are using Windows authentication, and the project file specifies a SQL Server login, the parameter /u will tell SQL Doc to use Windows authentication. If using SQL Server Authentication, SQL Doc can store your password in an encrypted form.
Otherwise, you can specify the password with /password. This isn't advisable, but we'll show you how to get around that by registering the server in SSMS.
It is perfectly simple to specify your single server and database, as shown in Listing 6.
Set-Alias SQLDoc 'C:\Program Files (x86)\Red Gate\SQL Doc 3\SQLdoc.exe' -Scope Script
sqldoc /verbose /project:$LocationOfProjectFile /server:MyFirstServer /database:MyDatabase
Listing 6
It's not much harder to specify several databases:
Set-Alias SQLDoc 'C:\Program Files (x86)\Red Gate\SQL Doc 3\SQLdoc.exe' -Scope Script
sqldoc /verbose /project:$LocationOfProjectFile /server:MyFirstServer /database:MyFirstDatabase,MySecondDatabase,YetAnotherOne
Listing 7
Or even all of them:
Set-Alias SQLDoc 'C:\Program Files (x86)\Red Gate\SQL Doc 3\SQLdoc.exe' -Scope Script
sqldoc /verbose /project:$LocationOfProjectFile /server:MyFirstServer /allDBs
Listing 8
If each database is on a different server, the simplest technique is to provide them as a list.
Set-Alias SQLDoc 'C:\Program Files (x86)\Red Gate\SQL Doc 3\SQLdoc.exe' -Scope Script
$LocationOfProjectFile='MyPath\MyProjectFile.sqldoc'
@(@{'Server'='MyFirstServer';'Database'='AdventureWorks'},
 @{'Server'='MySecondServer';'Database'='WidgetDev'},
 @{'Server'=’MyOutherServer';'Database'='Northwind'}
)|
foreach{
Write-Host "connecting to '$($_.Server)' '$($_.Database)'"
SQLdoc /project:$LocationOfProjectFile /verbose "/server:$($_.Server)" "/database:$($_.Database)"
}
Listing 9
You could, of course, add UserIDs and passwords but I wouldn't advise it because keeping passwords in scripts almost always ends in grief.
Instead, Listing 10 shows how to get the authentication from your registered servers. You can register any number of servers in your installation of SSMS, and your credentials are kept securely as long as you don't leave your workstation while logged-in.
The PowerShell looks more complicated, but it saves a lot of time if you have a lot of documentation to do, and it is a script that you only have to write once, since you don't have to change the script whenever you change password or UserID.
$Databases=@(
 @{'Server'=MyServer';'Database'='AdventureWorks'},
 @{'Server'=MySecondServer';'Database'='Northwind'},
 @{'Server'='MyThirdServer';'Database'='Pubs'},
 @{'Server'='MyFourthServer’;'Database'='Contosa'}
 )

Set-Alias SQLDoc 'C:\Program Files (x86)\Red Gate\SQL Doc 3\SQLdoc.exe' -Scope Script
$LocationOfProjectFile='MyPath\MyProjectFile.sqldoc'

Import-Module sqlps -DisableNameChecking #load the SQLPS functionality for getting the registered servers
#now fetch the list of all our registered servers
get-childitem 'SQLSERVER:\sqlregistration\' -recurse | where { $_.GetType() -notlike '*ServerGroup*' } |
Select servername, connectionstring |
sort-object -property servername -unique |
foreach-object {
 "$($_.servername)$($_.connectionstring)"
 $connection = @{ }
 $_.connectionstring.split(';') | foreach {
 $pair = $_.split('=');
 $connection += @{ $pair[0] = $pair[1] };
 }
 $Databases.GetEnumerator() | foreach{
 if ($_.server -eq $connection.'data source')
 {
 if ($connection.'integrated security' -ne 'True')
 {
 SQLdoc /project:$LocationOfProjectFile /verbose "/server:$($connection.'data source')" "/database:$($_.Database)" "/username:$($connection.'user id')" "/password:$($connection.'password')"
 }
 else
 {
 SQLdoc /project:$LocationOfProjectFile /verbose "/server:$($connection.'data source')" "/database:$($_.Database)"
 }
 }
 }
}
Listing 10
SQL Docs options references
When you enter a command line, the order of the options doesn't matter. Separate an option from its values using a colon. The colon must not be followed by a space; values that include spaces must be delimited by double-quotes. For example:
| /help or /? | This displays basic help on all the command line options. Adding /verbose, will give more detailed information. You can use other switches but all but /verbose, /html, /out, /force and /outputwidth will be ignored. |
| /html | Causes help to be output as HTML. Must be used with the /help switch. |
| /or /q | Uses 'quiet mode' so that there is no output. |
| /verbose or /v | Verbose mode, the opposite to quiet. |
| /argfile:<argfile> | Specifies a file containing XML argument specification. |
| /out:<fileName> | Redirects console output to the specified file. |
| /outputwidth:<columns> | Specifies the width of console output. This switch can be used to ensure that long database object names are not truncated, and that SQL script lines are not wrapped or broken. This is particularly useful when redirecting output to a file, as it allows you to overcome the limitations of the default console width of 80 characters. |
| /activateSerial:<activateSerial> | Activates the application with the specified serial number. You can find your serial number on your invoice. If you do not enter a serial number, a 14-day free trial will start. If you have multiple serial numbers, separate them with commas without spaces. |
| /deactivateSerial | Deactivates the application's serial number. |
| /project:<project> /pr:<project> | Uses the connection properties and documentation settings from an existing SQL Doc project file (.sqldoc). Project files can be created from the SQL Doc UI. Any other parameters specified in the same command, such as /database or /outputfolder, will override the settings in the project. |
| /name:<name> or /n | Provides the name for the project. |
| /exclude_creationscripts or /xcrs | Excludes object creation SQL scripts from the documentation. |
| /exclude_triggers or /xtrg | Excludes triggers from the documentation. Both DDL and DML triggers are excluded. |
| /exclude_indexes or /xidx | Excludes indexes from the documentation. |
| /exclude_foreignkeys or /xfks | Excludes foreign keys from the documentation. |
| /exclude_checkconstraints or /xccs | Excludes check constraints from the documentation. |
| /exclude_permissions or /xpms | Excludes permissions from the documentation. |
| /outputfolder:<outputfolder> or /of | This is the folder the documentation is created in. Specify an absolute or relative path to a folder that already exists. If a relative path is specified, the current working folder will be used as root. |
| /force or /f | Overwrites the file if it already exists. If this option is not specified, trying to overwrite existing files will cause an error. |
| /description:<description> or /d | The description text to display on the cover page of the documentation. |
| /copyright:<copyright> or /c | The copyright text to display in the footer of the documentation. This should contain a string of the form "Copyright <author> <year>" |
| /copyrightauthor:<copyrightauthor> or /ca | The author name to display on the front page of the generated documentation. Note that this will not be appended to the /copyright text and should be specified there as well. |
| /server:<server> or /s | The SQL Server instance to connect to. |
| /database:<database1>,<database2>,...,<databaseN> or /db | The databases to document. |
| /username:<username> or /u | The user name for connecting to the SQL Server. If no user name is specified, Windows authentication is used. |
| /password:<password> or /p | The password for connecting to the SQL Server. Use this setting if the password is not saved in the project file. |
| /alldbs or /a | Documents all databases on the SQL Server. This is the default behavior if the /project or /database arguments are not specified. |
| /filetype:<filetype> or /t | The output file type.
|
| /openfile | Opens the documentation on completion. |
| /exclude_timestamp | Excludes a timestamp from the file name (.chm and .doc outputs) or folder name (.html output). |
| /page:<page> | To specify the Word document page size, add the /page option. For example, /page:Letter sets the Word page size to Letter (8.5" wide by 11" high). Values: A4 - A4, A3 - A3, Letter -Letter |
To find out how to create database documentation in ePub format using SQL Doc and PowerShell, or how to document multiple SQL Server databases using SQL Doc and PowerShell, see my other two posts in this series.
And remember, if you’d like to explore SQL Doc further, you can download a 14-day, fully-functional free trial.
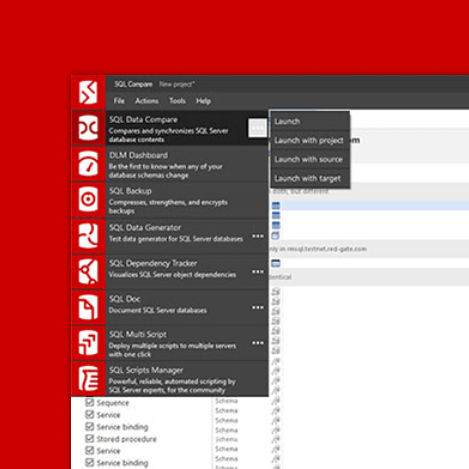
Tools in this post
SQL Toolbelt Essentials
10 simple tools for fast, reliable and consistent SQL Server development.
You may also like

Product article
Detecting Data Masking Gaps in a CI Pipeline

Product article
Safe Database Change at Scale with Flyway Enterprise

Product article
Documenting a SQL Server Data Catalog in HTML and Git Markdown

Product article
A Practical Guide to Refactoring Production Databases with Redgate Data Modeler

Product article
Marking deployments in Redgate Monitor 14
Product article
Loading comments...