F# is the go-to language if you’re seeking functional programming within the .NET world. It is multi-paradigm, flexible, and provides smooth interoperability with C#, which brings even more power to your development stack, but did you know that you can build APIs with F#? Not common, I know, but it’s possible due to the existence of frameworks like Suave.io.
Suave is a lightweight, non-blocking web server. Since it is non-blocking, it means you can create scalable applications that perform way faster than the ordinary APIs. The whole framework was built as a non-blocking organism.
Inspired by Happstack, it aims to embed web server capabilities into applications by providing support to components and services like Websockets, HTTPS, multiple TCP/IP bindings, Basic Access Authentication, Keep-Alive, HTTP compression, and many more.
In this article, you’ll be driven through the Suave server by developing a complete CRUD REST API.
Setting Up
Suave can be installed via NuGet Manager. However, before you can do it, you need to create a project in your Visual Studio Community Edition.
First, make sure you have the .NET Core SDK installed. If not, go ahead and install it.
Then, open Visual Studio, go to the “Create a new project” window, and filter for F# applications, and select the option “Console App (.NET Core)” as shown in Figure 1. Click Next.
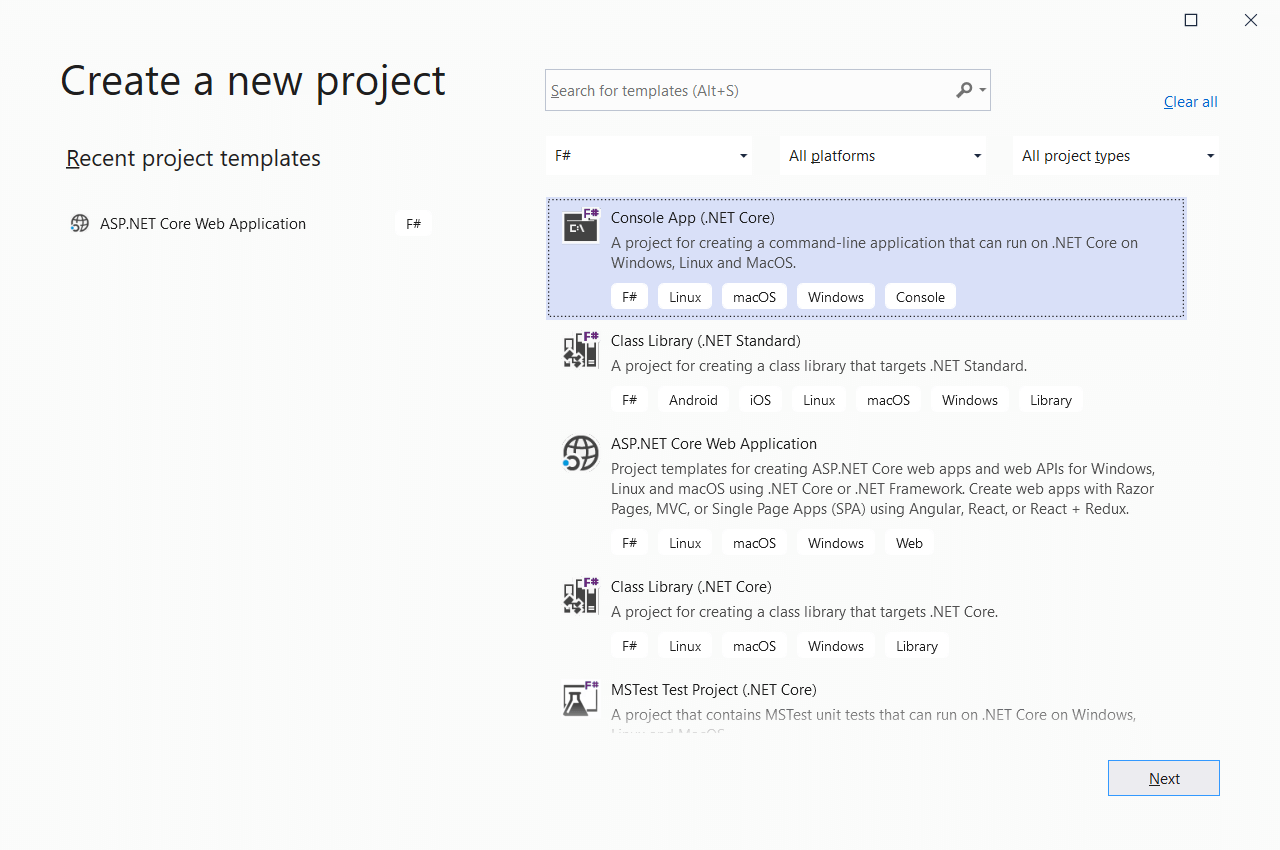
Figure 1. Creating a new F# project.
The following window will ask for a project and solution name, as well as the folder destination. Fill the fields according to Figure 2 and click Create. 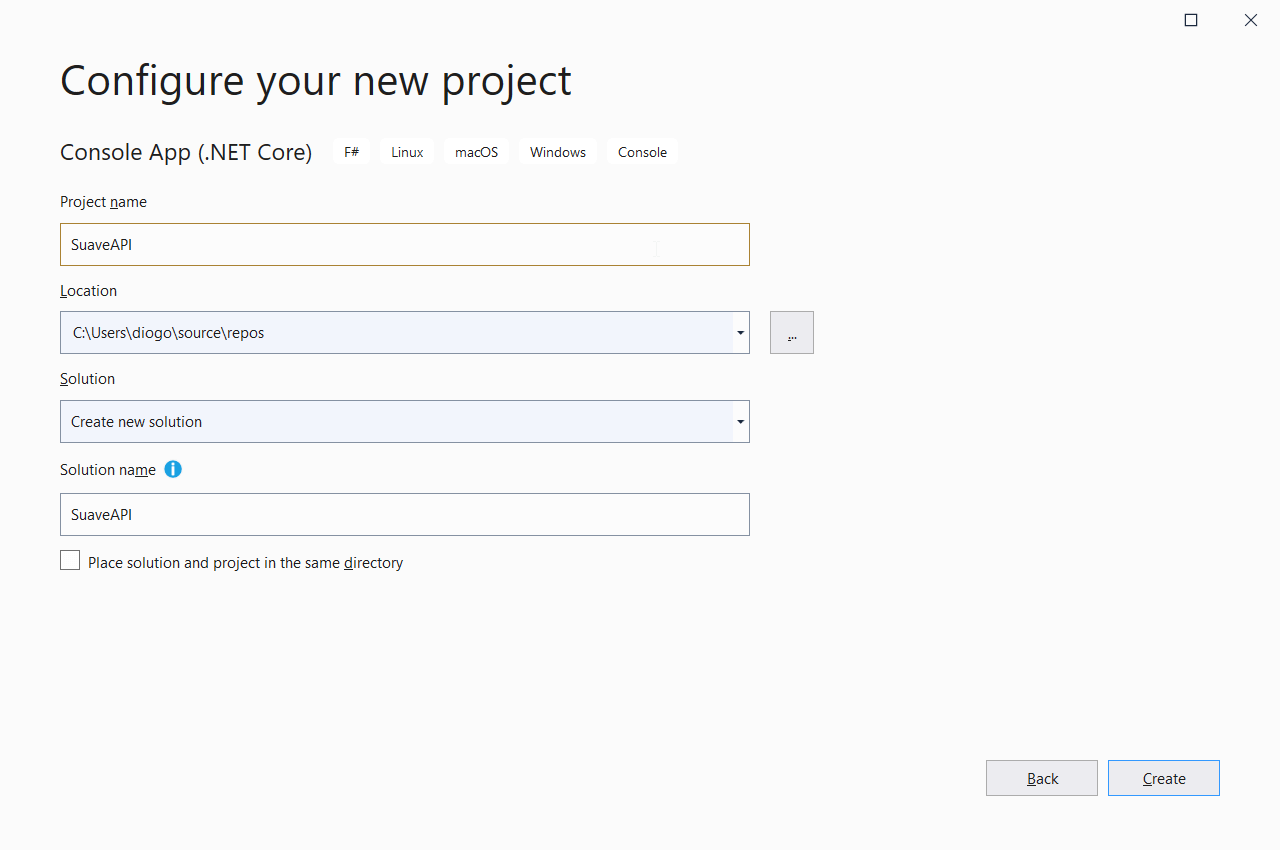
Figure 2. Providing a project and solution name.
Once the project creation finishes, you’ll be able to see that only one file comes with it: the Program.fs. Within it, there’s a Hello World example in F#.
That’s a very basic structure of an F# program, but this example won’t use any of it.
Installing Suave
Before going any further, you need to set up Suave properly. The usual method recommends doing it via Paket, however, since you’re already within the Visual Studio environment, stick to NuGet.
Right-click the solution and select “Manage NuGet Packages for Solution…” and browse for Suave at the search box.
Select it according to Figure 3 and click the Install button.
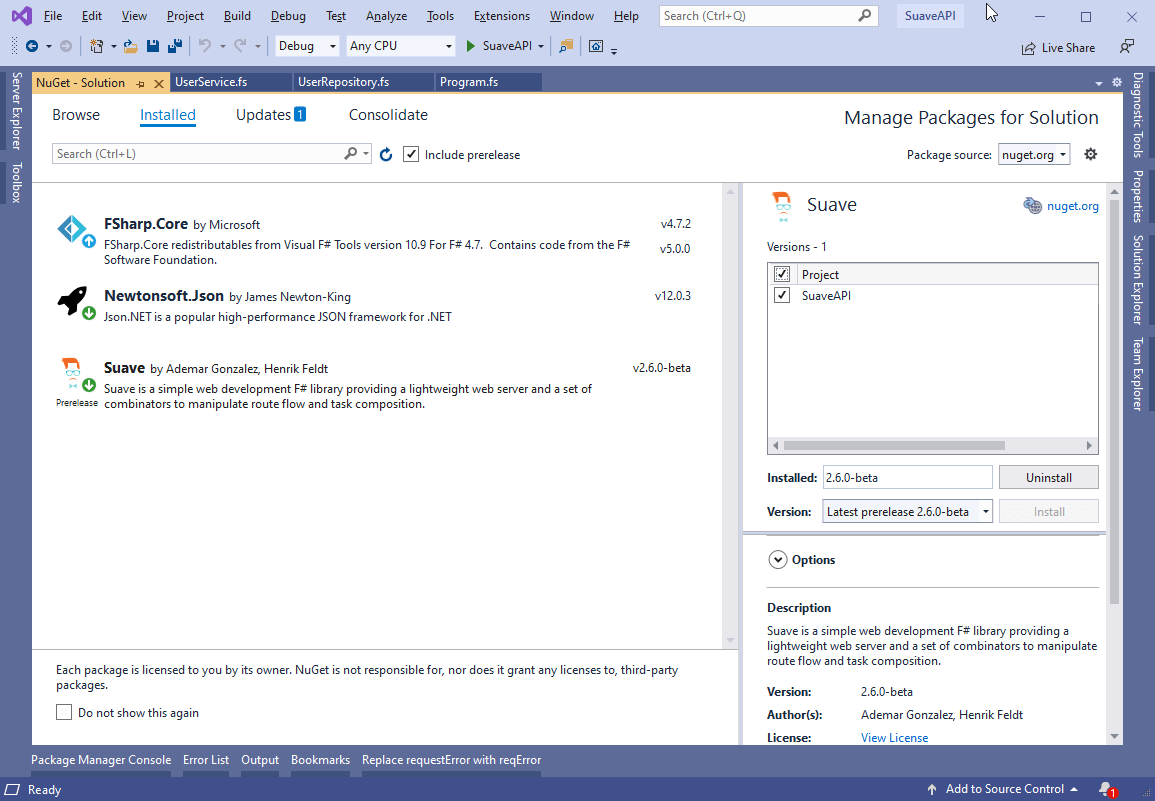
Figure 3. Installing Suave at NuGet.
For the API construction, you’ll also need Newtonsoft’s JSON package, as it provides a handful of auxiliary methods to deal with conversions from object to JSON and vice versa.
Follow Figure 4 instructions to install it.
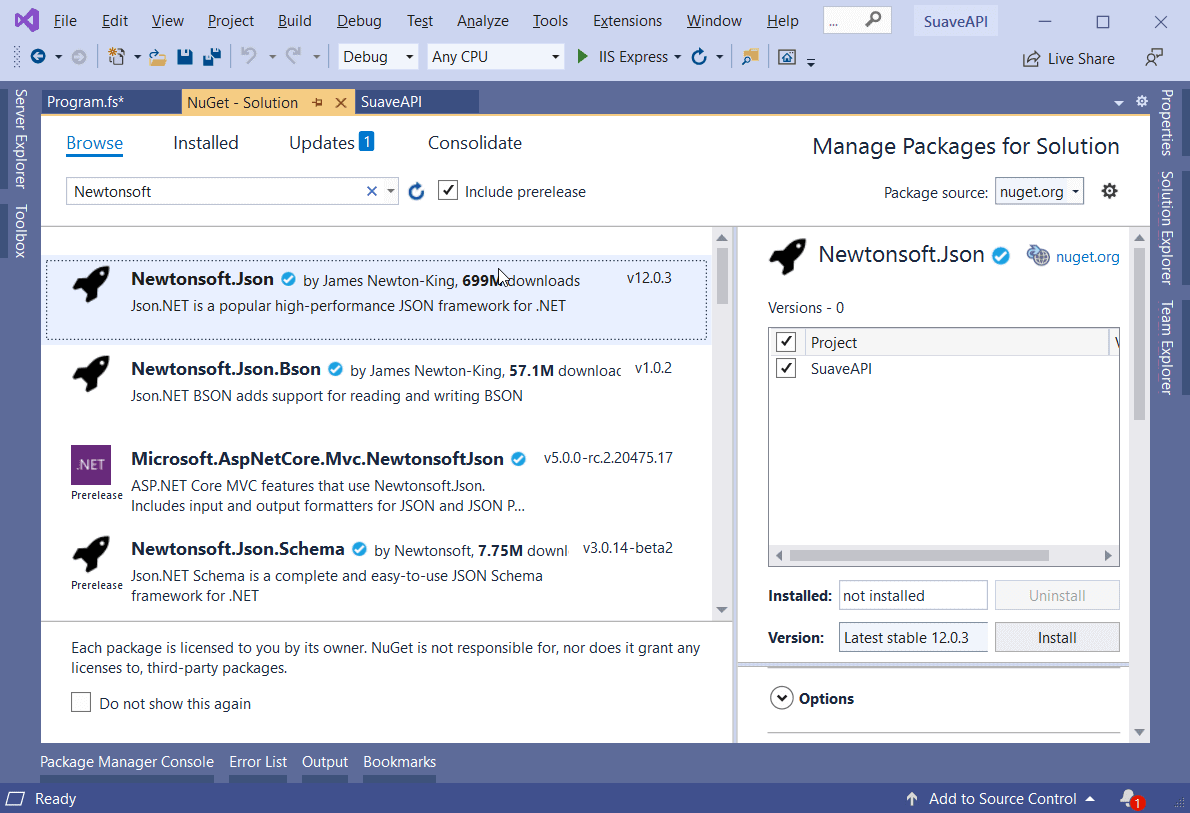
Figure 4. Installing Newtonsoft.Json dependency.
The Project Structure
Great! Now move on to the project building. You noticed that you already have a Program.fs file. You’ll use it as the main execution file. However, two other files are needed: one for the in-memory database operations, and the other for the service operations.
Go ahead and create both of them according to Figures 5 and 6 below.
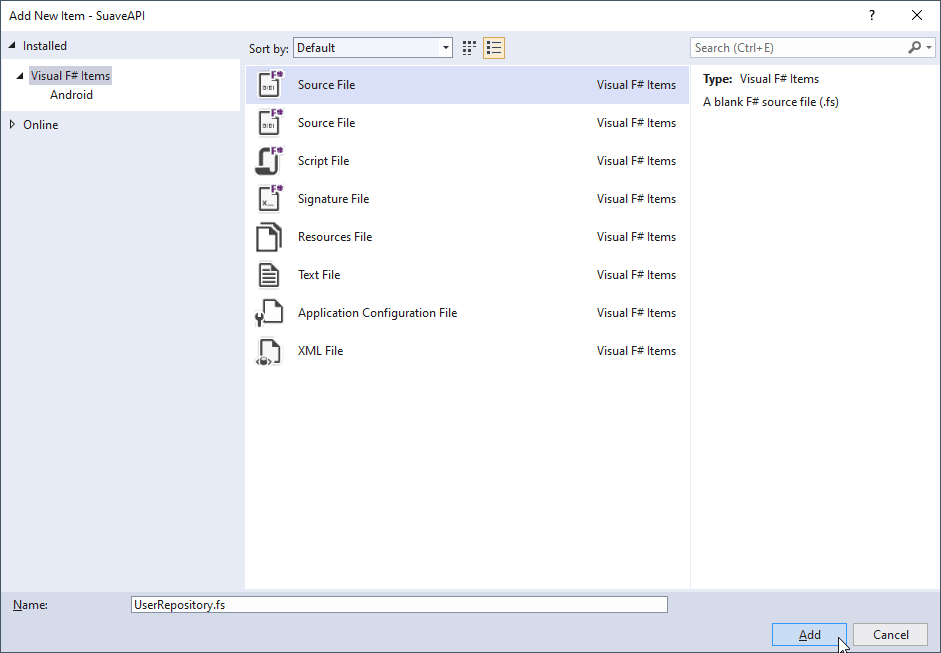
Figure 5. Creating the user’s repository.
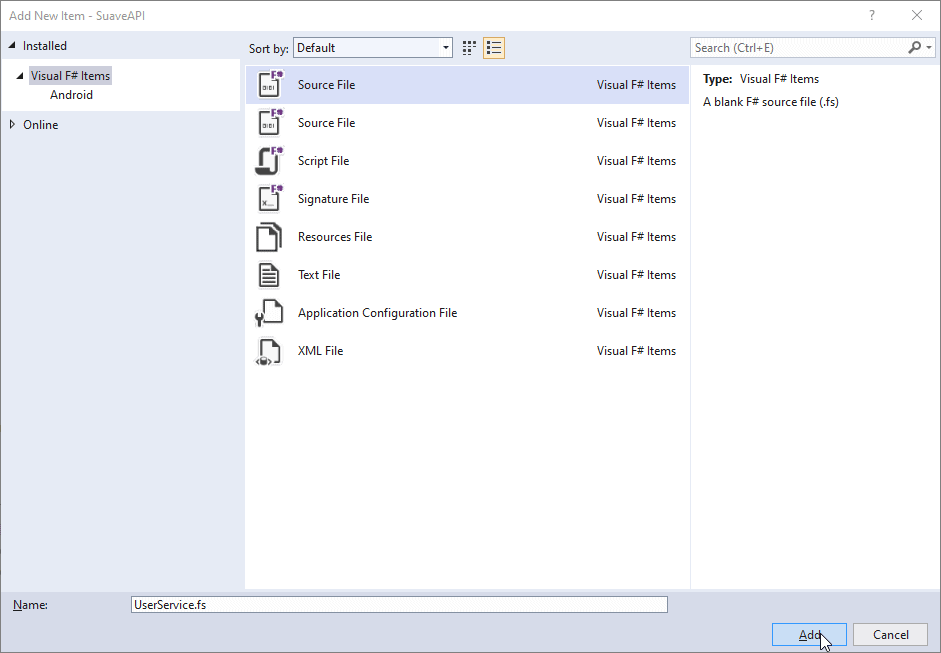
Figure 6. Creating the user’s service.
The Repository
First, start coding the repository since it’s the basis for the rest of the API. Take the code from Listing 1 and paste it into the UserRepository.fs file.
Listing 1. The user’s repository code.
|
1 2 3 4 5 6 7 8 9 10 11 12 13 14 15 16 17 18 19 20 21 22 23 24 25 26 27 28 |
namespace SuaveAPI.UserRepository open System.Collections.Generic type User = { UserId: int Name: string Age: int Address: string Salary: double } module UserRepository = let users = new Dictionary<int, User>() let getUsers () = users.Values :> seq<User> let getUser id = if users.ContainsKey(id) then Some users.[id] else None let createUser user = let id = users.Values.Count + 1 let newUser = { user with UserId = id } users.Add(id, newUser) newUser let updateUserById id userToUpdate = if users.ContainsKey(id) then let updatedUser = { userToUpdate with UserId = id } users.[id] <- updatedUser Some updatedUser else None let updateUser userToUpdate = updateUserById userToUpdate.UserId userToUpdate let deleteUser id = users.Remove(id) |> ignore |
For the sake of simplicity, this project won’t make use of any physical database, so the user’s data will be stored in an in-memory Dictionary called users.
The dictionary’s keys refer to each user’s id, while the values represent the user objects.
The full repository is made of six main operations:
- getUsers: take the dictionary and translates it into an F# sequence.
- getUser: the method will search the dictionary for one specific user based on its id.
- createUser: creates a new user object, certifying that the id is always going to be replaced with an auto-incremented value.
- updateUserById/updateUser: to update a user, you first need to make sure the passed id is valid and belongs to a real user. Then, call the updateUser method which will, in turn, updates the user on the dictionary.
- deleteUser: simply removes the user based on its id.
The Service
Now, head to the service class. Open it and add the Listing 2 contents to it.
Listing 2. User’s service code.
|
1 2 3 4 5 6 7 8 9 10 11 12 13 14 15 16 17 18 19 20 21 22 23 24 25 26 27 28 29 30 31 32 33 34 35 36 37 38 39 40 41 42 43 44 45 46 47 48 49 50 51 52 53 54 55 56 57 58 59 60 61 62 63 64 65 66 67 |
namespace SuaveAPI.UserService open Newtonsoft.Json open Newtonsoft.Json.Serialization open Suave open Suave.Operators open Suave.Successful [<AutoOpen>] module UserService = open Suave.RequestErrors open Suave.Filters // auxiliary methods let getUTF8 (str: byte []) = System.Text.Encoding.UTF8.GetString(str) let jsonToObject<'t> json = JsonConvert.DeserializeObject(json, typeof<'t>) :?> 't // 't -> WebPart let JSON v = let jsonSerializerSettings = new JsonSerializerSettings() jsonSerializerSettings.ContractResolver <- new CamelCasePropertyNamesContractResolver() JsonConvert.SerializeObject(v, jsonSerializerSettings) |> OK >=> Writers.setMimeType "application/json" type Actions<'t> = { ListUsers: unit -> 't seq GetUser: int -> 't option AddUser: 't -> 't UpdateUser: 't -> 't option UpdateUserById: int -> 't -> 't option DeleteUser: int -> unit } let getActionData<'t> (req: HttpRequest) = req.rawForm |> getUTF8 |> jsonToObject<'t> let handle nameOfAction action = let badRequest = BAD_REQUEST "Oops, something went wrong here!" let notFound = NOT_FOUND "Oops, I couldn't find that!" let handleAction reqError = function | Some r -> r |> JSON | _ -> reqError let listAll = warbler (fun _ -> action.ListUsers() |> JSON) let getById = action.GetUser >> handleAction notFound let updateById id = request (getActionData >> (action.UpdateUserById id) >> handleAction badRequest) let deleteById id = action.DeleteUser id NO_CONTENT let actionPath = "/" + nameOfAction // path's mapping choose [ path actionPath >=> choose [ GET >=> listAll POST >=> request (getActionData >> action.AddUser >> JSON) PUT >=> request (getActionData >> action.UpdateUser >> handleAction badRequest) ] DELETE >=> pathScan "/users/%d" (fun id -> deleteById id) GET >=> pathScan "/users/%d" (fun id -> getById id) PUT >=> pathScan "/users/%d" (fun id -> updateById id) ] |
Note that the namespace at the beginning of the file is very important to make the modules available to one another. The AutoOpen annotation above the module declaration helps to expose the let-bound values of our Actions type. However, if you don’t want to use the annotation, you can remove it and directly call the Actions type via the open command.
The services count on two auxiliary methods: one for extracting the UTF-8 value of a string, and the other for converting JSON to F# objects.
The WebPart config is essential. A WebPart function returns an asynchronous workflow which itself ultimately returns an HttpContext option. It encapsulates both request and response models and simplifies their usage, like setting the Content-Type of our responses, for example.
The Actions resource works as a container for all the API operations. This representation is excellent because it allows porting any API methods to it. If you have other domains for your API (like Accounts, Students, Sales, etc.), you can map the endpoints within other Actions and use them right away.
It all works due to the handle structure. It receives an action and its name and implicitly converts it to each service operation.
Finally, the paths are mapped at the end of the listing, through Suave’s path and pathScan features. They allow redirecting requests to specific methods, and scan path params (as you have with the update, get, and delete operations) to extract the values before processing the request.
The Program
So far, you’ve built everything the API needs to work. Now, set up the main Program F# file. For this, open the Program.fs and add the content presented by Listing 3. You’ll get a few errors, but they’ll go away when you run the program.
Listing 3. Main F# file code.
|
1 2 3 4 5 6 7 8 9 10 11 12 13 14 15 16 17 18 |
namespace SuaveAPI module Program = open Suave.Web open SuaveAPI.UserService open SuaveAPI.UserRepository [<EntryPoint>] let main argv = let userActions = handle "users" { ListUsers = UserRepository.getUsers GetUser = UserRepository.getUser AddUser = UserRepository.createUser UpdateUser = UserRepository.updateUser UpdateUserById = UserRepository.updateUserById DeleteUser = UserRepository.deleteUser } startWebServer defaultConfig userActions 0 |
This one resembles a bit the previous content of Program.fs. Suave’s server is always started the same way, through the startWebServer method.
The method receives two arguments:
- The server’s config object. If you want to go raw, just provide it with the default dafaultConfig object.
- And the WebPart mentioned before.
The WebPart is just a representation of the Actions created within the UserService file. Make sure to call each one of the service methods accordingly.
The code must always end with a 0. The zero says to Suave that the server must stop when you shut it down; otherwise, it’ll keep running forever and locking that port.
Testing
Now it’s time to test the API. For this, you’ll make use of Postman, a great tool for API testing. Download and install it if you still don’t have it.
Then, get back to your application and execute it by hitting the Start button (Figure 7) or pressing F5.
![]()
Figure 7. Starting the application up.
It will prompt a window stating that the Suave listener has started at a specific address + port, as shown below.
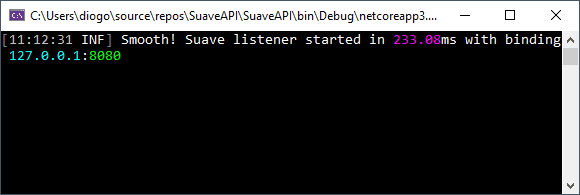
Figure 8. App successfully started.
Since there’s no user registered yet, you need to create one first. Within Postman, open a new window, and fill it in according to Figure 9.
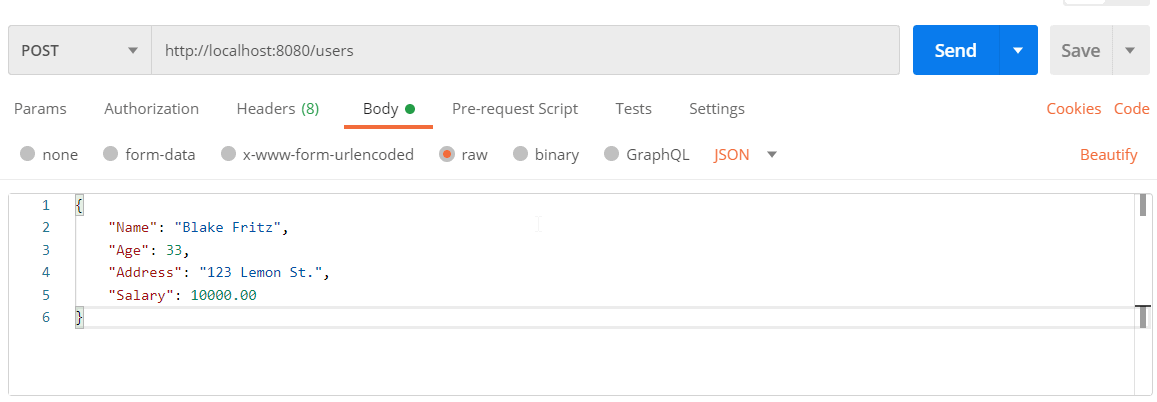
Figure 9. Creating a new user with Postman.
Make sure to select the proper HTTP verb (POST), and the option “raw” at the Body tab, as well as JSON as the data type. Provide a JSON with the user’s data, as shown in the figure and hit the Send button.
If everything goes well, you may see the newly created user coming back within the response. Now, try retrieving the same user through the GET demonstrated in Figure 10.
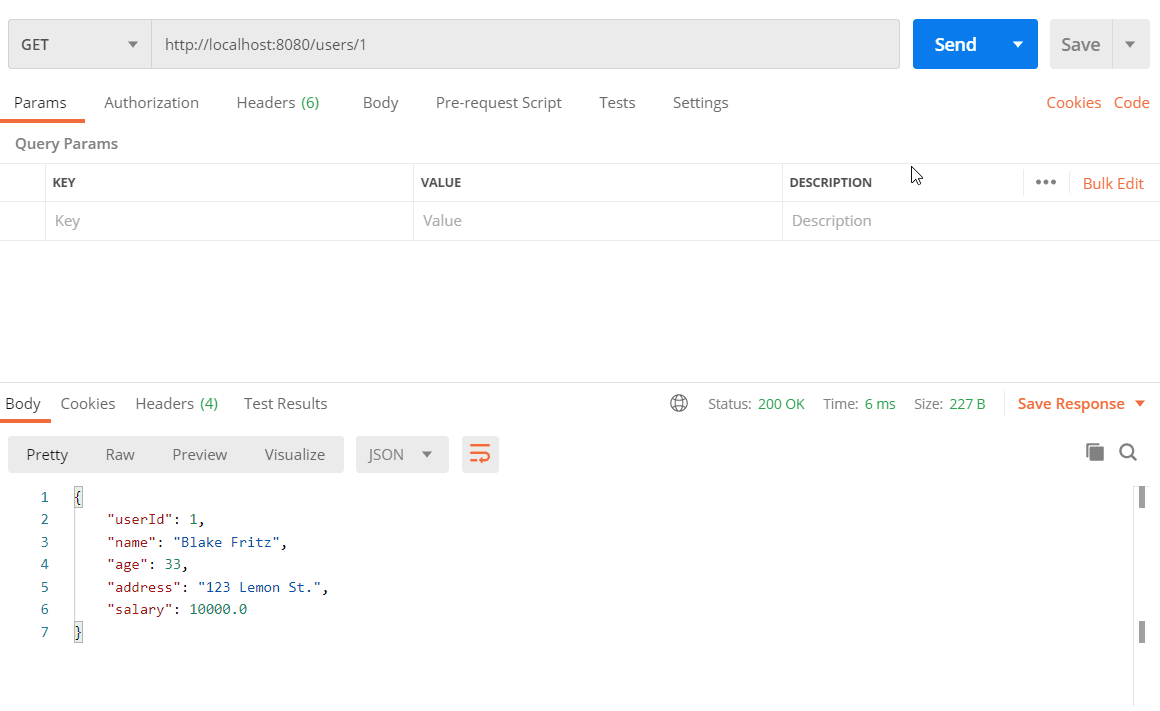
Figure 10. Retrieving the newly created user.
Conclusion
As a homework task, I’d ask you to test the rest of the CRUD operations and check if everything’s working fine. It’d be also great to substitute the in-memory dictionary as the database for a real one, like MySQL or SQL Server. This way, you can understand better how F# and Suave communicate with real databases.
Plus, make sure to refer to the official docs for more on what you can do with this amazing web server.

Load comments