
How many of you hear the word replication and shudder? There are indeed a lot of moving parts to it, but it is a valuable tool, and it is worth learning how to use. In this article, I’ll show you how to set it up.
For those of you who are new to the world of replication, let me briefly explain how it works from a 10,000-foot view. Replication is nothing more or less than copying data from Point A to Point B. SQL Server’s vernacular lends itself to comparison with magazine publication.
An author writes a magazine article. They want the world to read it. They send it off to a publisher. The publisher has the means to include it in a magazine that they own and send copies of that magazine out en masse. When the magazine is ready, it is packaged and mailed to a distribution center. The distribution center sends the magazines out to the subscribers.
It’s pretty much the same with SQL Server. You may have a table, a view or a stored procedure that you want to copy over somewhere else. Why? (HINT: NOT FOR BACKUP. Never use replication for backup).
One of the more common reasons I see for using replication is that you are using third-party vendor software that doesn’t allow indexing, so performance would grind to a stop if you used it for anything but straight data entry. To get around this, you copy over the data somewhere else where you can optimize (i.e., index) it and use the copy for reporting data.
To copy the object(s), you create a publication. Within that publication, you logically group tables, views, sprocs…whatever you need to replicate. These objects are your articles. I say that you logically group them because doing it that way keeps the publications manageable and easier to track. You don’t want one giant publication. Instead, group them in a way that makes sense to you and your end-users.
Once your publication is ready to go, SQL Server takes a snapshot of your data to send to a distribution database on your distributor server. The distributor is just what you probably think it is. It is the mechanism that sends your data to the subscribers (or the point(s) you are copying your data to). Once the snapshot is complete, the SQL Server begins replicating the data.
So now that you have an idea of how it works, let’s start the data flowing! This can be done by using the GUI, T-SQL or Replication Management Objects (RMOs). I am going to stay in my comfort zone – SQL Server.
Configuring the Distributor
Begin by ensuring you have replication installed. If you don’t have the replication feature installed, you should do it now. Just go to the installation for your version of SQL Server, select the “add features to an existing installation” option and install replication. If you aren’t sure if it’s installed, you can run EXEC sp_MS_replication_installed. If it runs successfully, you should be good to go. If it fails, it tells you to install the feature.
If you know you have replication installed, the next step is to configure distribution if you haven’t already. Go to the intended distributor server and right-click on the Replication folder in SSMS. Select Configure Distribution.
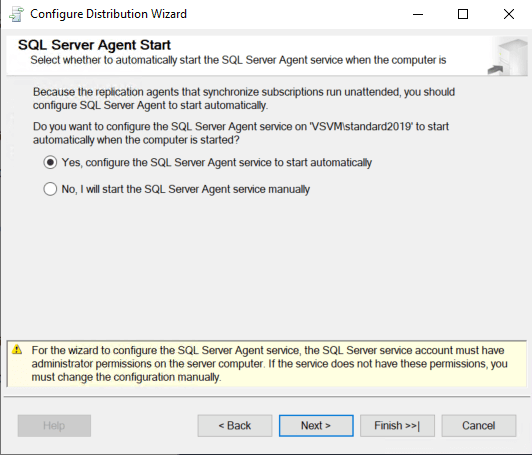
I am using SSMS v 18.4 for this walkthrough. For the purposes of this demo, I am choosing to use my own server as both distributor and publisher. The wizard will guide you through it – and so will I. You must decide if you want the server you are on to be the distributor or designate another server to be the distributor. Since this is a demo, my local instance will be its own distributor. If SQL Server Agent is not set to start automatically, you will also be prompted to configure it.
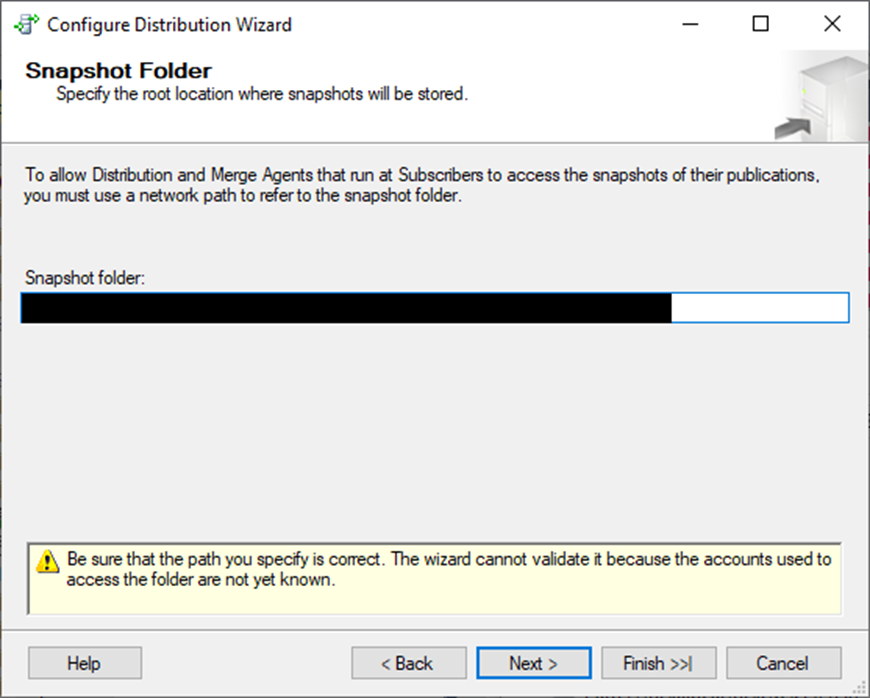
Choose where you want the replication snapshot to be stored. The amount of space you need depends on the amount of data you will be snapshotting. You can choose a network share (recommended) or a folder on the server. Just ensure that the appropriate permissions are there. In this case, you’ll see further down that I am using SQL Agent to run replication, so, Agent needs permissions on the snapshot folder. It will need to read/write/modify/list folder contents/execute.
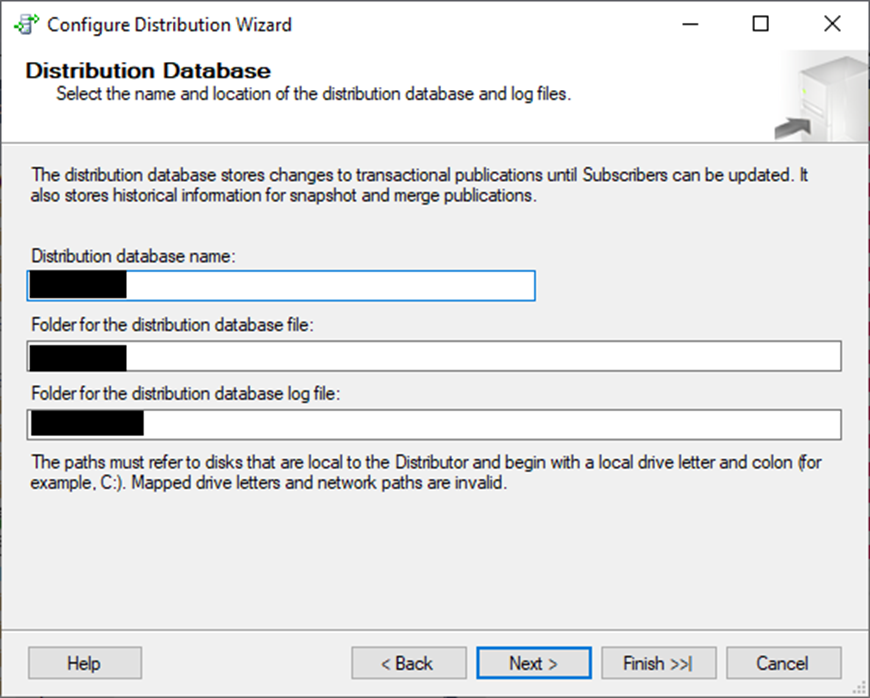
Next, name your distribution database and tell SQL Server where to store the data and log files.
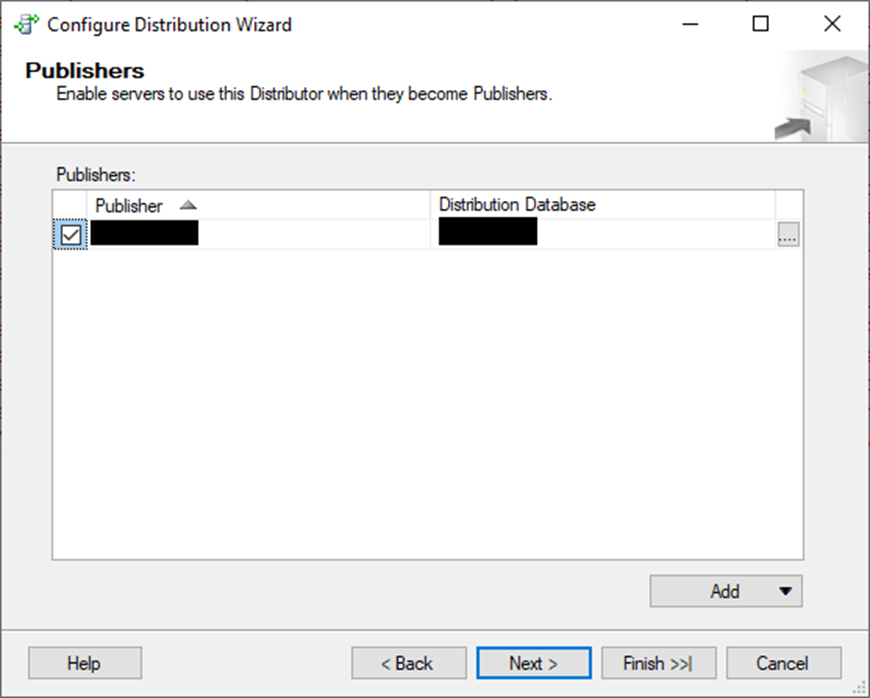
If you need other servers to use this distributor, here is where you add them. I don’t need another one, so I am leaving it as is.
The wizard asks you if you would like it to do the magic directly by running the scripts, or if you would prefer to wave the wand and have the wizard complete the steps.
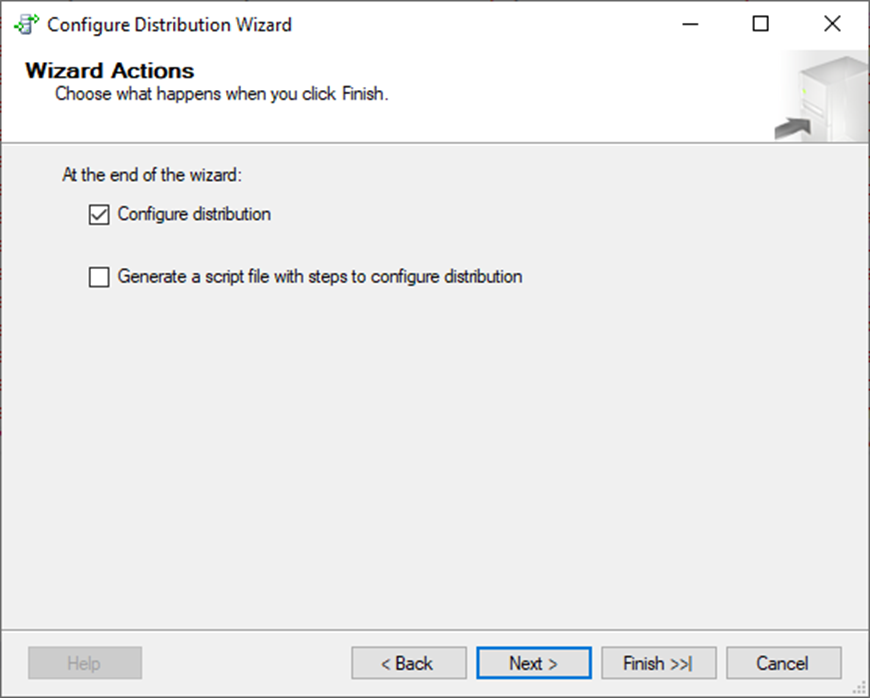
Here is your sanity check:
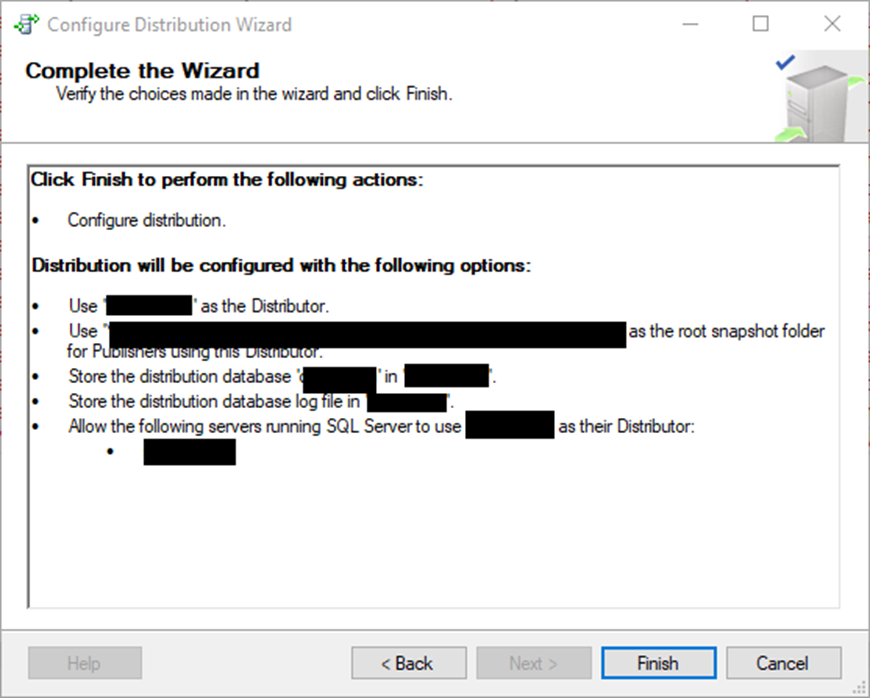
And….poof! You have a distributor. If you want to “know that you know” that distribution is in place, there are several ways to do so. The first is to look for the distribution database, which is located in the system databases on your distributor server. The second is to go to your Replication tab in the Object Explorer tab of SSMS beneath the Server Objects folder. Right-click and choose to Launch Replication Monitor. You should see the distributor, but no publications yet.
Configuring the Publication
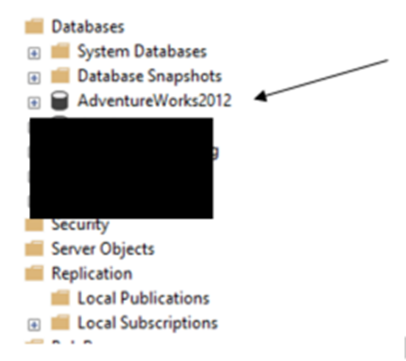
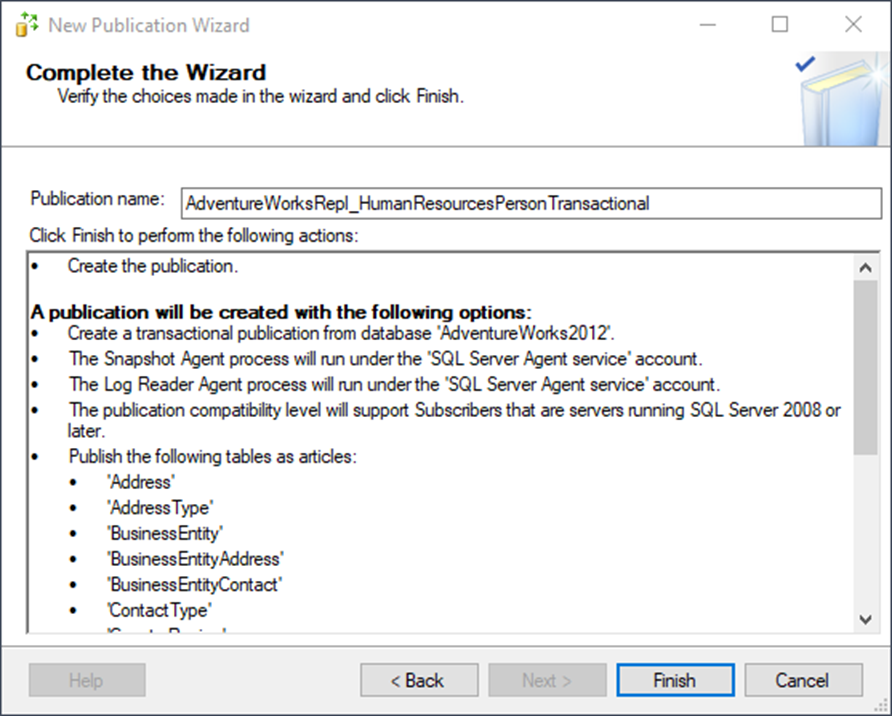
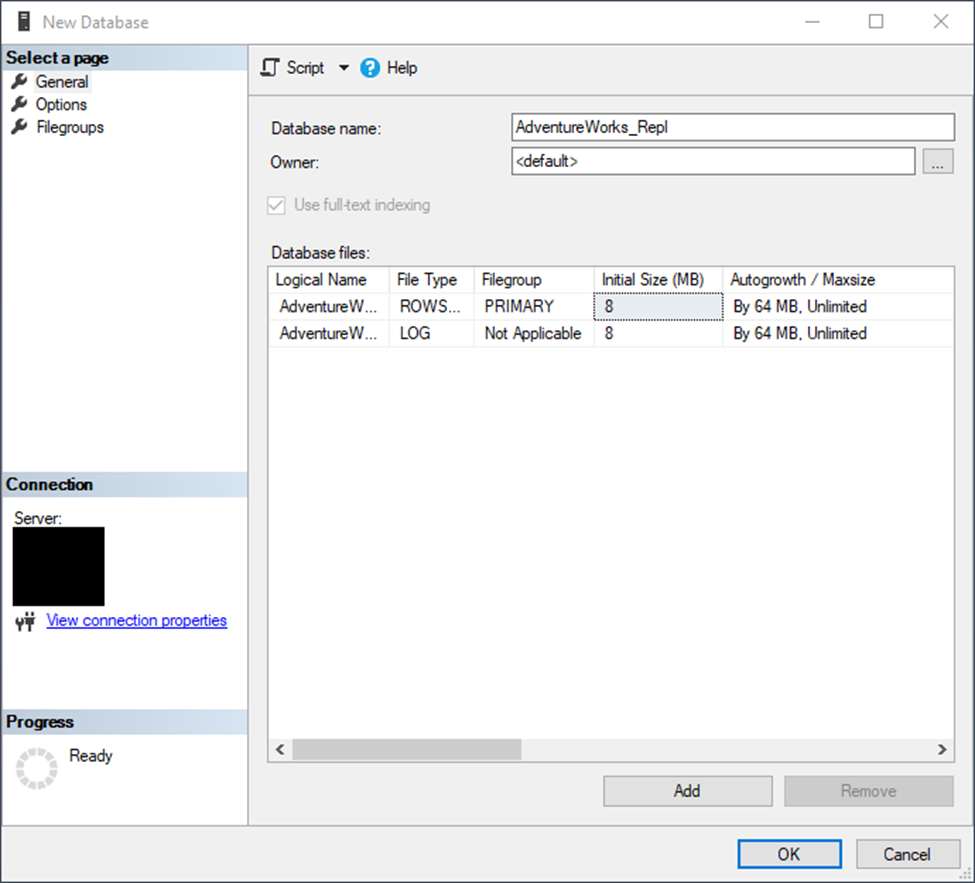
Now, set up replication. The goal is to replicate the AdventureWorks2012 (or any version of AdventureWorks that you have) tables in the Person and HumanResources schema to a database called AdventureWorksRepl.
AdventureWorksRepl doesn’t exist yet. But it will.
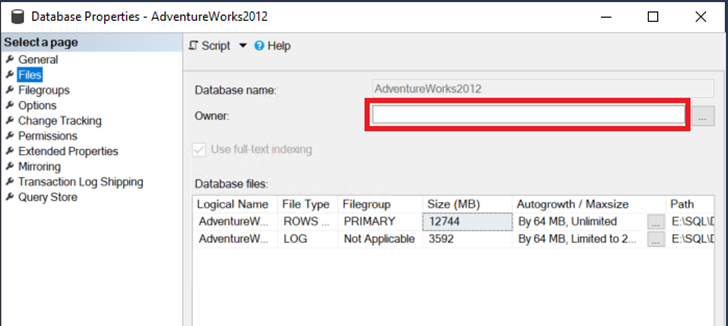
Before starting on this step, make sure that the database has a valid owner. You can see this in the Files page of the Database Properties dialog.
First, create the publication. Go to the Replication folder and right-click on the Local Publications folder. Select New Publication. After the Welcome screen, your next window should look like this:

Make sure that you have selected the database you intend to be the publisher before clicking Next.
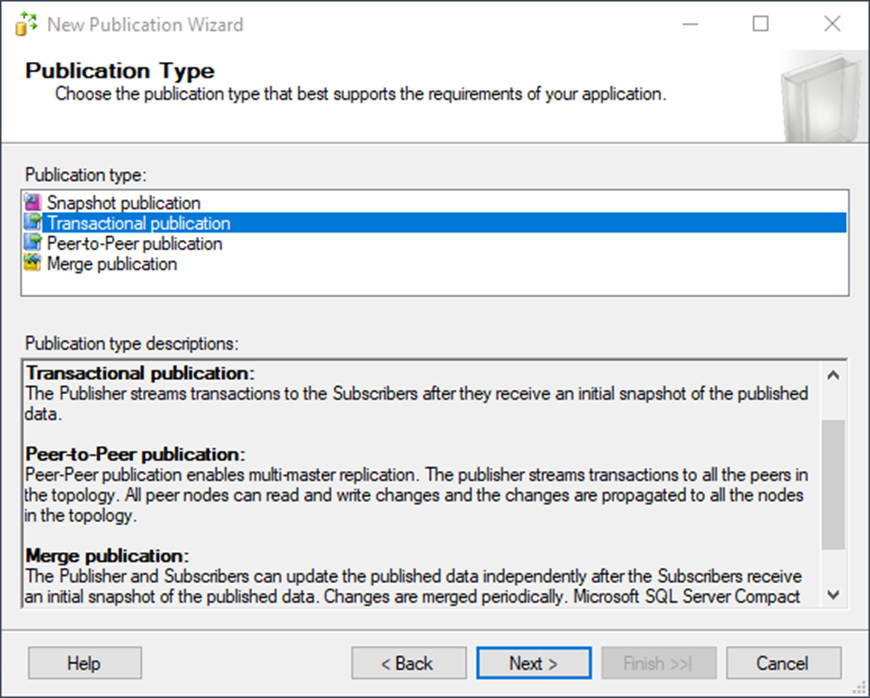
In the picture below, you’ll see that you have several replication options from which to choose. To quickly explain the difference, snapshot replication fires off on a specified schedule. It is a good choice for publications with data that only infrequently and predictably changes. Transactional replication is used primarily for real-time data. Peer-to-Peer replication is much more complicated. Publications can stream back and forth to each other. Conflict resolution is minimal, and it’s recommended that the application deal with the insert/update/delete behavior itself. Finally, there is Merge replication. This is primarily used when there isn’t a primary key on a table, or when there is a need to detect and resolve conflicts more robustly, when multiple subscribers are updating data offline and synchronizing after the fact, etc. In this case, the goal is real-time data transfer, so transactional publication it is!
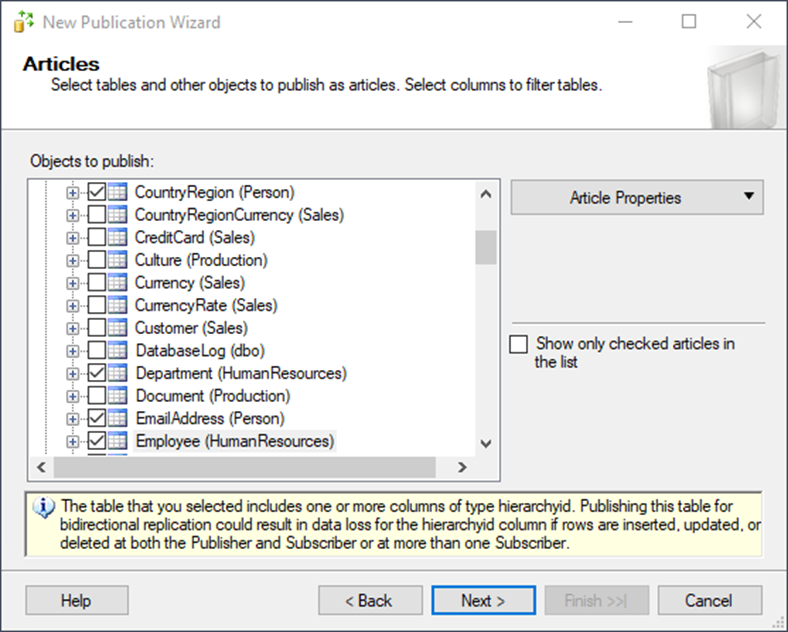
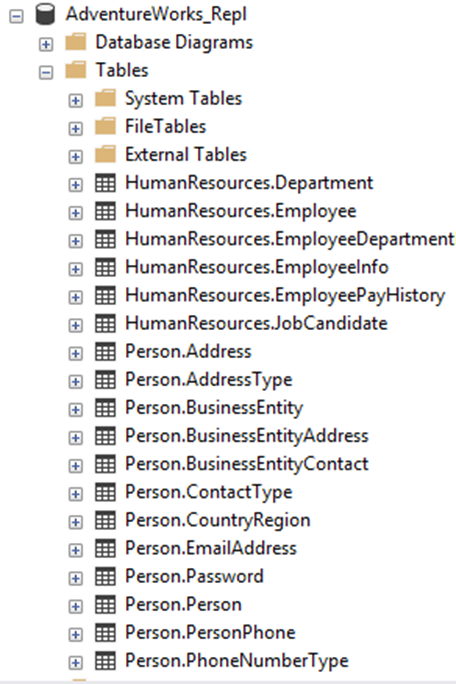
The goal is to copy tables in the Person and HumanResources schema. You could do these in separate publications, but for demo purposes, just do it in one. Check off the needed tables: all of the tables in the HumanResources and Person schemas.
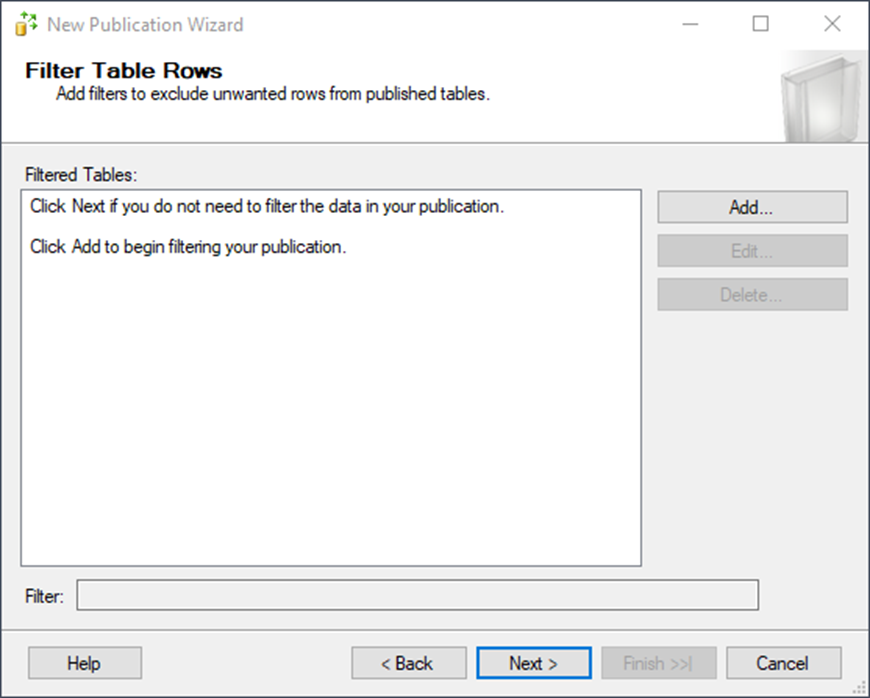
It will ask you next if you want to filter your articles. Trust me, you probably do. However, if your business users disagree and want all the data from the beginning of time, remember that the customer is always right. Just warn them not to be surprised if these publications take some time to sync the data whenever replication needs to be restarted.
For today’s purposes, though, filtering is not necessary.
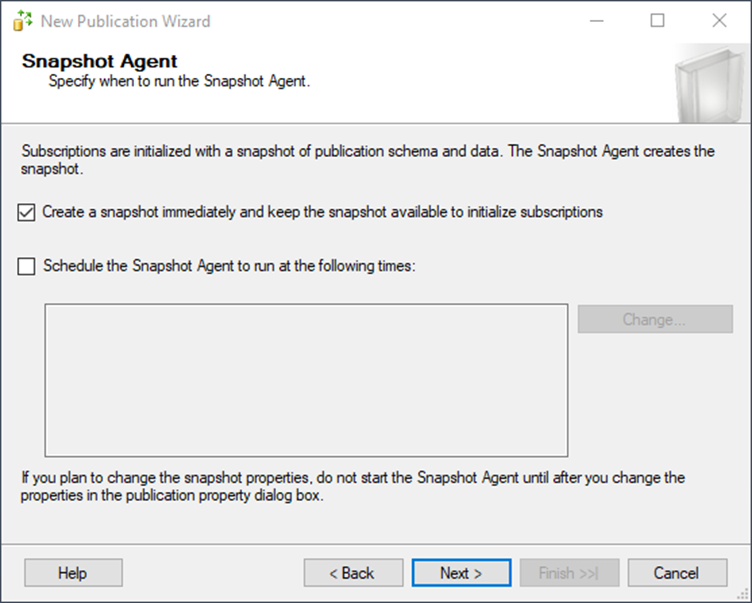
Run the snapshot immediately. This is going to create the snapshot to send the data to the distributor.
Security often turns into a religious debate, but I’ll show you a simple way to configure it. Be sure to take time in your own environment to configure according to your company standards. Click Security Settings.
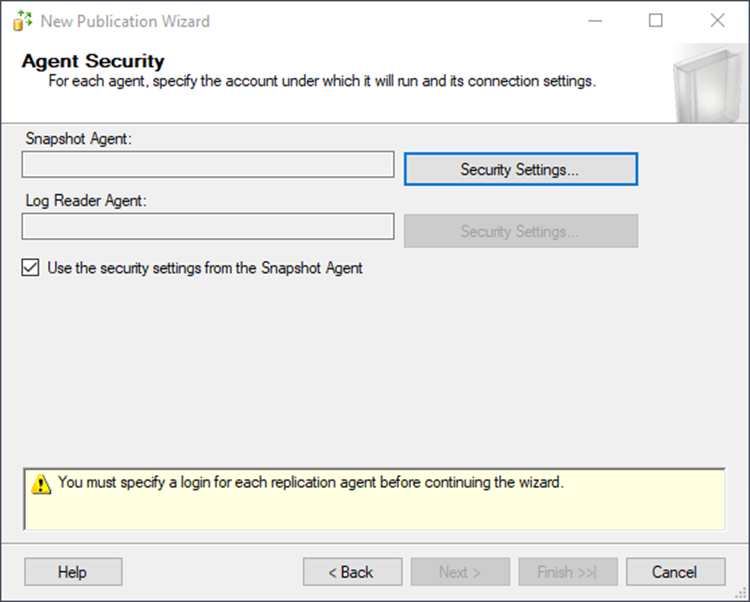
I am choosing to use SQL Server Agent. However, you could create a special service account for this sole purpose. Ensure that password complexity is high and that only the DBAs have access to the password since this account must be a sysadmin to run replication. My SQL Agent already meets those requirements, which is why I am using it instead.
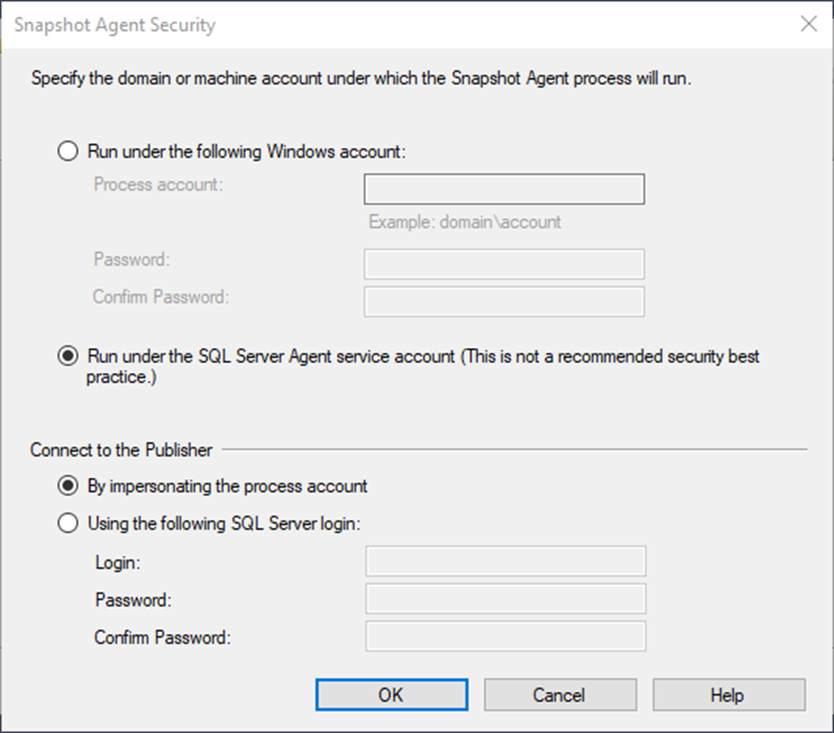
Don’t judge me.
It will look like this after you click OK

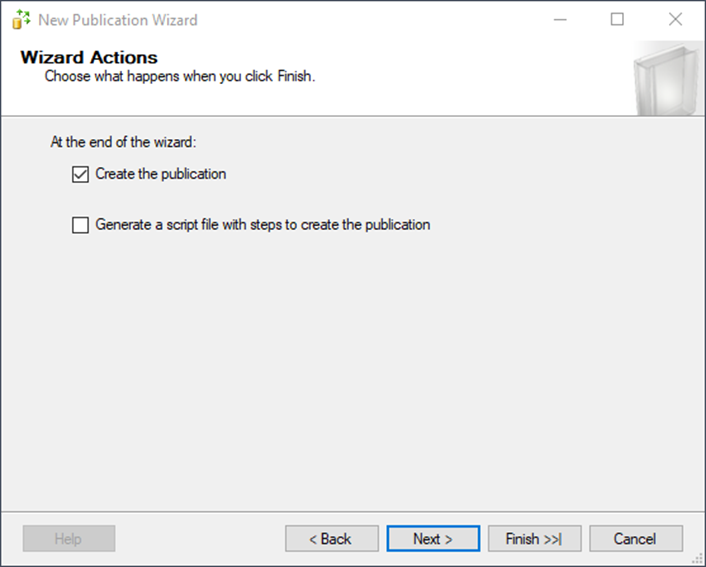
You’re almost done with the publication creation. To immediately create the publication, make sure that Create the publication is checked. You could also script out the script if you want to learn more or run in an automated process, for example.
Now, give it a name!
Once it’s complete, you’ll see this:
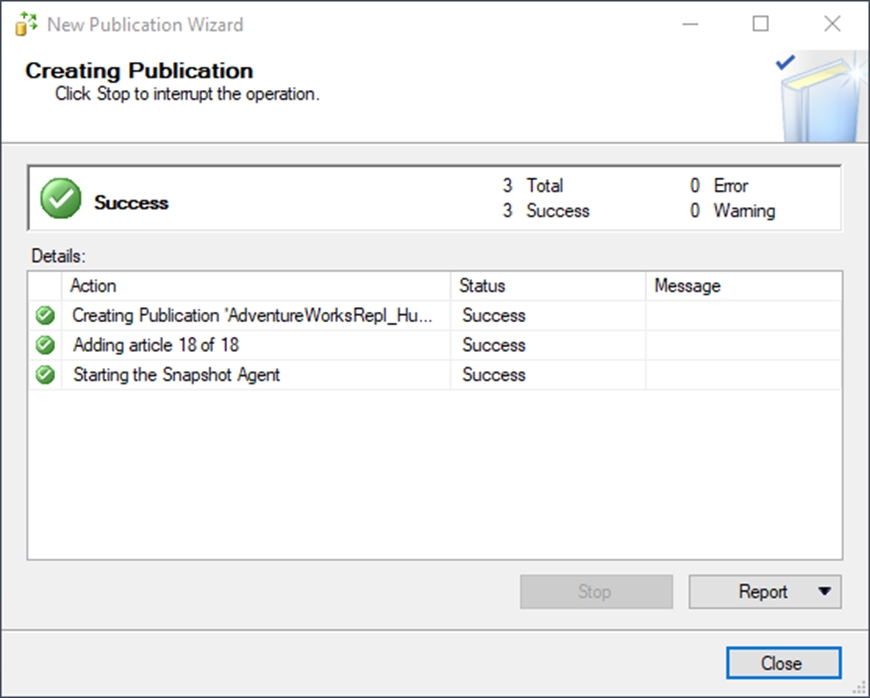
Victory!
Configuring the Subscription
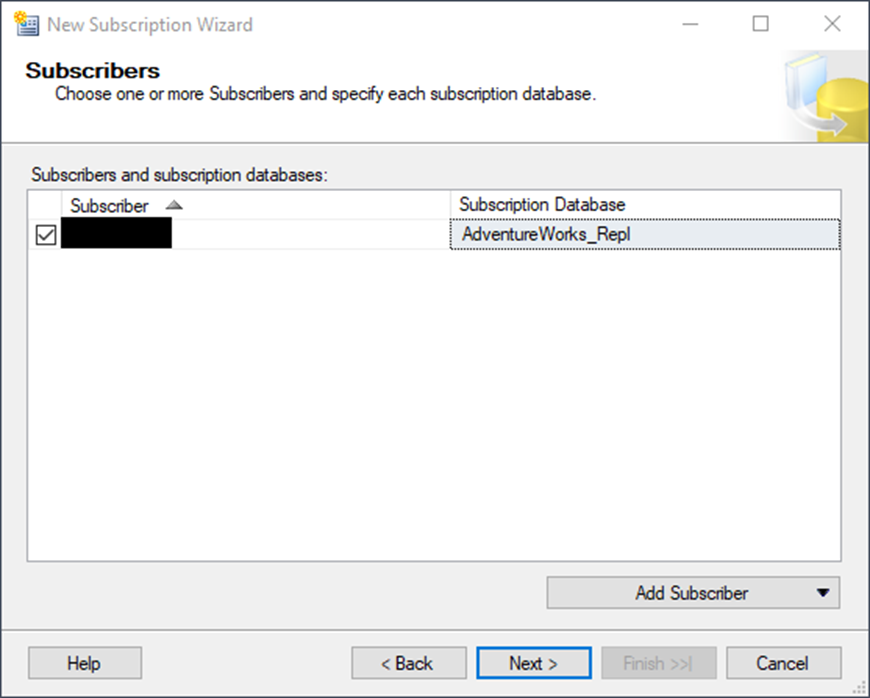
You’ve told SQL Server that you want to copy data – and what data to copy. Now, you have to tell it where to copy the data. Locate the new subscription by refreshing the Local Publications folder. Right-click the new publication and choose New Subscriptions. After clicking through the welcome page of the wizard, you should see this screen:
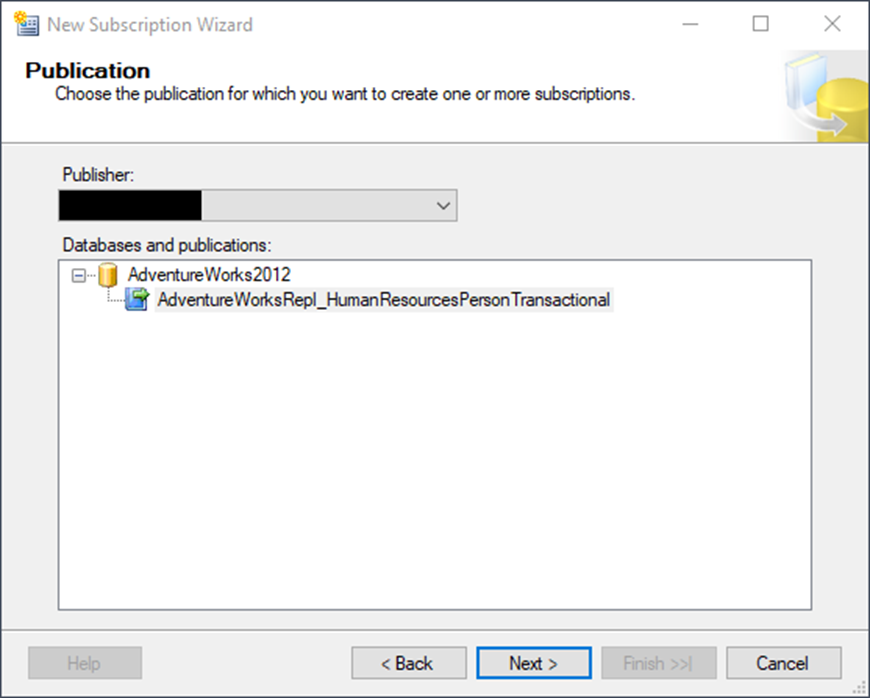
Select your publication and click Next.
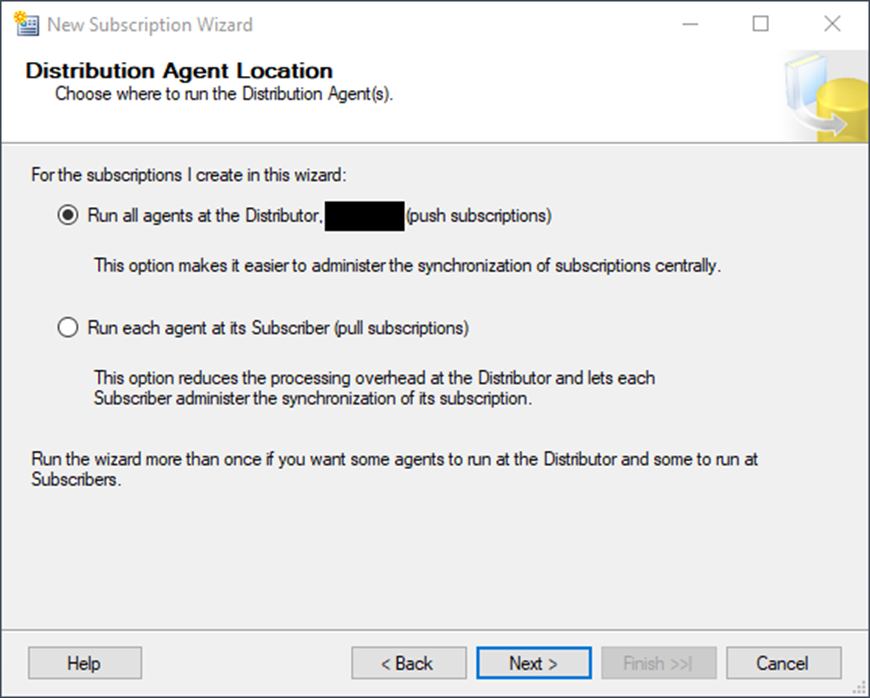
You now must choose between a push or a pull subscription. For this demo, you want a push subscription. Push subscriptions run from the distributor, which pushes out any changes in the data as soon as the log reader agent registers one. Pull subscriptions run from the subscriber, who “pulls” the data as it determines it needs to.
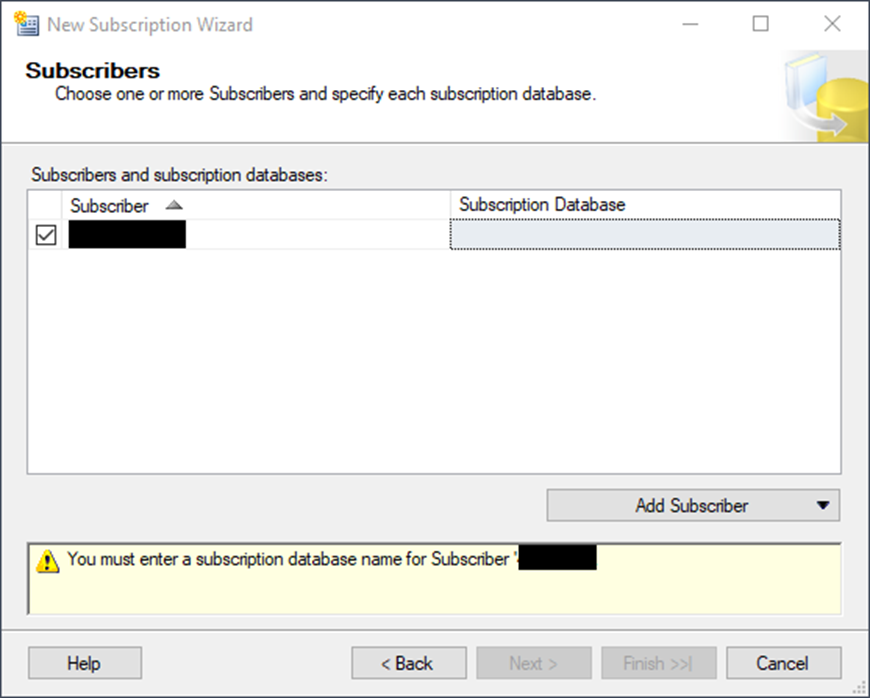
Select the same server as the Subscriber. Click on the right-hand side of the empty box of the Subscription Database column. A pull-down menu will appear, giving you some databases from which to choose. The desired database doesn’t exist (yet), so choose <New database…>.
Name your new database. Configure your size, autogrowth, and any other options as needed.
When you click OK, it will look something like this:
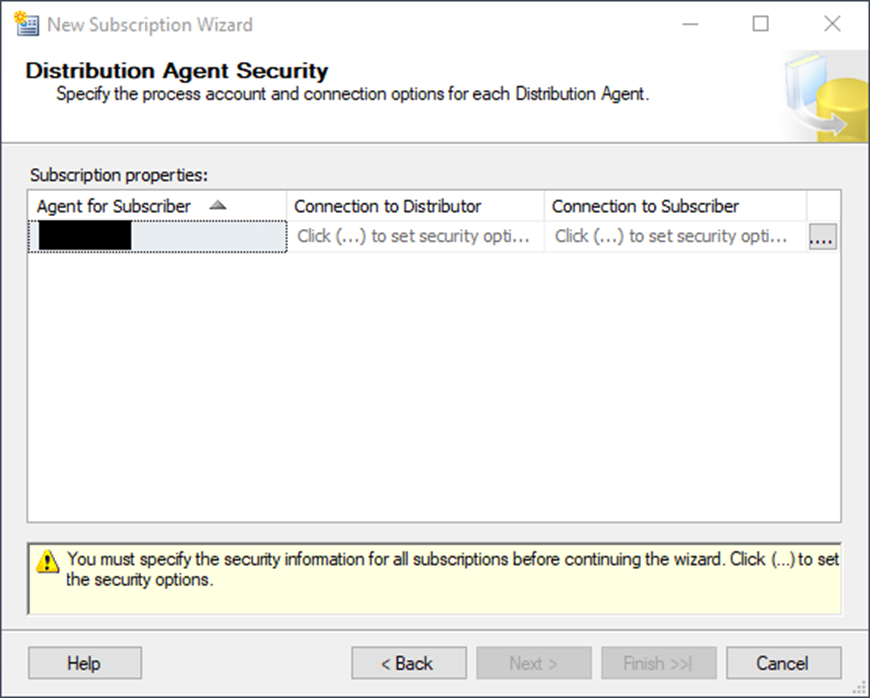
On the next screen, you will configure security. Click the ellipsis (….)
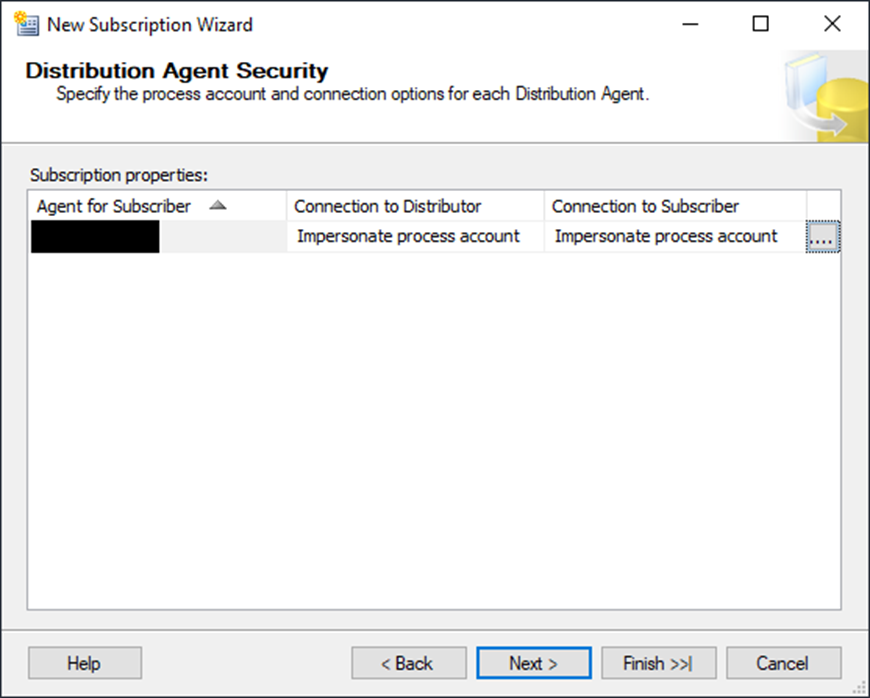
And once again, I choose the following options. You may choose not to be like me. It’s OK; we can agree to disagree.

After you do this, you’ll get the following screen:
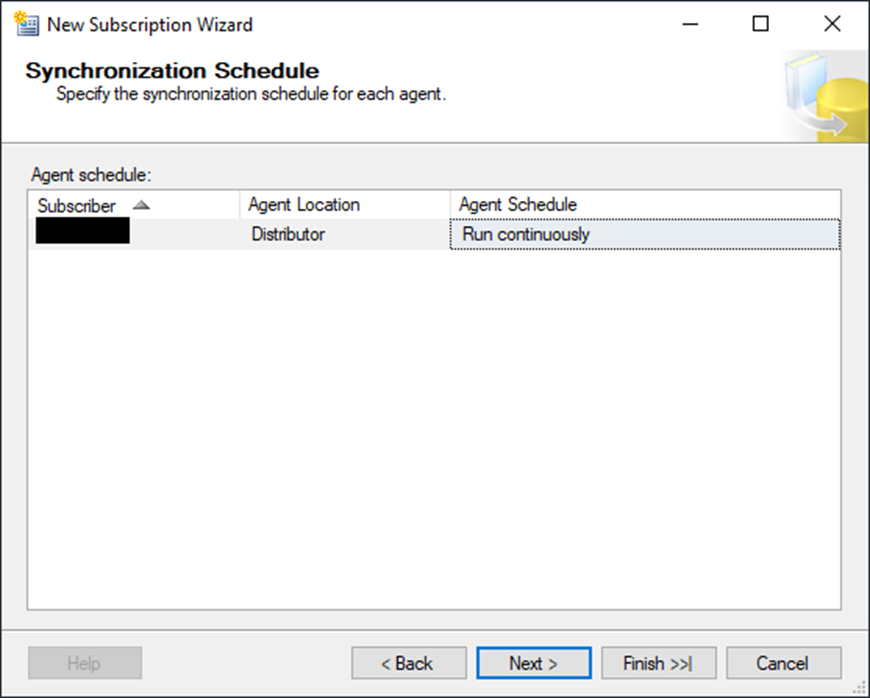
On the next screen, you will configure the schedule. In this case, the SQL Agent job will run continuously.
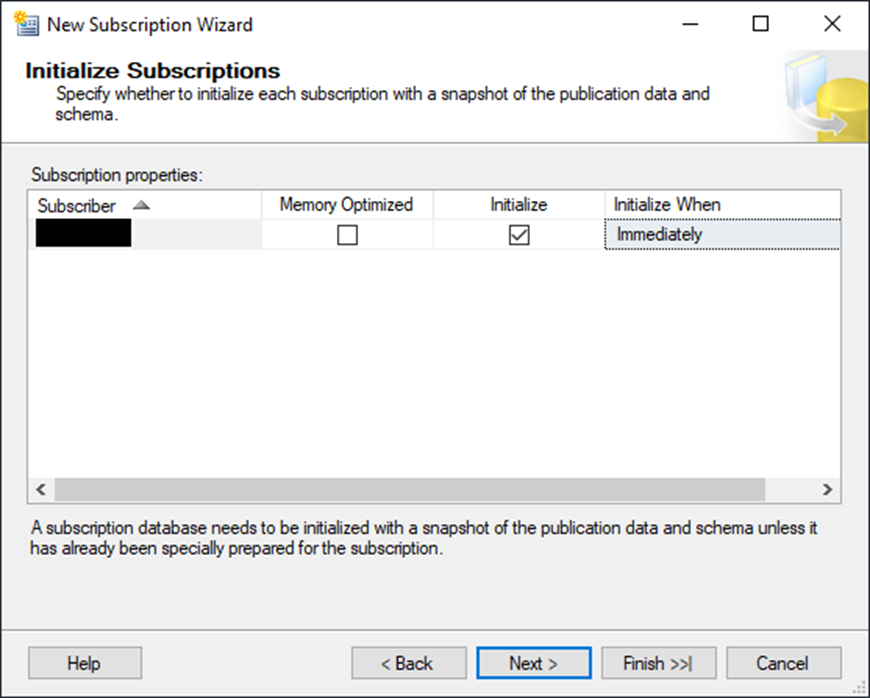
Now, tell replication to initialize the publication right away.
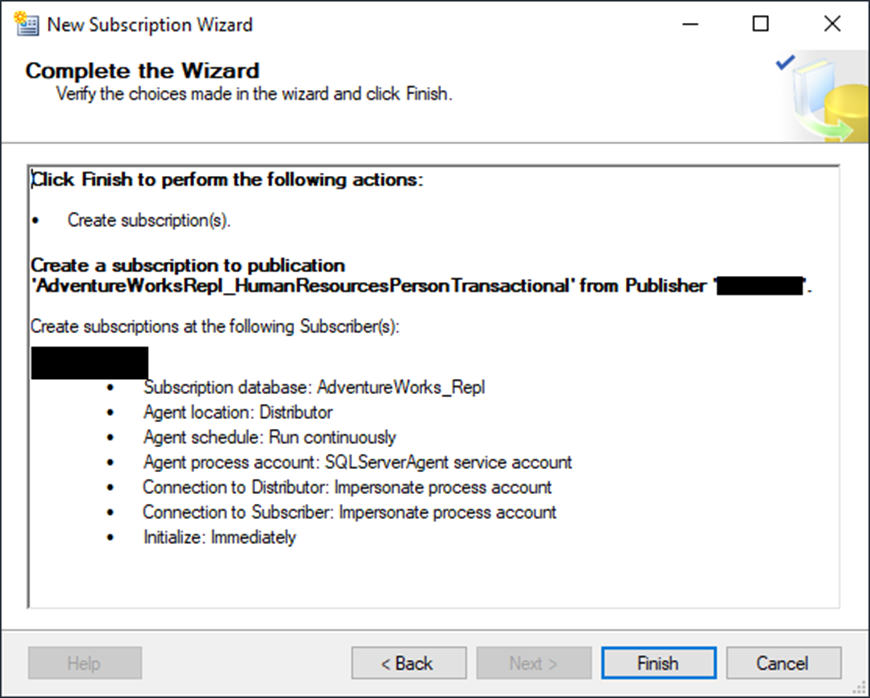
Make it official and tell replication to create the subscription.

Here is your last-chance-sanity-check before creating the subscription.
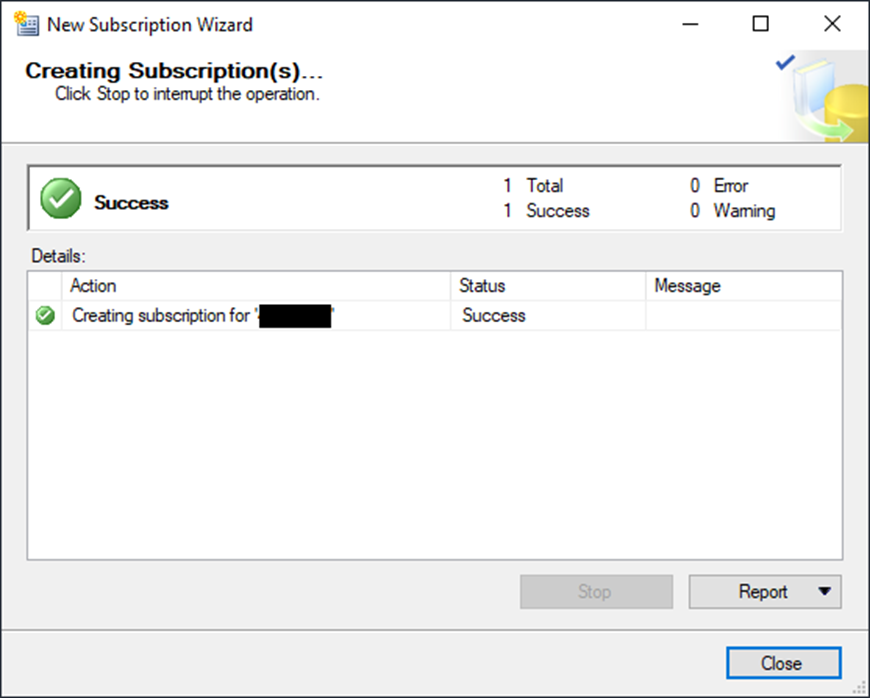
Click Finish. If the subscription was a success, you’ll see this:
Verification
Now that it’s complete, verify that everything went across as expected. Right-click your publication and choose View Snapshot Agent Status and ensure that the snapshot completed.
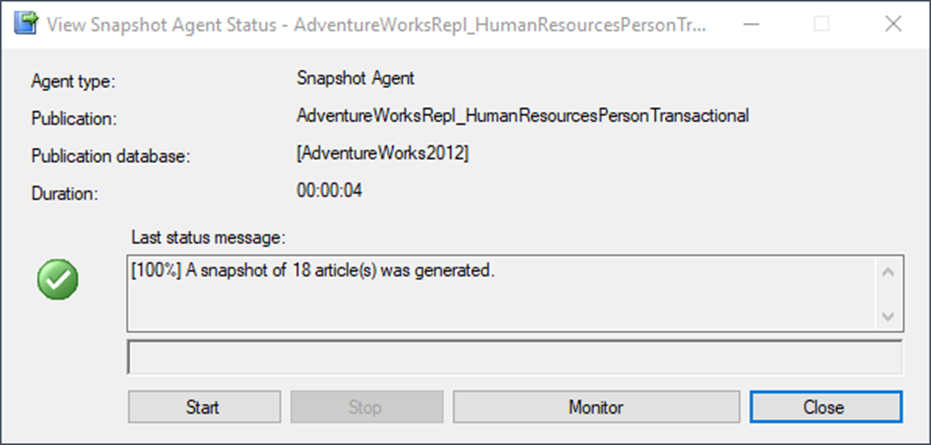
Yay!
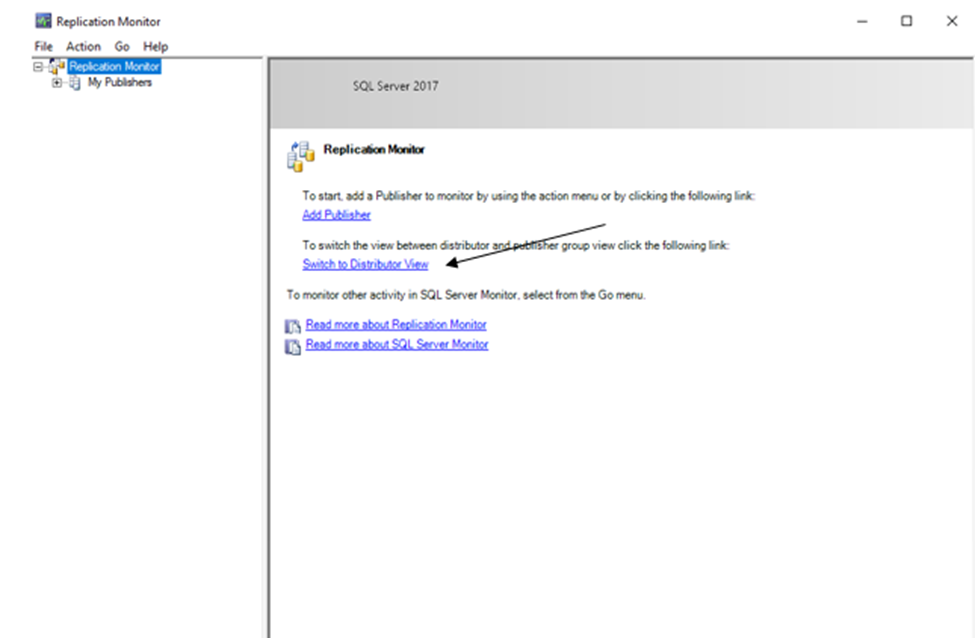
Now, if you right-click the Replication folder and click Launch Replication Monitor, you’ll get a whole new view of things. I prefer the distributor view, so I’m choosing that option. It allows me a more global view.
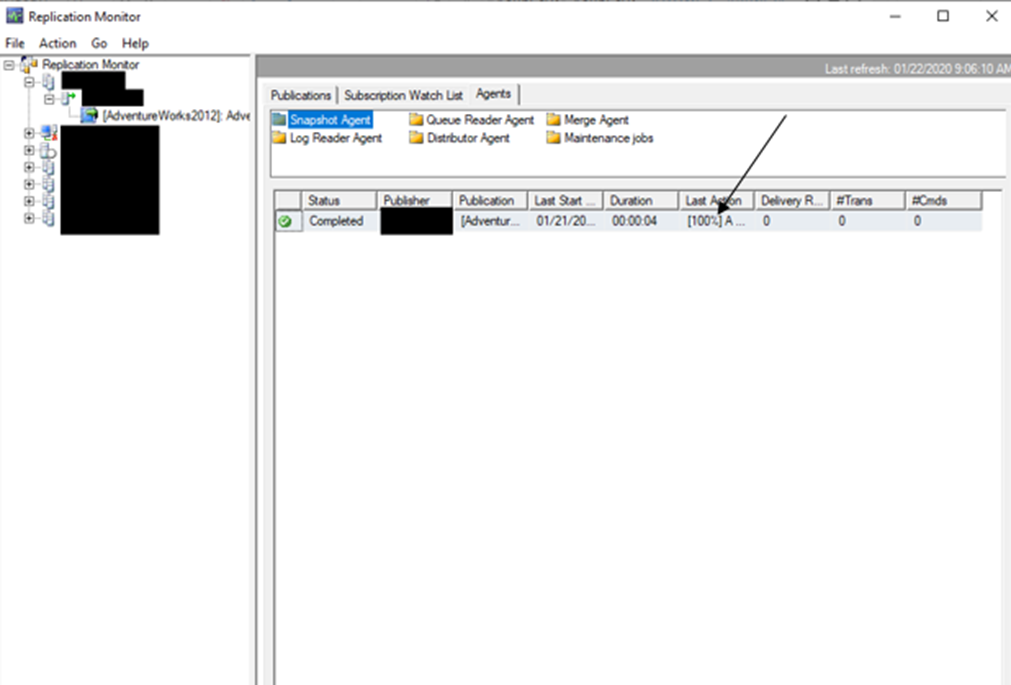
Select your publication on the left. This is a view of the snapshot agent. It shows that the replication snapshot has completed and has been sent to the distributor.
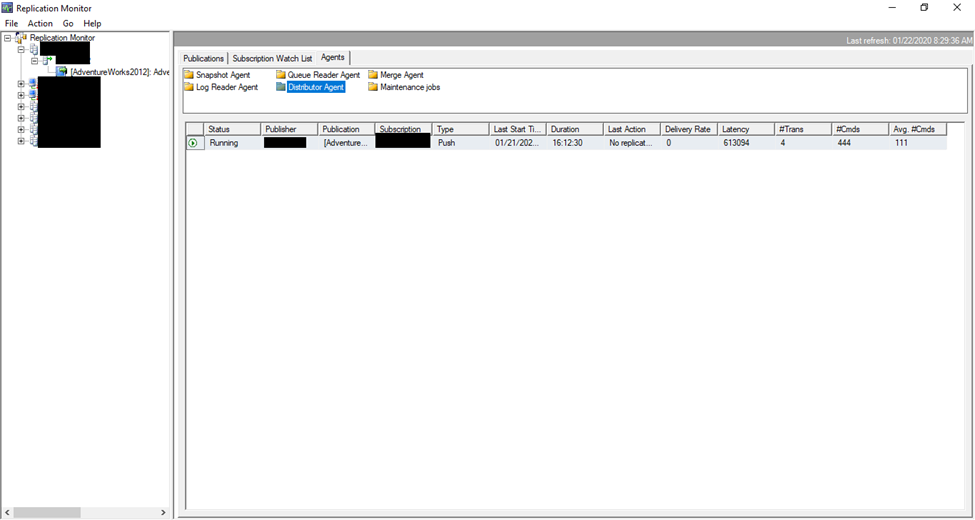
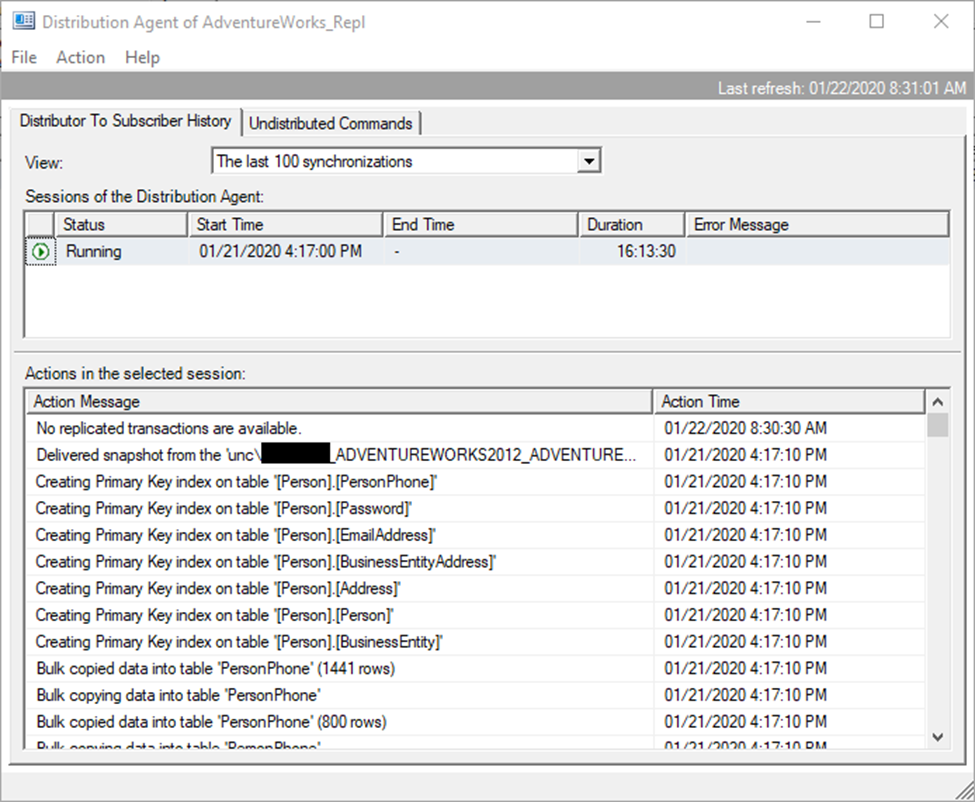
This is the distributor agent, which shows the data being sent from the distributor to the tables.
If you right-click the publication in the tree on the left and click View Details, you can get a look under the covers. This is helpful for troubleshooting or checking progress.
Now, when you check SSMS, you should see this!
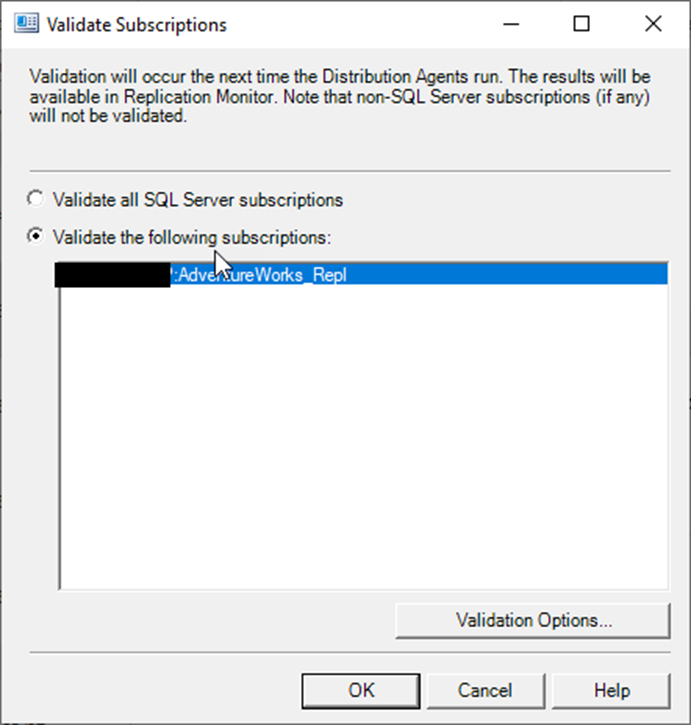
Finally, make sure that the data all went over. Go back to Replication Monitor and right-click on your publication. Choose Validate Subscriptions…. Choose your publication.
Click Validation Options. Check the button for a fast row count and uncheck the Compare checksums to verify row data…. Really, trust me. You’ll be glad you did because they warn that the process can take a long time, and depending on the size of the table, it really can. Click OK.

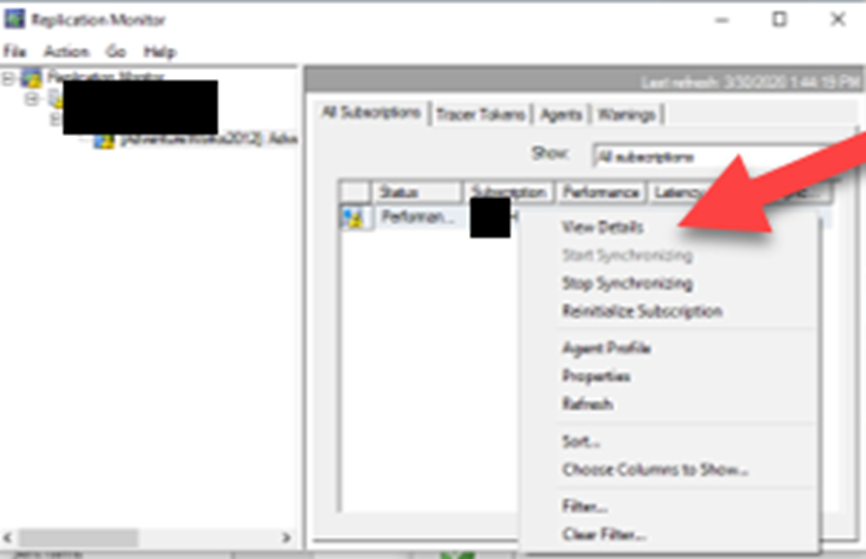
Go back to Replication Monitor. Go to your inner window and right-click the publication. Click View Details.
When it’s done, you’ll see something like this:
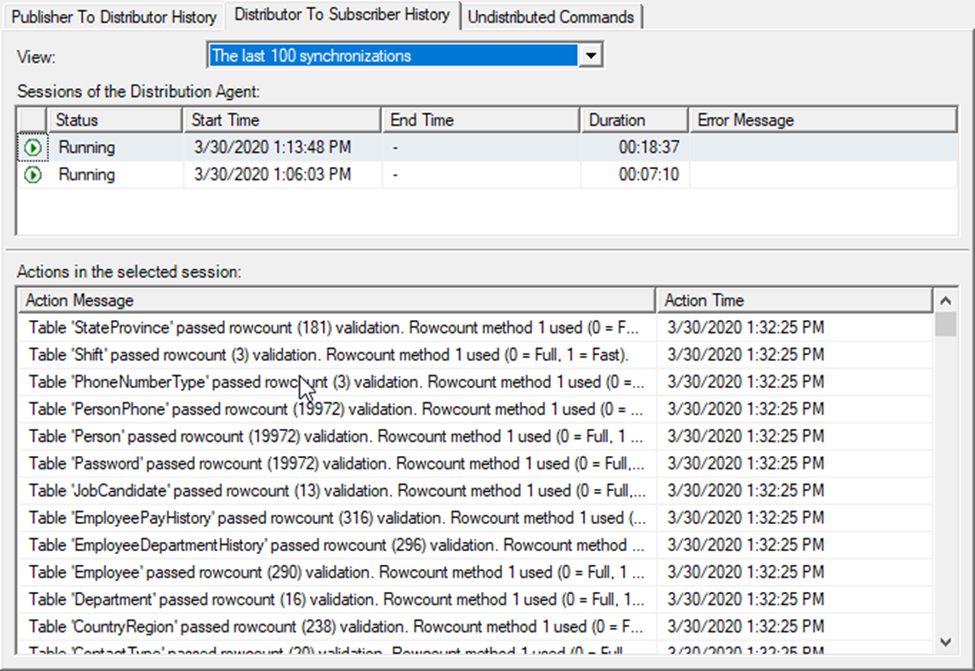
That rowcount validation does just what you might think it does. It compares the rows of data between the publisher and the subscriber to confirm that it is all there. And it is!
Conclusion
You did it! It wasn’t awful, was it? You now have another tool in your toolbelt for managing data (especially reporting data), and an availability alternative. Well done!
This document contains proprietary information and is protected by copyright law.
Copyright © 2026 Red Gate Software Limited. All rights reserved
Load comments