
The series so far:
- Creating a Custom .NET Activity Pipeline for Azure Data Factory
- Using the Copy Wizard for the Azure Data Factory
- The Quick and the Dead Slow: Importing CSV Files into Azure Data Warehouse
Azure Data Factory is the integration tool in Azure which allows us to move data around in preparation for its storage and analysis.
In my previous article I showed how to use the power of Custom .NET activities, and in this article I will follow this up by showing the ease with which we can create a pipeline to download a zipped CSV file from an FTP server and then import its contents to a Data Warehouse in Azure.
For this article we will be using the files stored on the NASA’s NEO server (NASA Earth Observations) – ftp://neoftp.sci.gsfc.nasa.gov/csv/. We will automate the downloading of the files by using the Copy Wizard, which is the visual tool for creating pipelines in Azure Data Factory.
About the files we will be working with:
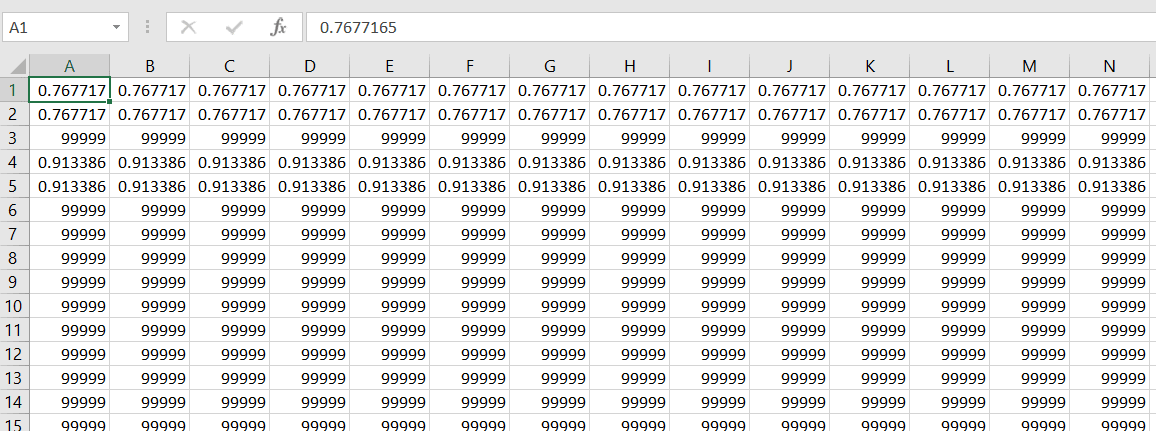
As mentioned, the files are on a public FTP server hosted by NASA. In our case we are not going to dive deep into the meaning of the data, however we will know that the files on the FTP server are compressed gz files, which contain CSV files with data which can easily be converted to tabular data. The CSV files look like this:
For this article I am assuming that the reader already has an Azure subscription, and has already setup a Data Factory and an Azure Data Warehouse.
Lets get started.
Downloading a file from an FTP
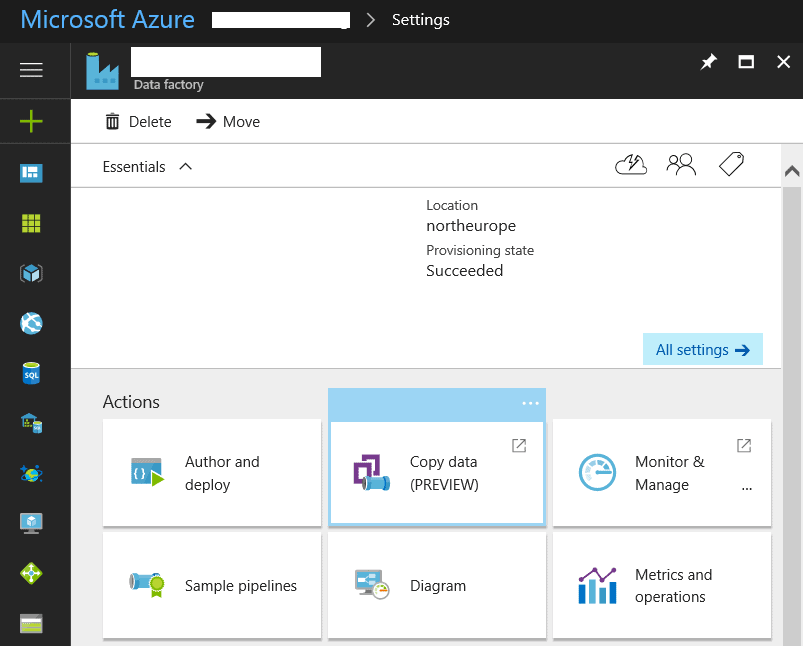
To open the Copy Wizard, we need to navigate to our Data Factory and click on the Copy Data button in the Actions section.
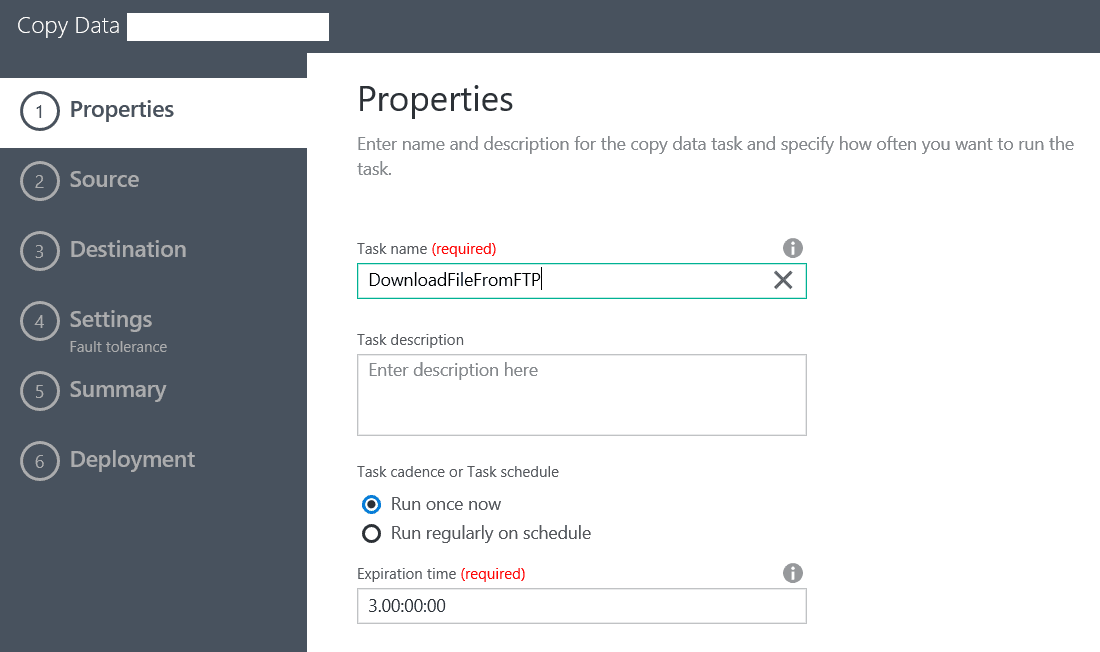
This will open a new window and we will be presented with the first step to creating our new pipeline: the Properties screen.
Here we enter the name of the Pipeline and its execution schedule. In my case I will run it only once.
In the next screen we have the opportunity to select a data source type, which in this case will be an FTP server. After we select it and click ‘Next’, we are presented with a page where we have to enter the data source connection details:
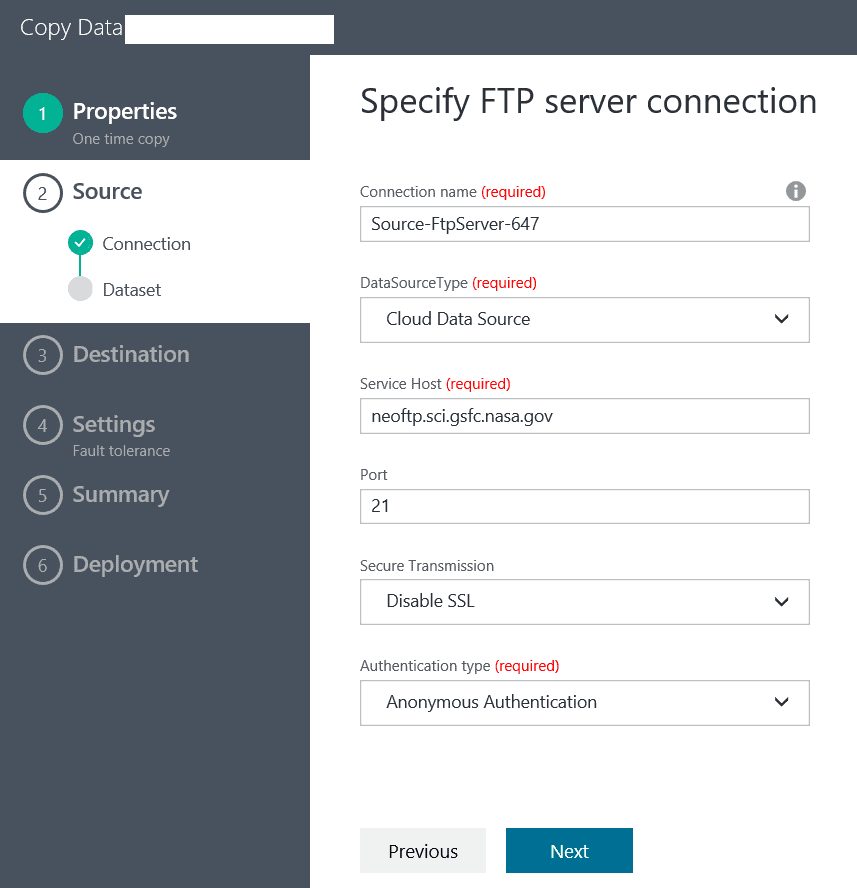
In this case we are using anonymous authentication and there is no secure transmission. After we have entered the details, we click ‘Next’ and we are presented with the opportunity to select a folder or a file. In my case I will select the CSV folder and the csv/AURA_NO2_M file and will click on the Choose button.
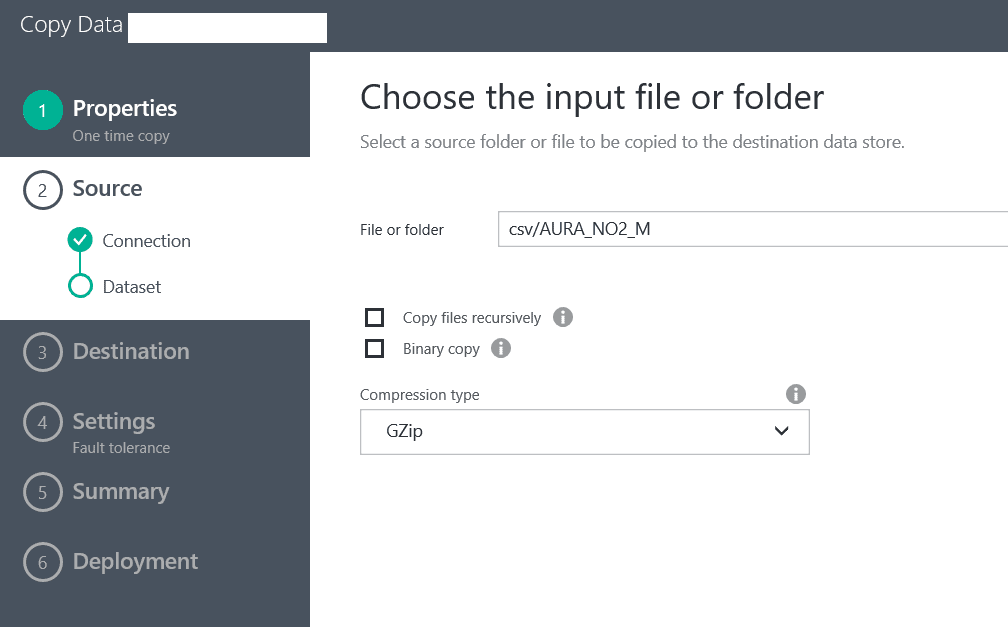
In this case we know that the files are in GZip format, so we will choose the compression type and we will not treat them as binary files. Azure Data Factory supports several compressions by default and we can take advantage of this functionality to decompress the files as part of the pipeline activity and to import the CSV files to a Data Warehouse.
Note: in the case of other compressions which are not supported by default in Azure, we will need to write our own Custom .NET activity which does the decompression on a set of VMs in Azure Batch.
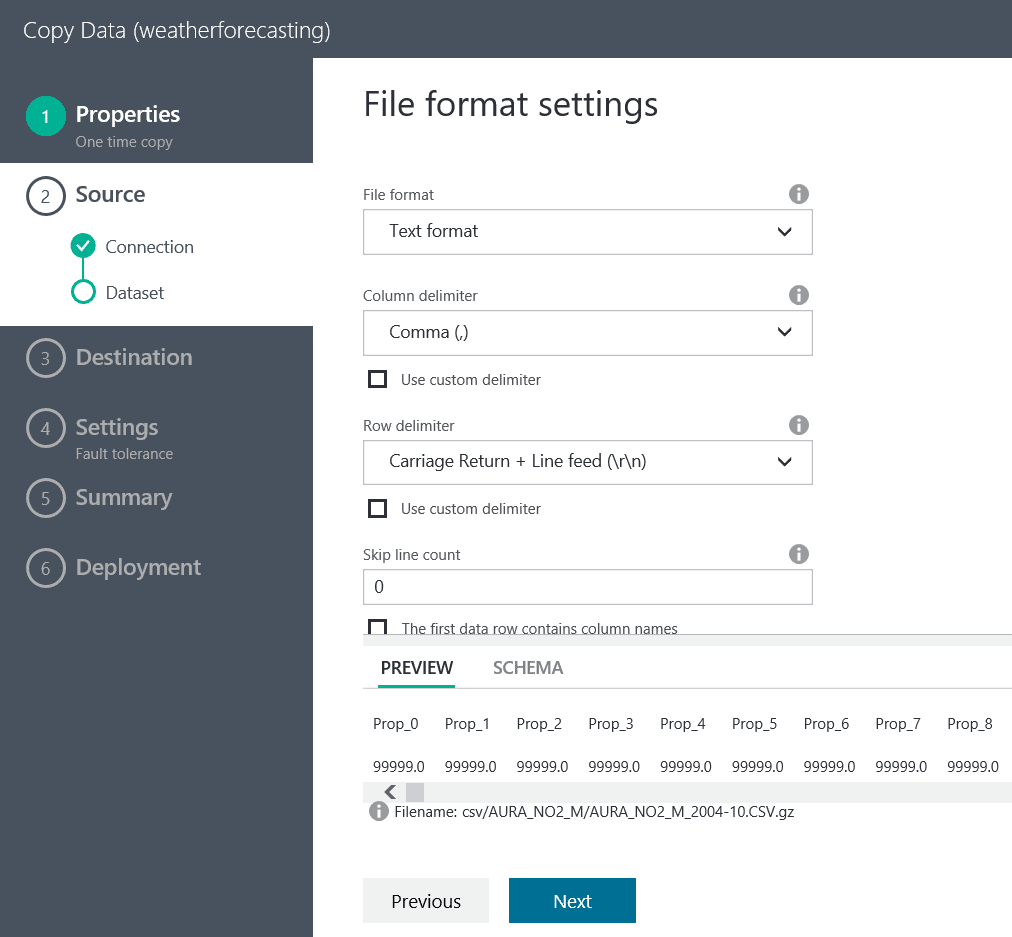
In the next screen, we will have to wait for a bit for Azure to detect the schema of our CSV file, and while we wait the screen will look like this:
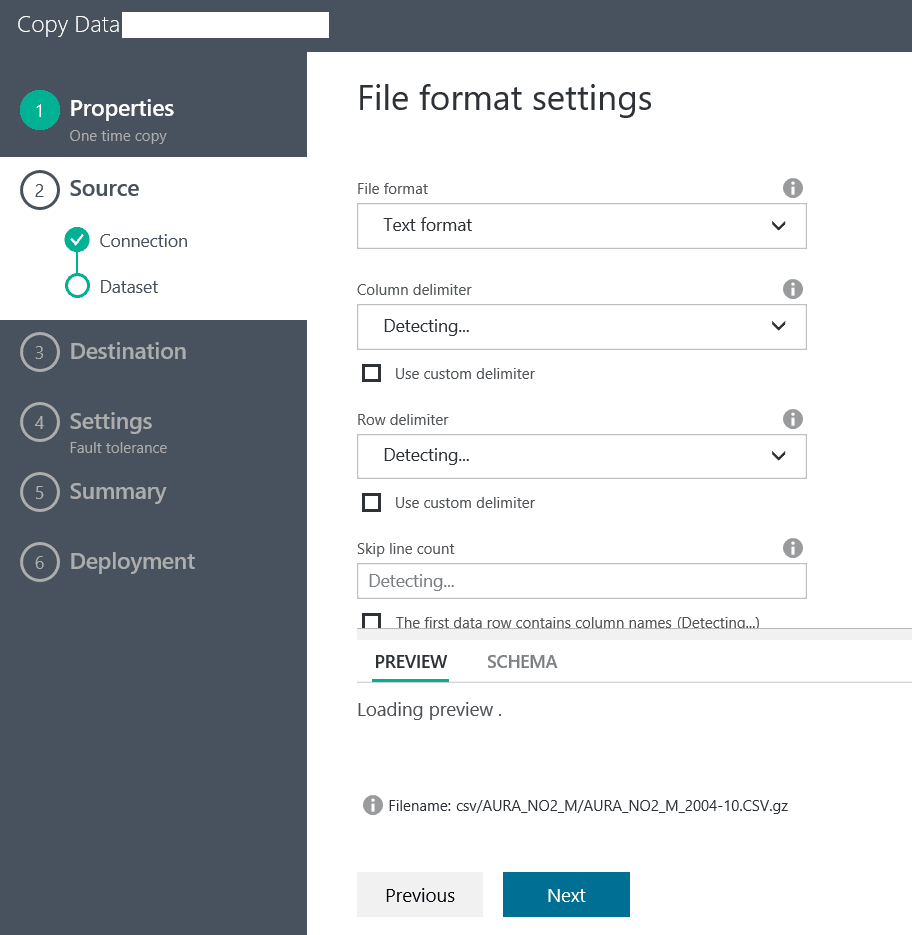
After a short while we see that the file has been automatically detected and we can click on ‘Next’:
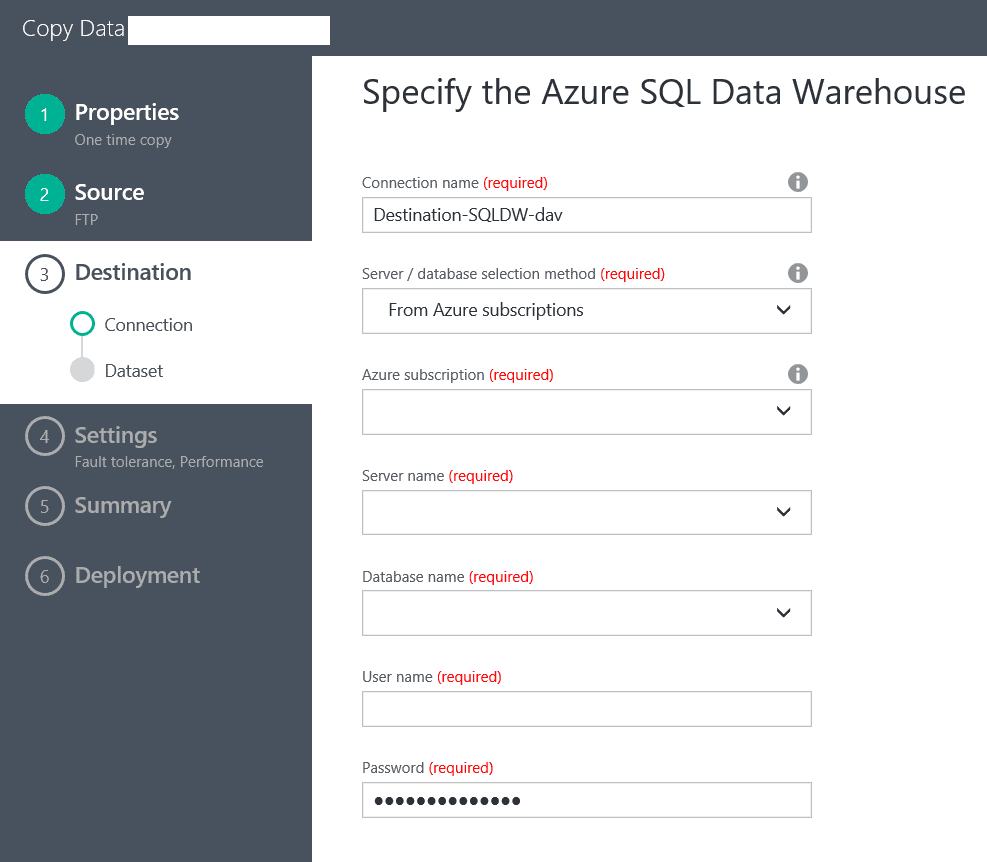
After we have clicked ‘Next’, we are presented with the Destination Data Store screen. In this case we will select an Azure SQL Data Warehouse and click ‘Next’.
In the following screen we will configure our connection to the Data Warehouse:
In the next screen we will be asked which table we would like to import the data into:
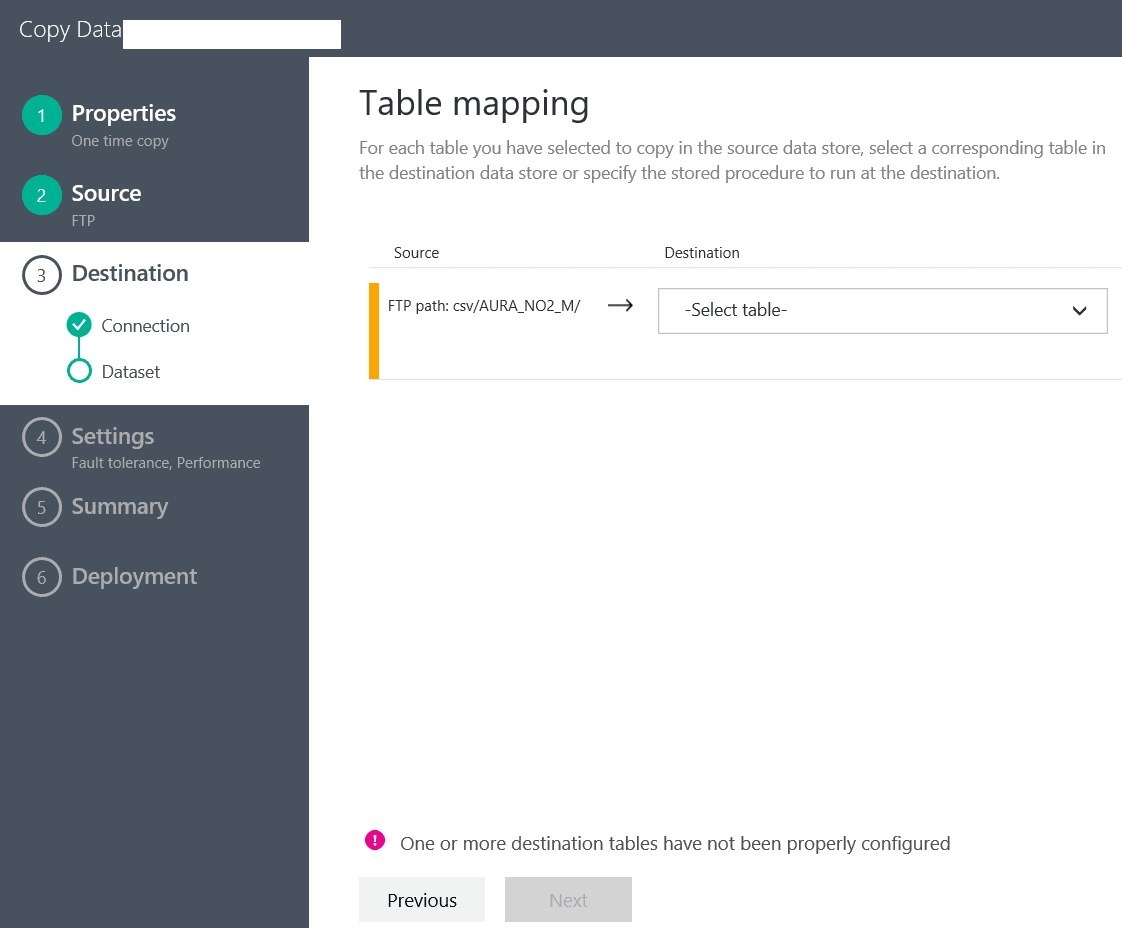
As you can see, there is an error coming up if we do not select a table. However, since this is a brand new Data Warehosue, we do not have any tables yet. And, in this case, the UI does not help us with creating the schema of the table in the database.
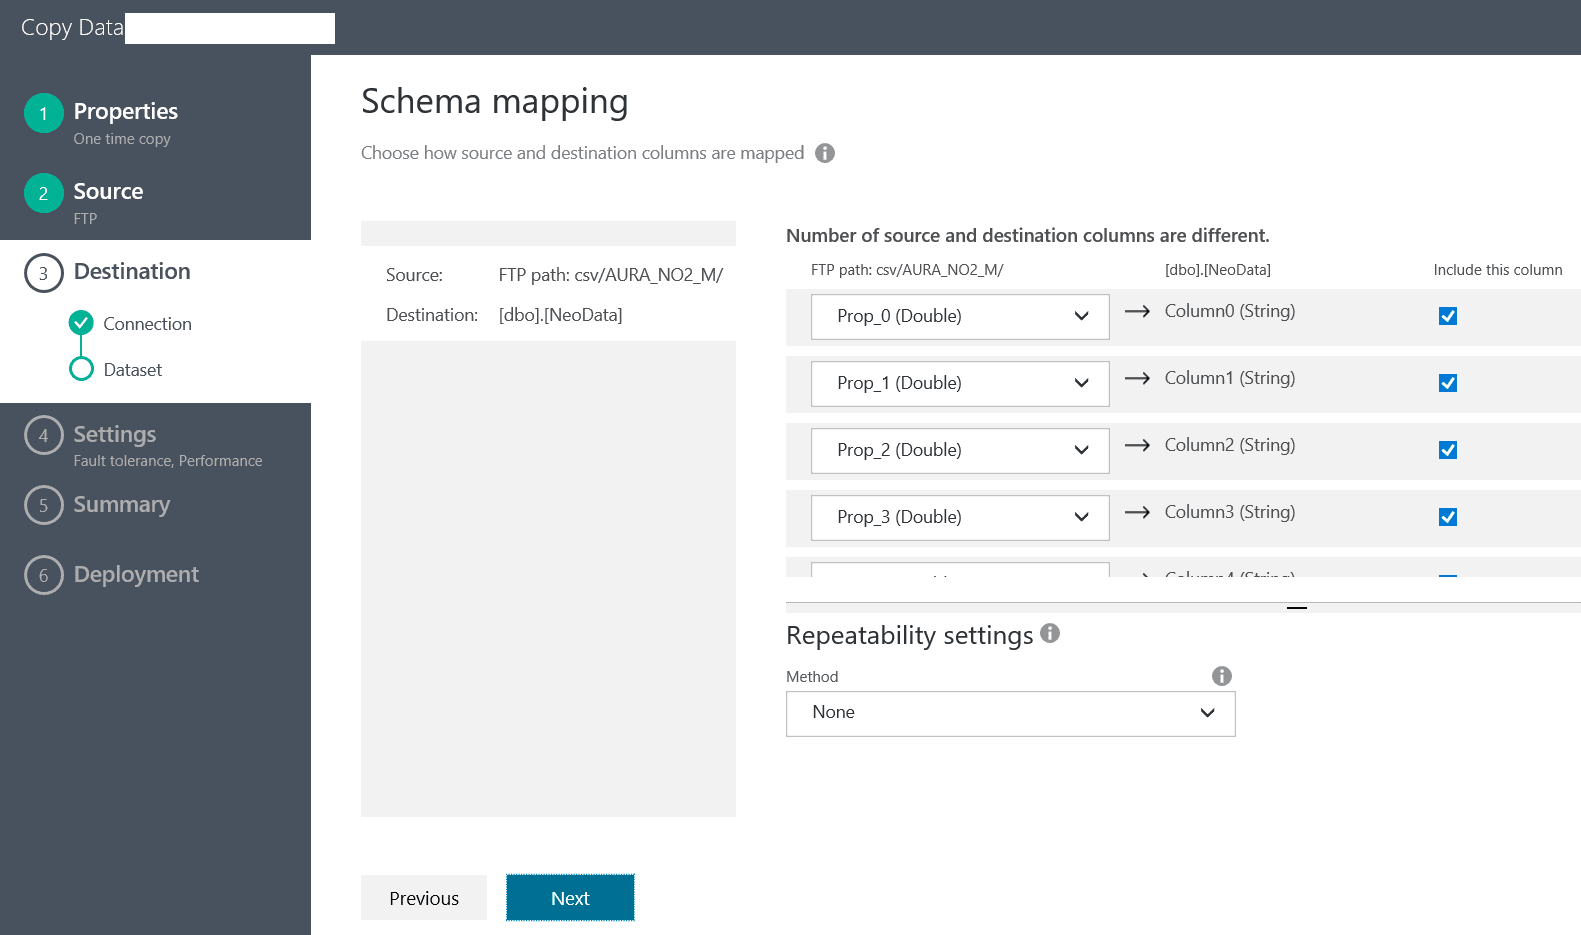
For this article, we will create a small table called NEOData with only a few columns. Here is the T-SQL:
|
1 2 3 4 5 6 7 8 9 10 11 12 |
CREATE TABLE [dbo].[NeoData] ( [Column0] varchar(200), [Column1] varchar(200), [Column2] varchar(200), [Column3] varchar(200), [Column4] varchar(200), [Column5] varchar(200), [Column6] varchar(200), [Column7] varchar(200), [Column8] varchar(200), [Column9] varchar(200), [Column10] varchar(200)) |
Note: keep in mind that Azure Data Warehouse supports up to 1048 columns per table. In our case the CSV file we are working with has over 3000 columns.
Now that we have created the table, we can go back and select it from the drop down in the Table Mapping screen.
We click ‘Next’ and we need to setup the fault tolerance settings – in my case I select “Skip all incompatible rows”.
Now we end up in the Summary screen:

Finally, when we click ‘Next’ we deploy the creation of the pipeline and we see the following screen:
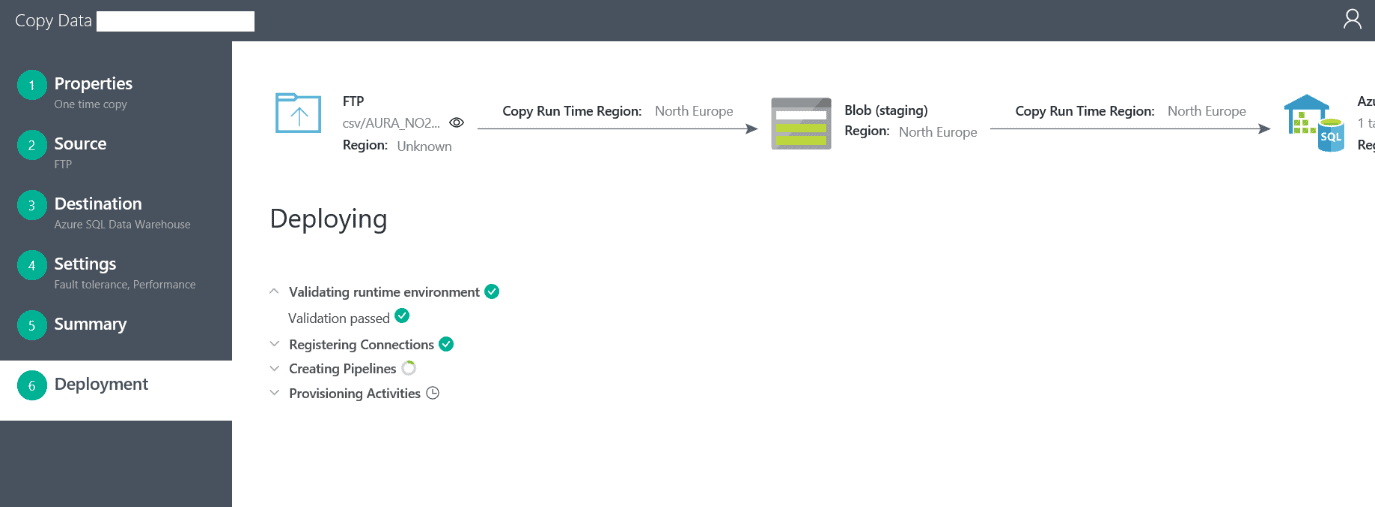
After this is done, if everything goes well, we get a link underneath to “Monitor the pipeline”. Clicking on this link takes us to the execution overview of the pipeline. The pipeline executes immediately after it has been created.
After some time, the data will be imported to our table in the Azure Data Warehouse.
Conclusion
In this article I showed how easy it is to create a pipeline in Azure Data Factory by using the Copy Wizard. This way we get to use the GUI, which for most part will create all JSON code for the objects of the ADF pipeline. At a later point we can revisit the pipeline and extend it further with dynamic folder and file handling, changing the execution schedule etc.
In this case it is important to notice that it took about 30 minutes to create a pipeline which brings data from a remote FTP server, decompresses the data and imports the data in a structured format, ready for data analysis. This is a great achievement, compared to the custom code that was needed years ago to do all this, which would take months.
Load comments