
In the first article in the series we talked about having multiple paths for a Siebel upgrade. In a nutshell:
- For Siebel versions 8.0.X and early 8.1 customers the best possible route is to re-implement Siebel rather than upgrade. For this purpose we had suggested that a sandbox environment be set up so that the existing business processes can be mapped to vanilla Siebel business processes and the deployment could be completed with minimal configuration /customizations.
- For Siebel 8.1.1.X customers an in-place upgrade was more suitable than a re-implementation as it was much quicker.
The first eight articles in this series were dedicated to building up a sandbox environment. The same steps can be used to build a new Siebel instance as well. Starting with this article, we will start detailing the upgrade process for in-place upgrades. Please bear in mind that this article is suitable only for clients who are already on a supported platform e.g. Windows 2008 R2 or higher. The Siebel certifications available on the Oracle support website must be checked prior to upgrading the servers. The upgrade process is split into four distinct steps:
- Upgrade the Application Servers, which means upgrading the Siebel Gateway Name Server, Siebel Application Servers, Siebel Database configuration utilities and the Siebel Web Server extensions.
- Upgrade the Siebel Database.
- Run the incremental repository merge.
- Upgrade the production database.
This article discusses the first part in the upgrade process which is upgrading the application servers.
Pre-Upgrade Tasks
Before starting the Siebel upgrade the following activities must be completed:
- Log on to all the servers running the Siebel Application.
- Copy the installation files across to all the servers.
- Ensure that the Logarchive folders (
<Siebel_Root>\Siebsrvr\LOGARCHIVE\*) are deleted. The reason this needs to be done is because post update the servers copy the whole folder as a backup. - Backup the configuration files (*.cfg) from the
<Siebel_Root>\Siebsrvr\Bin\<LANG>folders. This is required since the upgrade process will overwrite any existing configuration files and any custom entries in the same will be lost.
Upgrade Siebel Application and Web Servers
Before starting the upgrade, we need to make sure that the entire enterprise is shut down and all the services are disabled.
- Shut down all Siebel Server services.
- Disable the Siebel Services (this is done because the installer restarts these services after the upgrade, which we do not want to happen).
- Shut down the Siebel Gateway Server Service.
- Disable the Gateway Server Service.
- Shutdown the World Wide Web Publishing service and the IIS Admin services on the webservers.
- These services must not be started until all of the activities are completed.
Siebel Application Servers – Gateway Name Server, Siebel Application Servers and the Database Configuration Utilities
Navigate to the installation software folders. In our sandbox environment example, this would be: “D:\Software\Siebel_Install_Image\15.0.0.0\Windows\Server\Siebel_Enterprise_Server\Disk1\install“
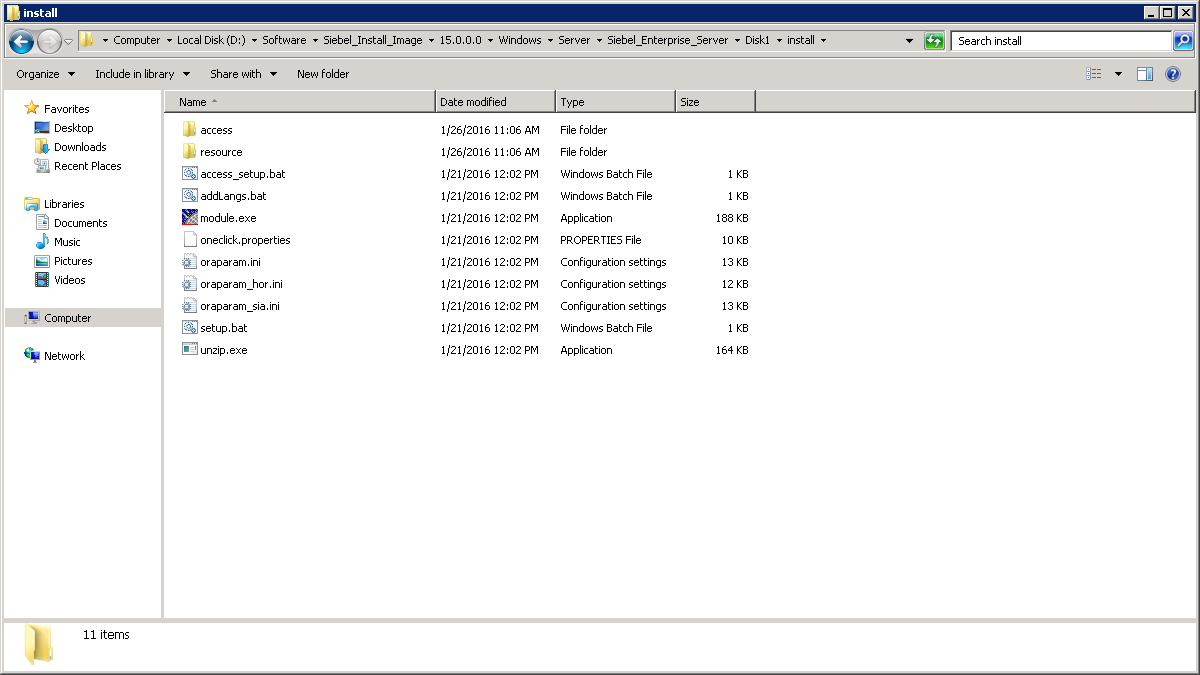
Execute setup.bat.
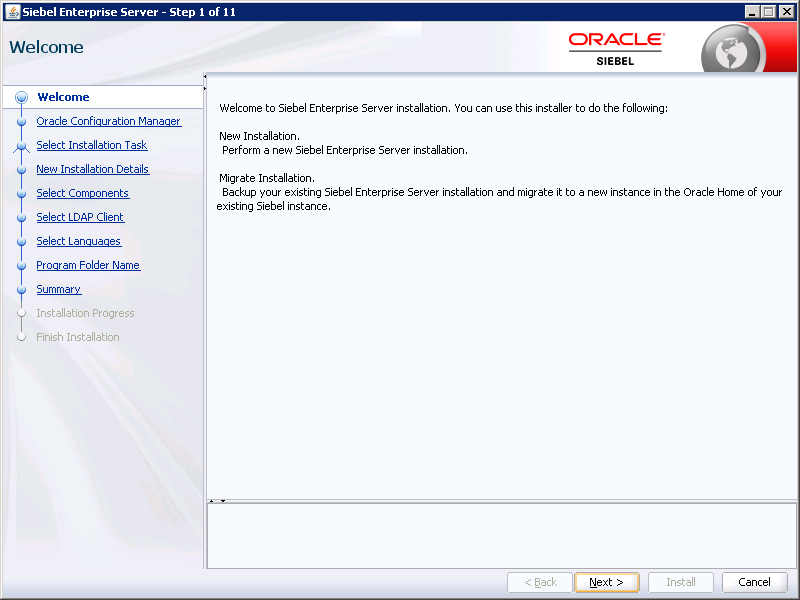
Click Next on the Welcome Screen.
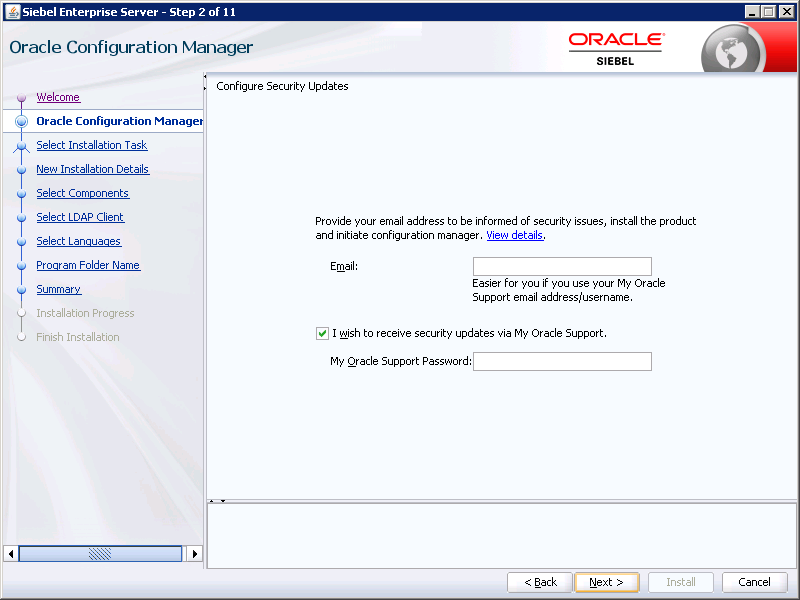
Enter the details for Oracle support if required. This step can be ignored if you like. Click on Next once done.

Since we are performing an in-place upgrade, choose “Migrate Installation” and click on Next.
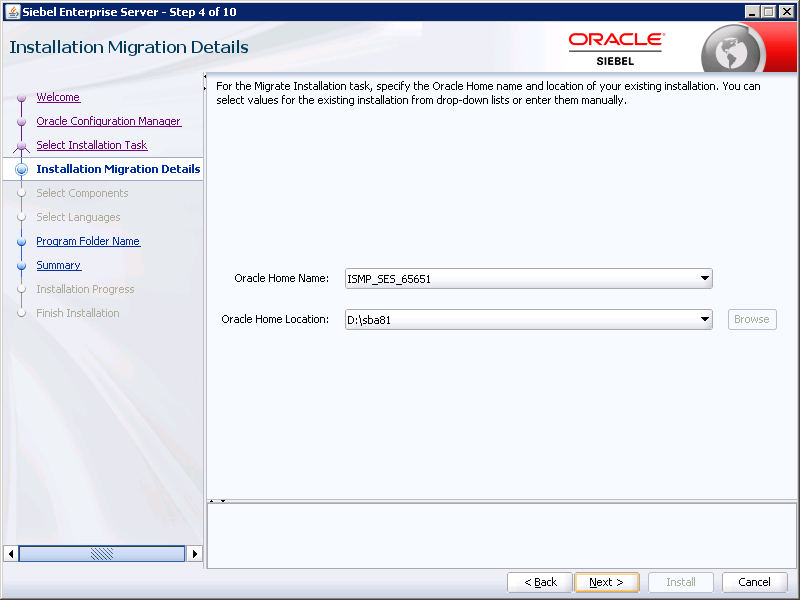
The installer should automatically detect the previous installation. Please ensure that the home location is correctly chosen. The installer uses the Oracle Home to identify what components are installed on the server. Click Next.
Please note that in certain cases it is possible that the home location may not be detected. In these cases, we need to cancel the installation and apply fixes. The fixes are detailed towards the end of this article.
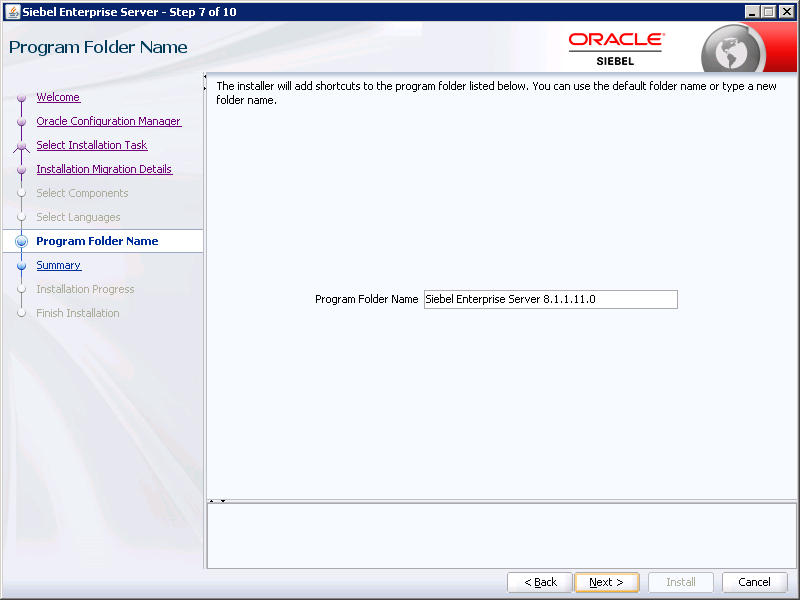
Accept the defaults and Click Next.
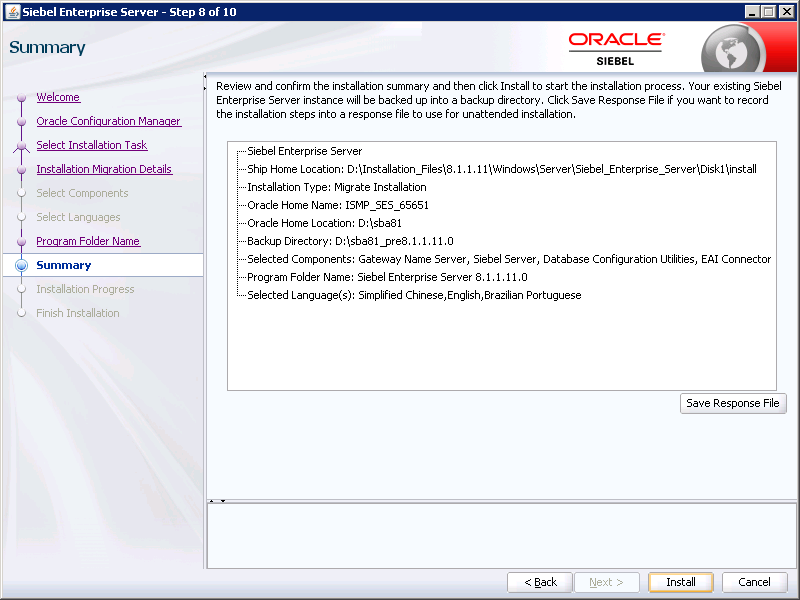
Ensure that the summary is correct and click on Install.
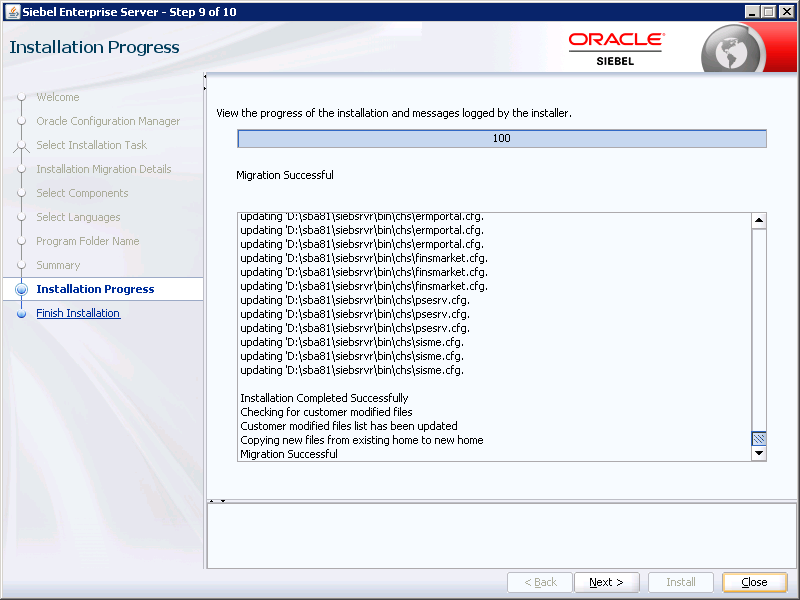
Once the installation is complete, click Next.
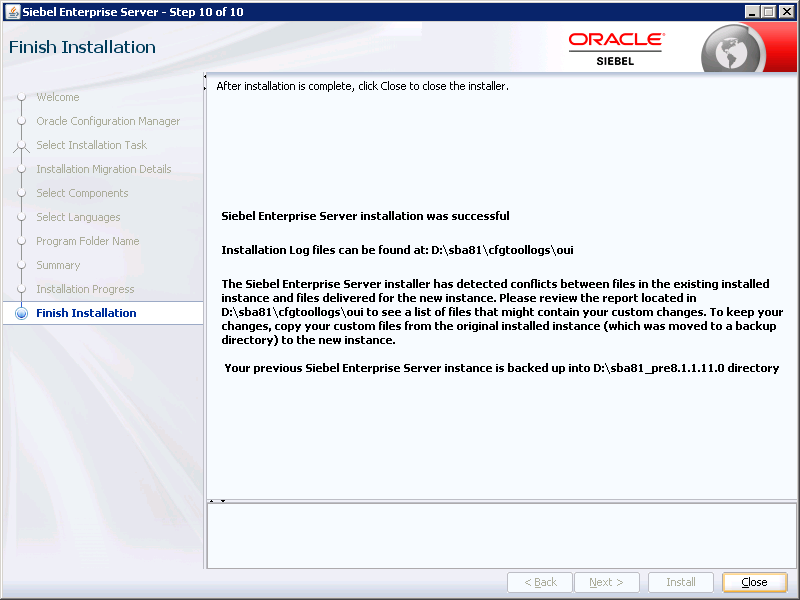
Click Close.
This completes the upgrade of the Siebel Application servers. Please bear in mind that the same steps must be repeated for every Windows server which has Siebel installed.
Upgrading the Siebel Web Servers
Navigate to the installation software folders. In our sandbox environment example it would be: “D:\Software\Siebel_Install_Image\15.0.0.0\Windows\Server\Siebel_Web_Server_Extension\Disk1\install“.
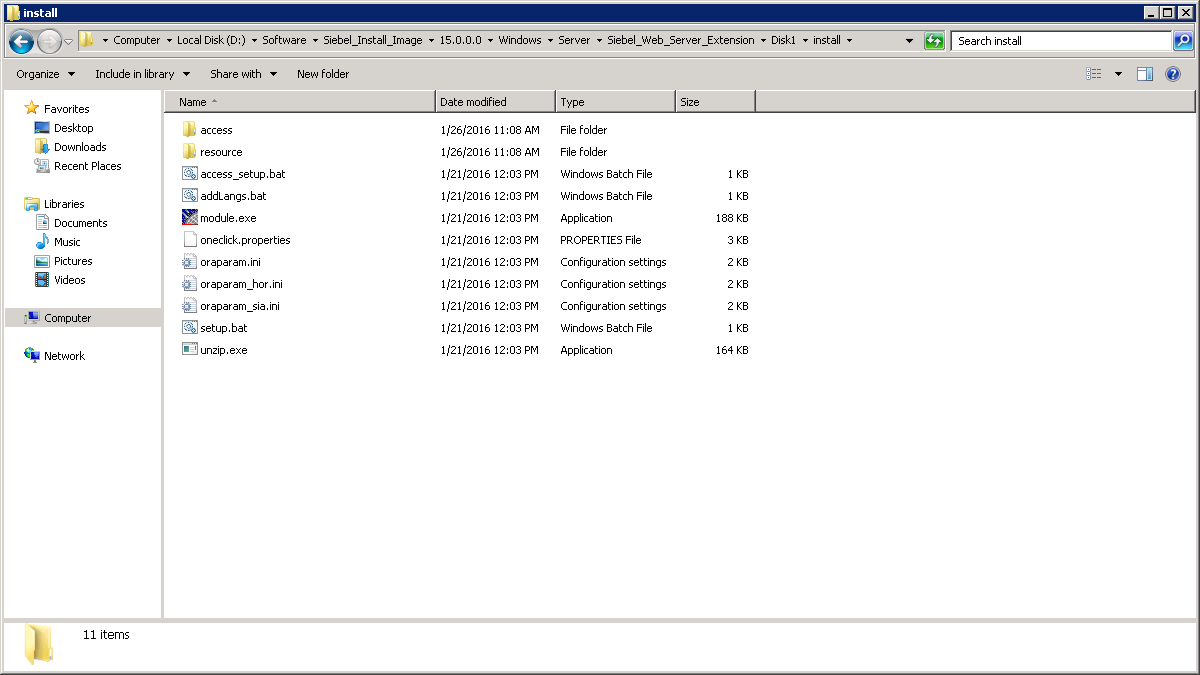
Execute setup.bat.

Click on Next.
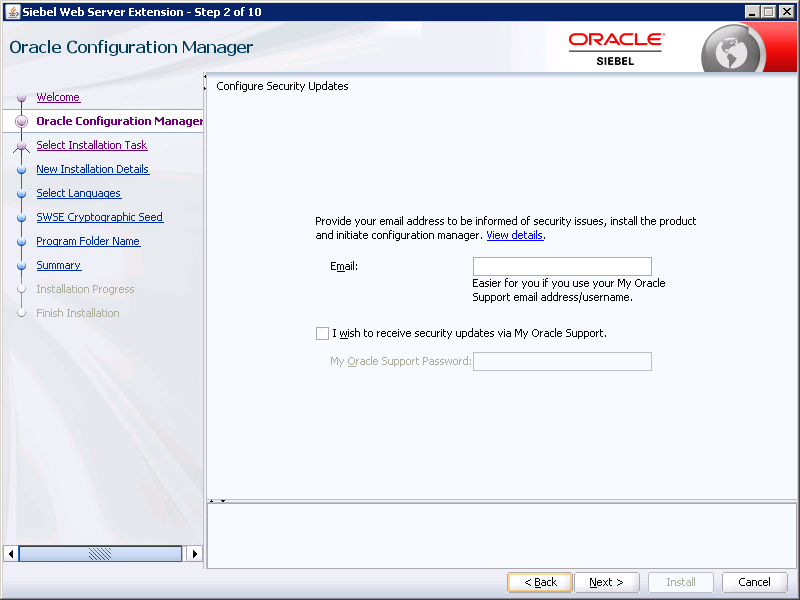
As in the last installation, fill up the details if required and click on Next.
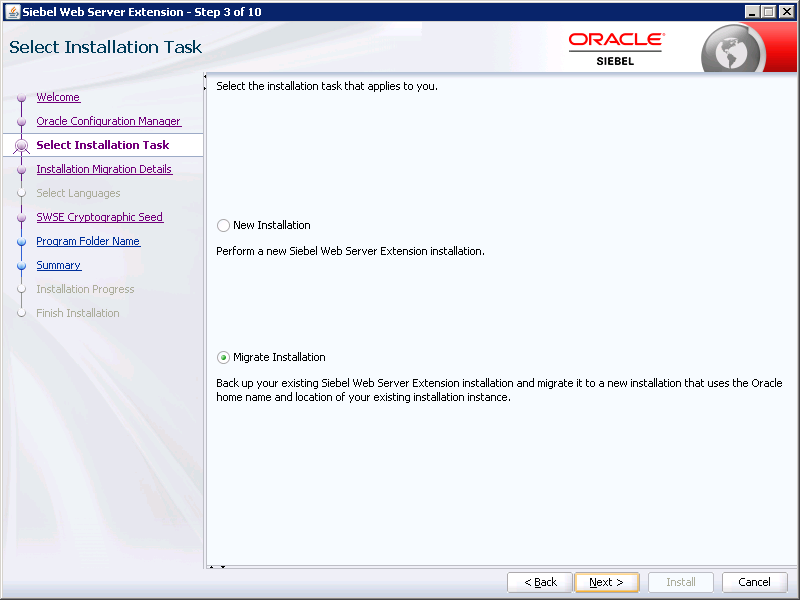
Choose Migrate Installation and click Next.
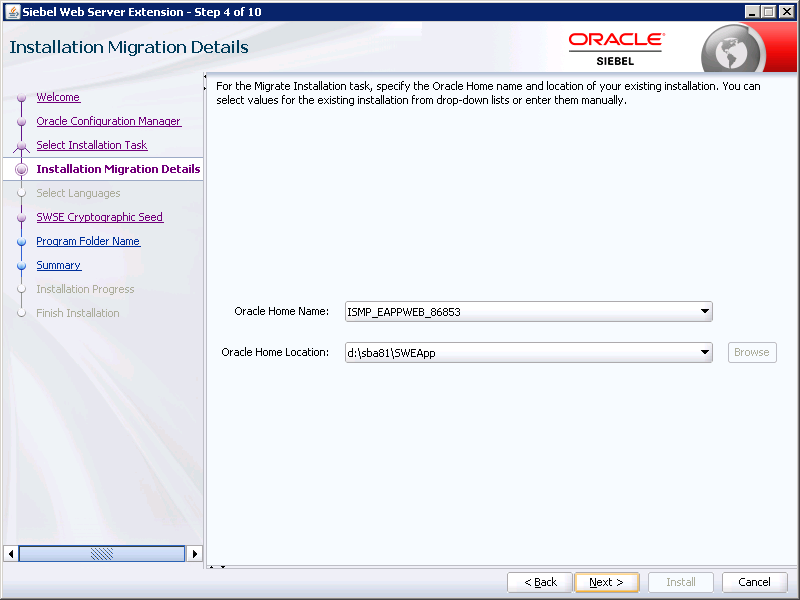
The installer should automatically detect the previous installation. Please ensure that the home location is correct, as the installer uses the Oracle Home to identify what components are installed on the server. Click Next.
Please note that in certain cases it is possible that the home location may not be detected. In these cases, we need to cancel the installation and apply fixes. The fixes are detailed towards the end of this article.
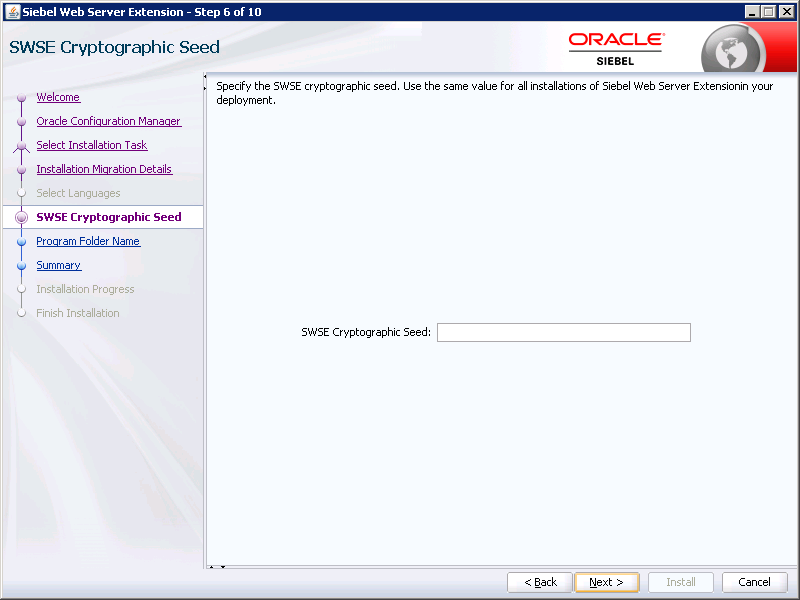
The SWSE cryptographic seed key is mandatory. Type a value in the field and store it. If there are multiple web servers deployed ensure that the same key is used in all the servers. Click on next once done.
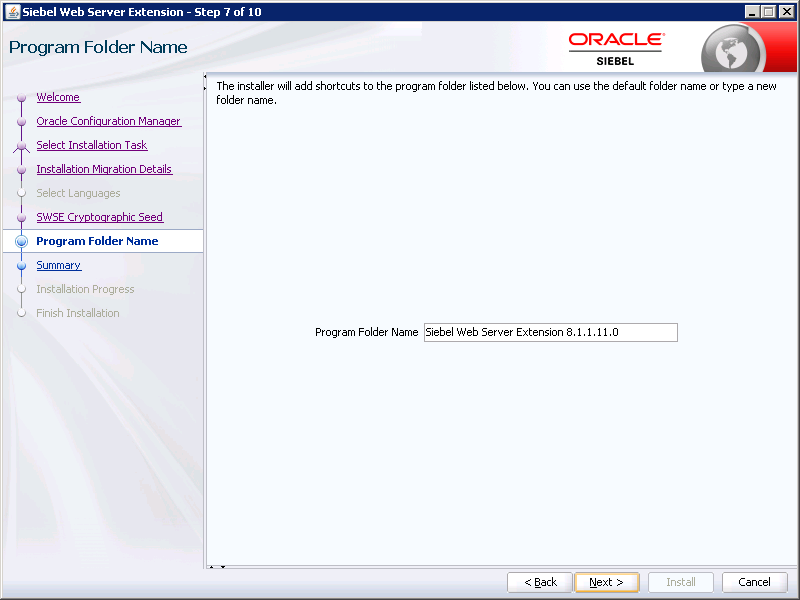
Accept the defaults and click Next.
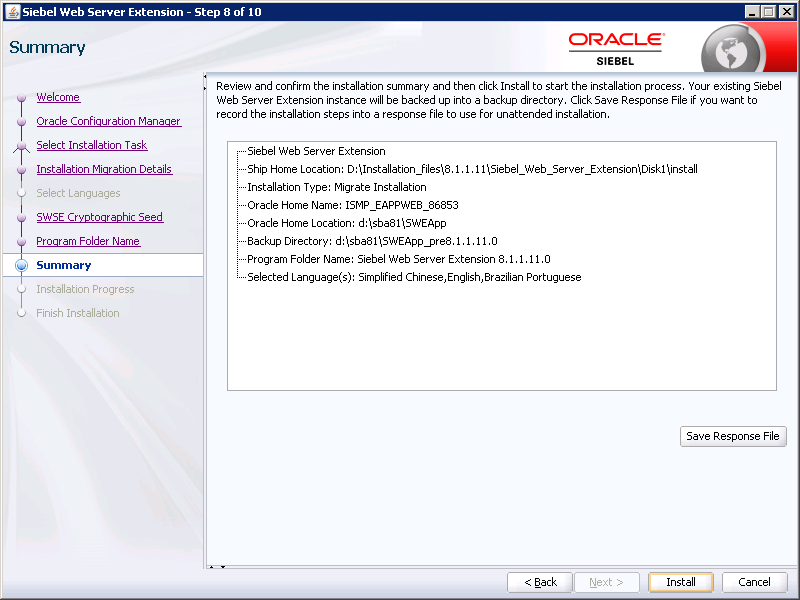
Review the information and click Install.
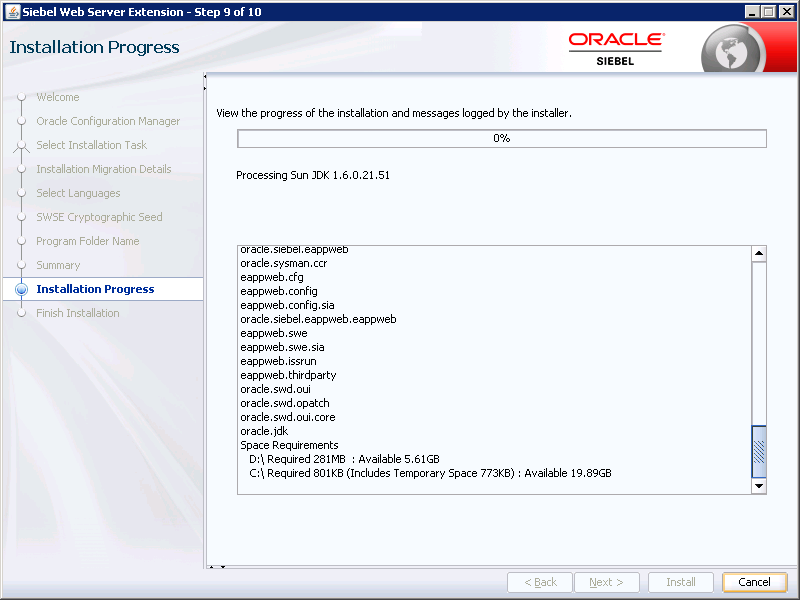
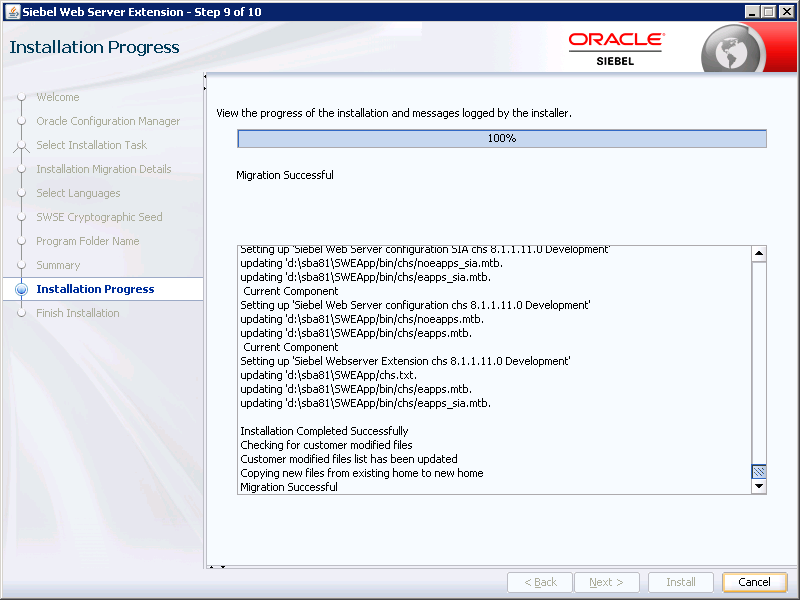
Click Next once the migration is complete.
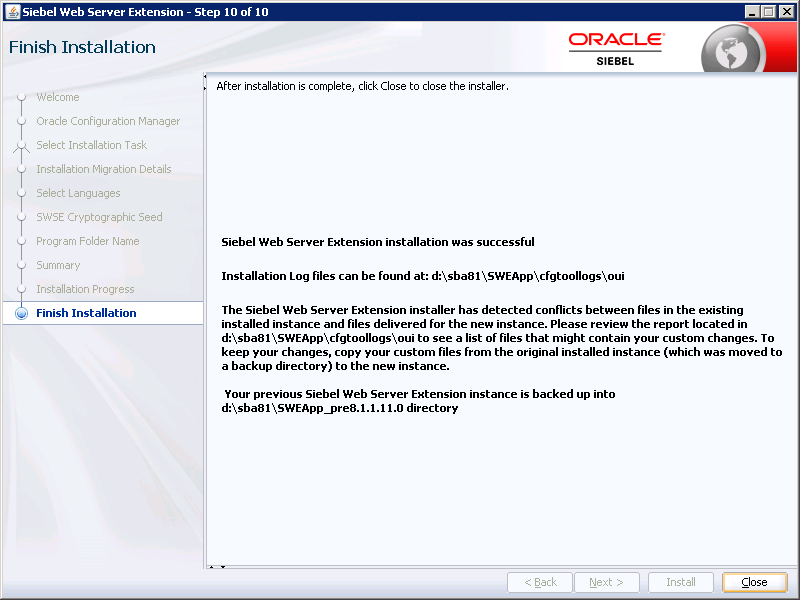
Click Close.
This completes the upgrade of the Siebel Web servers. Please note that if there are multiple webservers deployed, these steps must be performed on every web server.
Troubleshooting When the Installation Folder is not Detected
This issue typically happens when the installer cannot find anything in the registry pointing to the previous installation. The primary reason for this is that the installer was changed in the later versions of Siebel 8.1.1.X, which started using the Oracle home values. To fix this the following steps need to be performed.
- Run Regedit on the server.
- Locate
HKEY_LOCAL_MACHINE\Software\Wow6432Node\ORACLEas shown in the image below:
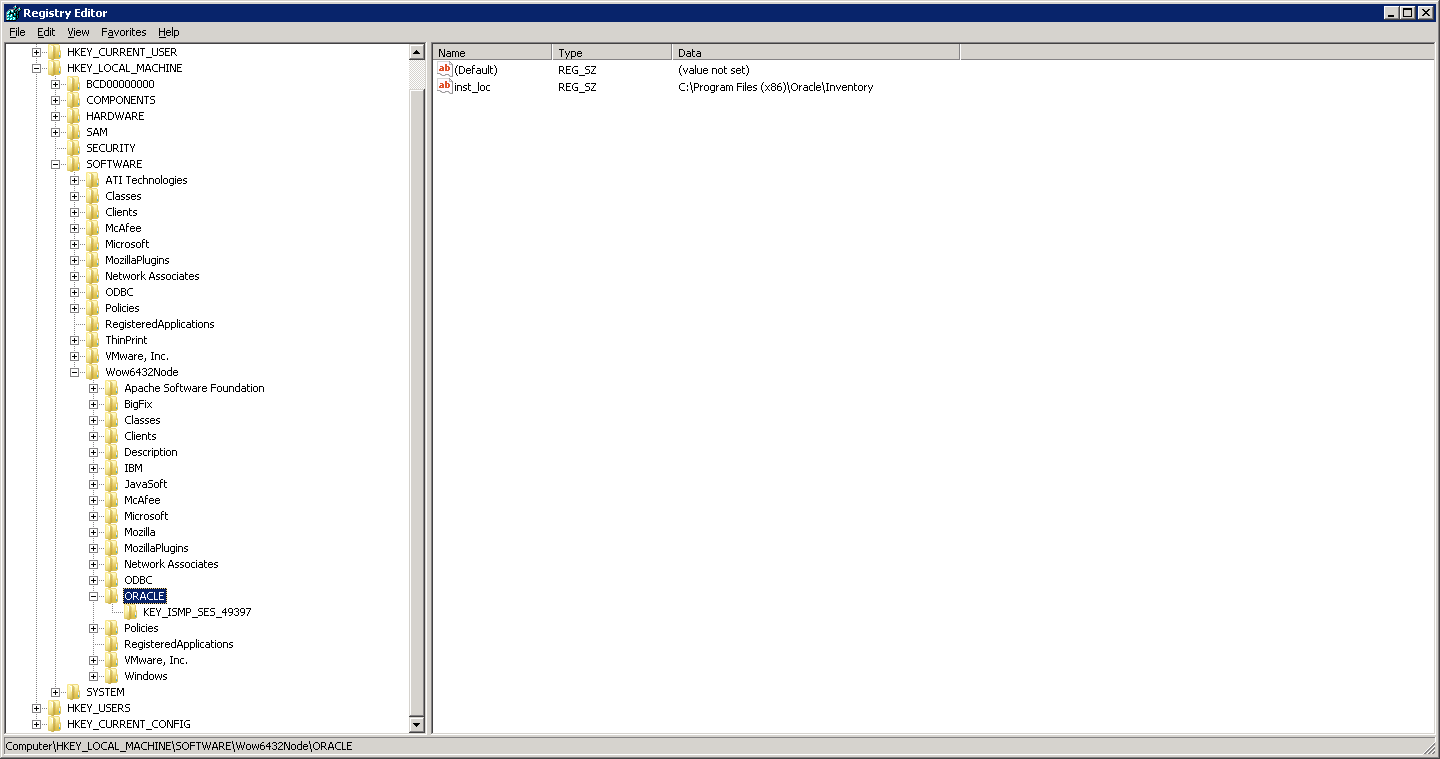
- Make sure there is a key called “KEY_SBA_81” or “KEY_OH******”
- Within the key ensure that the following values are populated as shown in the image below:
- ORACLE_GROUP_NAME
- ORACLE_HOME
- ORACLE_HOME_NAME.
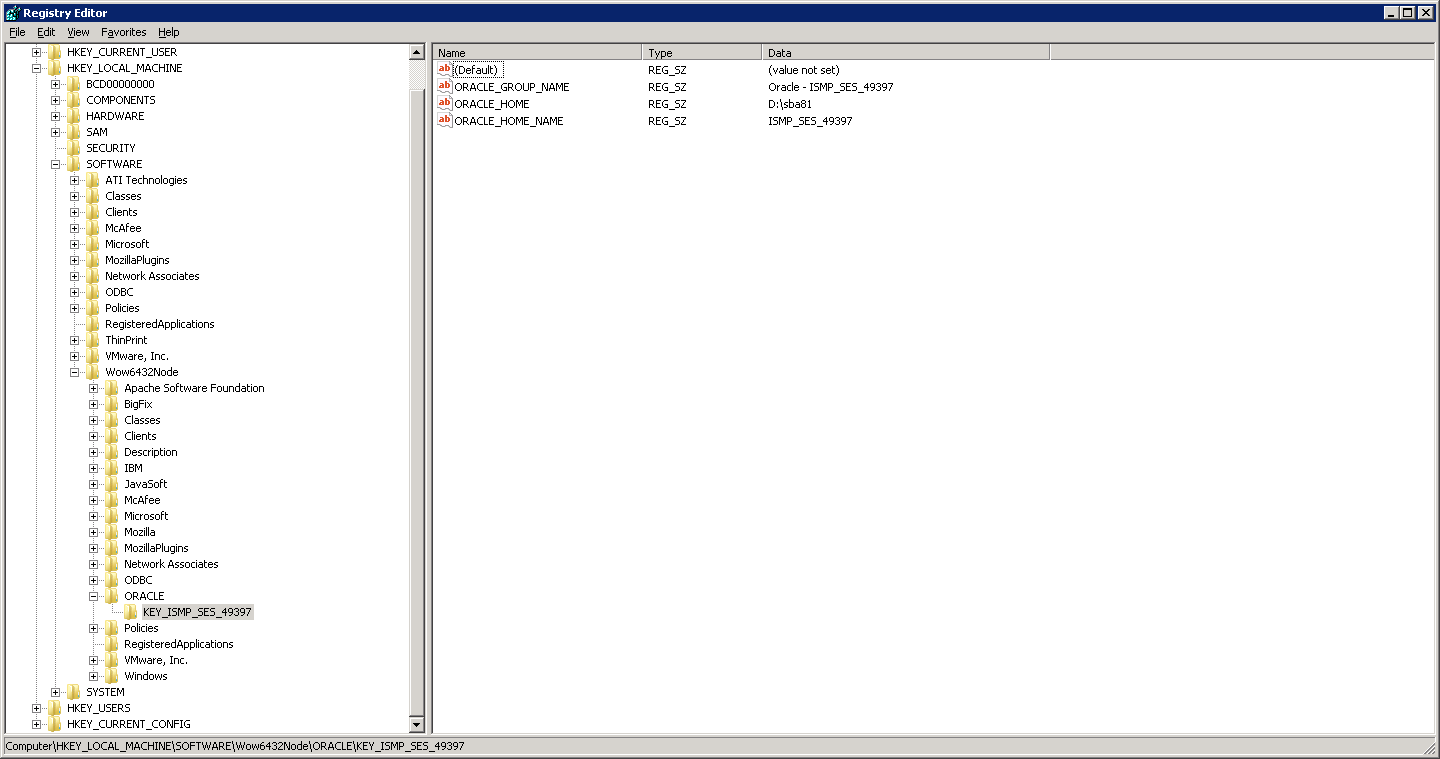
- In the case that these values do not exist, please create them to match the image above. Example:
- KEY_OH0000000
- ORACLE_GROUP_NAME Oracle – OH0000000
- ORACLE_HOME: This is the path to the installation. For example, the Siebel Application servers in previous installations were typically installed in
D:\SBA81while the web servers were installed inD:\SBA81\Sweapp. - ORACLE_HOME_NAME: OH0000000
- Once this is created reboot the server. The installation should now be detected.
This concludes this article. The next article in the series details the database upgrade process for non-production instances.
This document contains proprietary information and is protected by copyright law.
Copyright © 2026 Red Gate Software Limited. All rights reserved
Load comments