
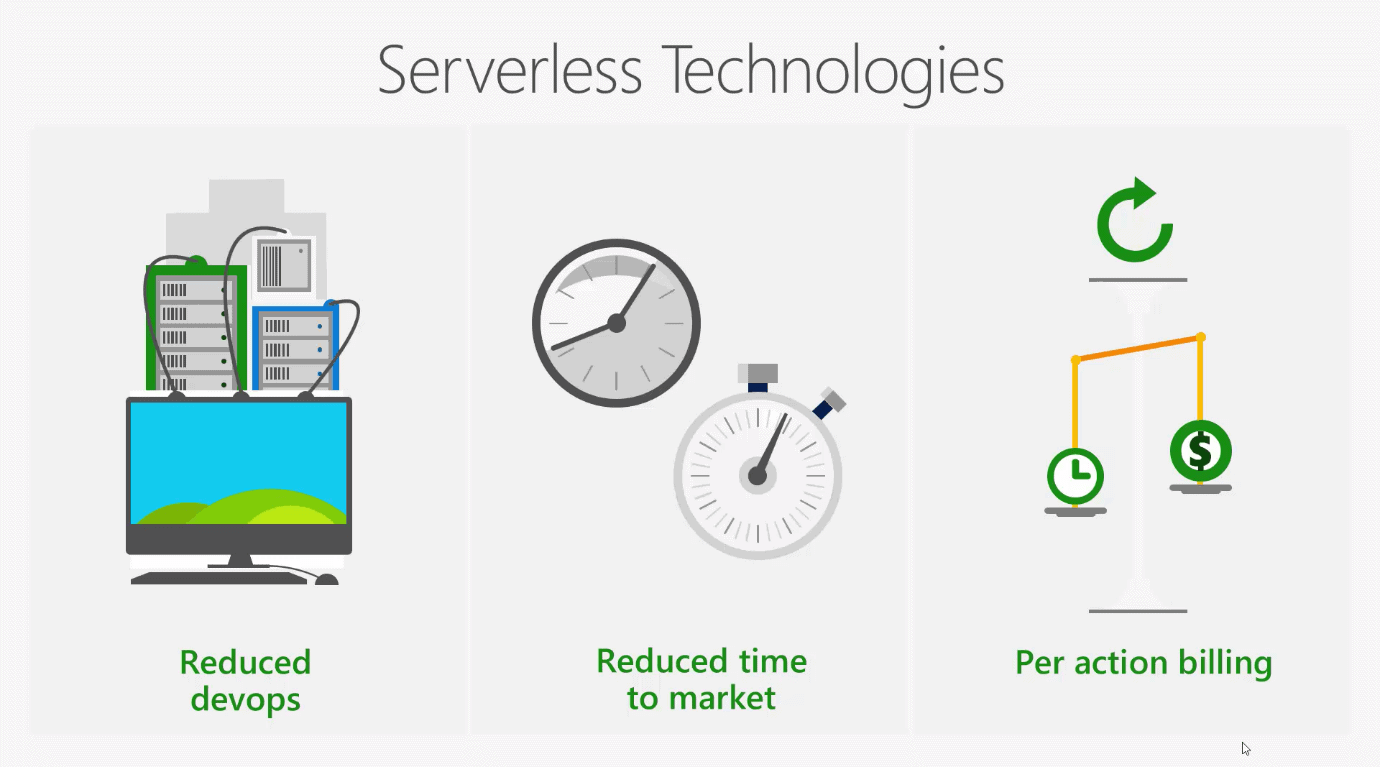
Azure LogicApps and ‘Functions’ are the backbone of serverless architecture in Azure. They both allow developers to quickly create and deploy code to the cloud that needs to be scalable, lightweight and fast. As the name implies, there are no infrastructure requirements; at least, no infrastructure that the consumers of serverless architecture should be concerned with, because it’s a fully managed service.
Logic apps are not only about integration and orchestration, but also about connectivity to other services. These services can be Azure based, SAP applications or 3rd party solutions such as OneDrive and DropBox: They can even be custom-built applications running on-premises, such as a web API.
Where LogicApps stand out is the great variety of predefined “connectors” and “actions” which can be used like interlocking blocks (think of Lego) to create cloud-based workflows. An oversimplified example would be “every time a new image is uploaded to OneDrive, copy that image to DropBox”. To achieve this, we would need to use the DropBox and OneDrive connector and define the appropriate action on each end i.e. “copy from” and “copy to”. This example is one of many that can demonstrate the simplicity, versatility and flexibility of the service.
Components
LogicApps consist of four components; connectors, triggers, conditions and actions.
Connectors
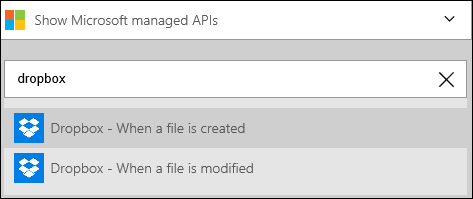
The most basic element in any LogicApp is the connector. Connectors are code elements bundled together to allow connectivity to a service. Each connector defines its own API and requires some information to be configured in order to connect to the corresponding service. In the case of a DropBox connector, the developer would need to have a DropBox account and supply his/her credentials
Triggers
They are used in conjunction to connectors to initiate the LogicApp workflow. Base on the DropBox example in the picture above, we can use either the file creation or the file update on DropBox as a trigger to run the LogicApp. Each connector provides its own trigger definition.
Conditions
These are optional and can be used to inject some logic into the workflow. In some cases, the LogicApp may be concerned with direct input and output, for example a file copy. However, if you need to be able to filter on a file type or file name, then conditions provide that out-of-the-box functionality.
Actions
Every step in a LogicApp definition is an action. This includes triggers, control flow steps like conditions, scopes, for-each loops, do-until loops, calls to connectors and calls to native actions. An action is what developers choose to do with the input that is received from a connector. If it’s a file, maybe the appropriate action is a copy or a delete. If it’s a message, maybe the action is a call to another API endpoint that can process the data. Actions are also the base unit for billing in the new Consumption pricing model.
Benefits
LogicApps provide significant benefits when it comes to creating cloud based workflows.
Cost
Logic apps have no upfront setup costs. They also have no ongoing costs or infrastructure costs. The pricing works on the basis of consumption. This means that only you are only charged for executed actions. For a DropBox connector that is configured with a “File modified” trigger, there will be no cost unless there are modified files that trigger the LogicApp execution. It’s also extremely scalable because each trigger will instantiate a new LogicApp. Consequently, multiple concurrent triggers will force multiple concurrent instances of the same LogicApp to run: This ensures that everything is processed in a timely manner.
Development
LogicApps provide three development models.
Azure Portal
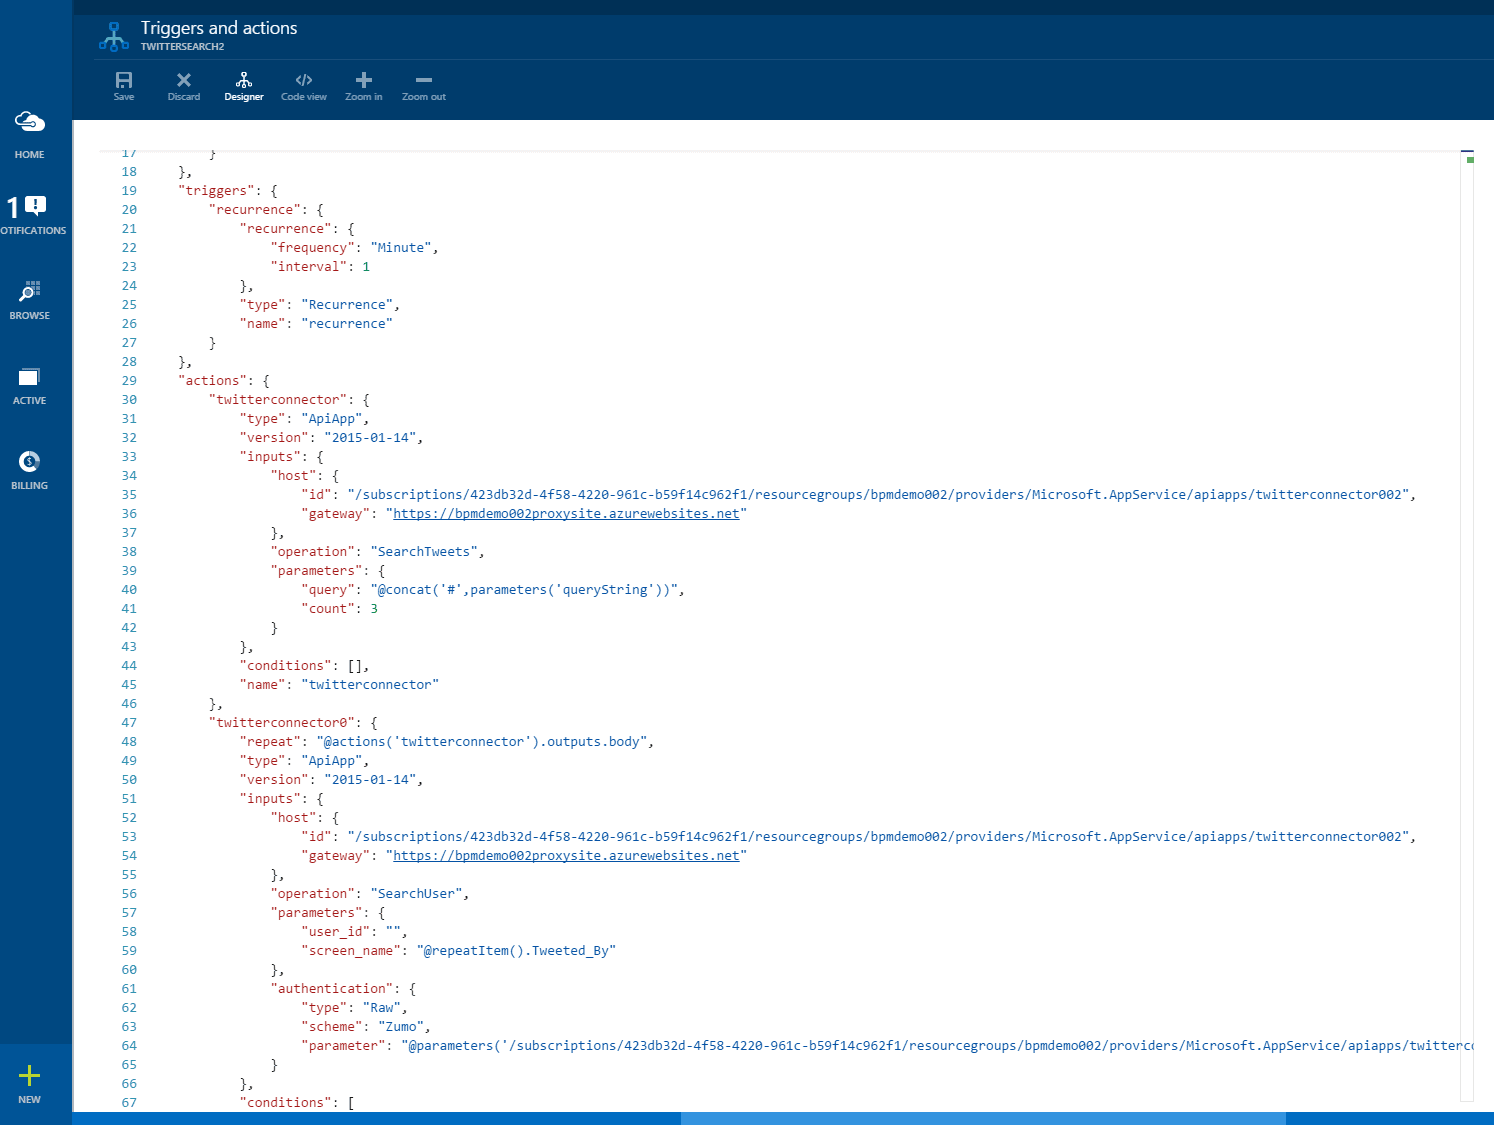
For some time, you had no choice but use the Azure Portal to create LogicApps. Today, you can still do this, even though it is not ideal in an enterprise context. Within the Portal, you can switch between the Designer and Code views. The Code view comes handy for advanced configurations. The “code-behind” each LogicApp is based on JSON so you can easily choose to create LogicApps using JSON instead of the designer, though this requires intimate knowledge of the LogicApps API. The Code view looks like this:
{
“$schema”: “https://schema.management.azure.com/schemas/2015-01-01/deploymentTemplate.json#”,
“contentVersion”: “1.0.0.0”,
“parameters”: {
“logicAppName”: {
“type”: “string”,
“minLength”: 1,
“maxLength”: 80,
“metadata”: {
“description”: “Name of the Logic App.”
}
},
“logicAppLocation”: {
“type”: “string”,
“defaultValue”: “[resourceGroup().location]”,
“allowedValues”: [
“eastasia”,
“southeastasia”,
“centralus”,
“eastus”,
“eastus2”,
“westus”,
“northcentralus”,
“southcentralus”,
“northeurope”,
“westeurope”,
“japanwest”,
“japaneast”,
“brazilsouth”,
“australiaeast”,
“australiasoutheast”,
“westcentralus”,
“westus2”,
“[resourceGroup().location]”
],
“metadata”: {
“description”: “Location of the Logic App.”
}
}
},
“variables”: {},
“resources”: [
{
“name”: “[parameters(‘logicAppName’)]”,
“type”: “Microsoft.Logic/workflows”,
“location”: “[parameters(‘logicAppLocation’)]”,
“tags”: {
“displayName”: “LogicApp”
},
“apiVersion”: “2016-06-01”,
“properties”: {
“definition”: {
“$schema”: “https://schema.management.azure.com/providers/Microsoft.Logic/schemas/2016-06-01/workflowdefinition.json#”,
“actions”: {
“Response”: {
“type”: “Response”,
“inputs”: {
“statusCode”: 200,
“headers”: “@triggerOutputs()[‘headers’]”,
“body”: “@triggerBody()”
},
“runAfter”: {}
}
},
“parameters”: {},
“triggers”: {
“manual”: {
“type”: “Request”,
“kind”: “Http”,
“inputs”: {
“schema”: {}
}
}
},
“contentVersion”: “1.0.0.0”,
“outputs”: {}
},
“parameters”: {}
}
}
],
“outputs”: {}
}
This is the Code View that the developer sees in Visual Studio.
Visual Studio 2015 and later
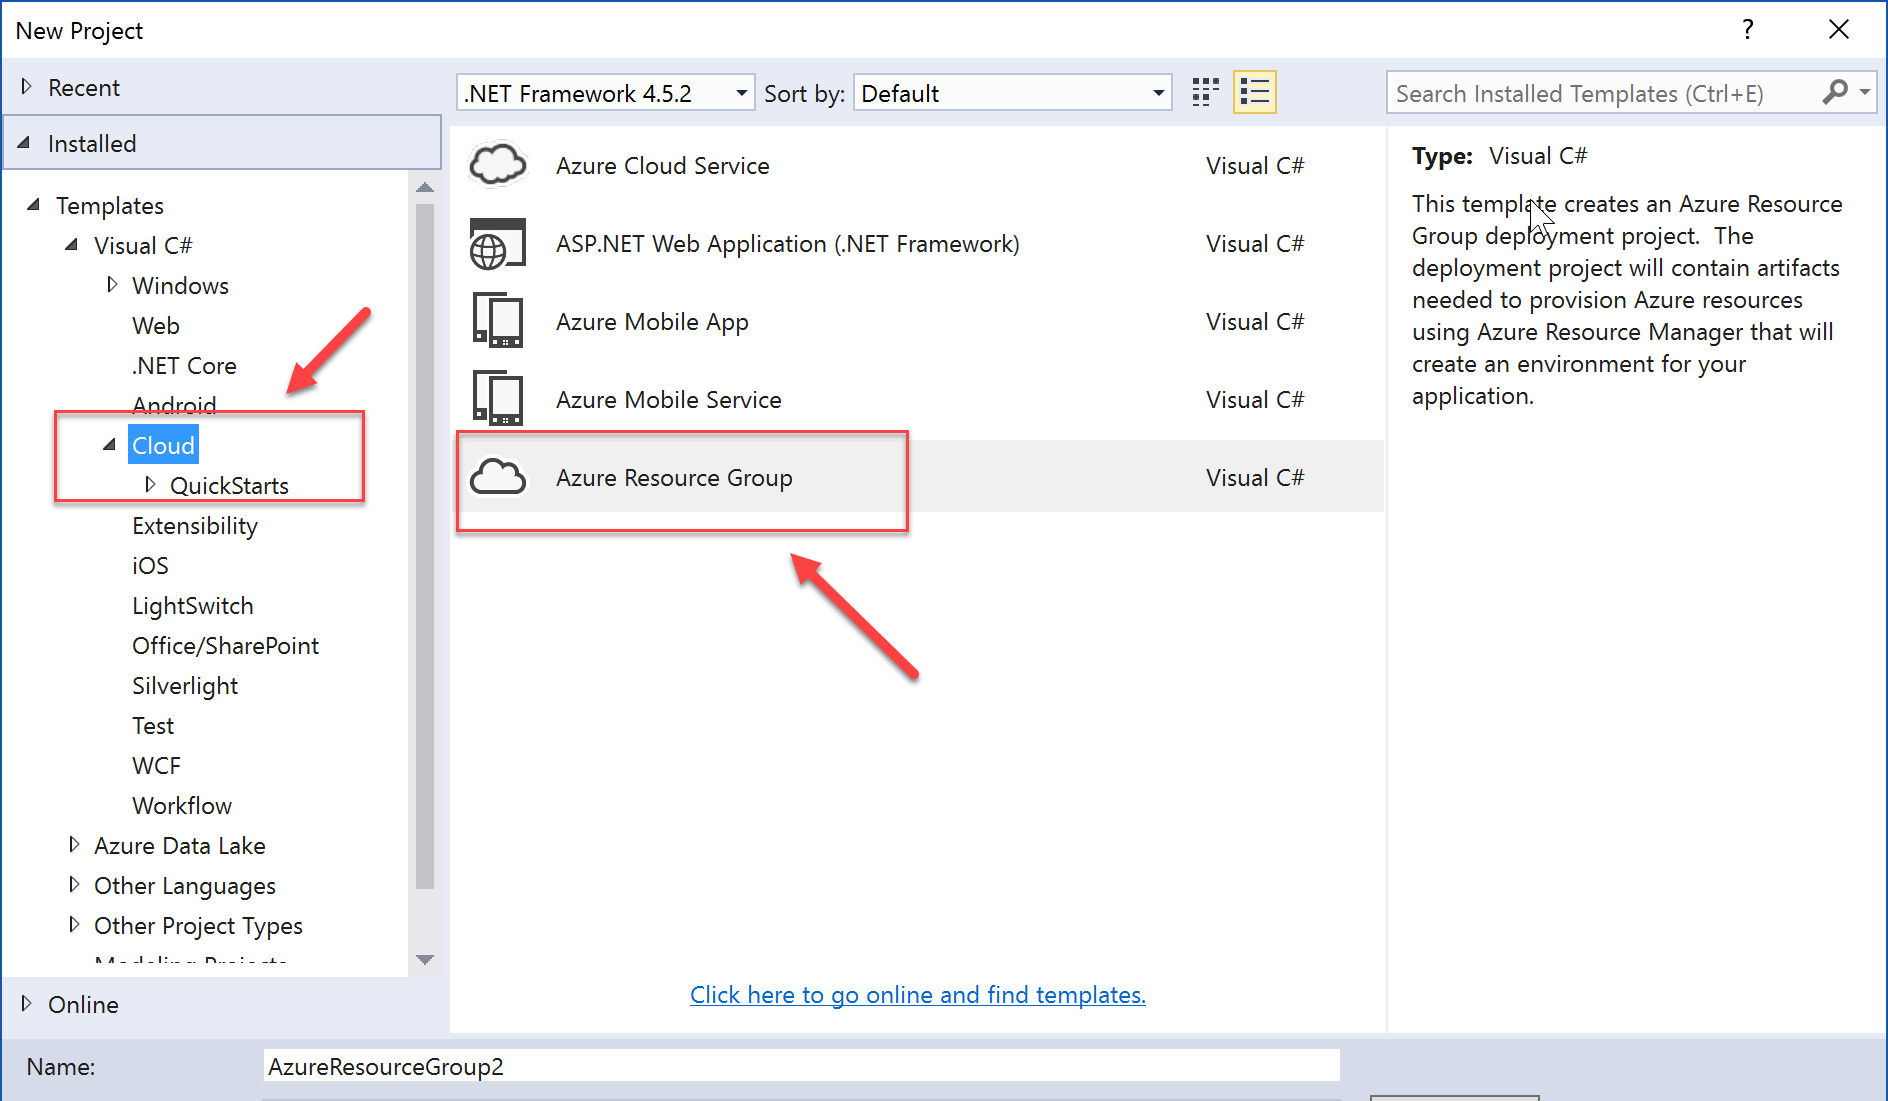
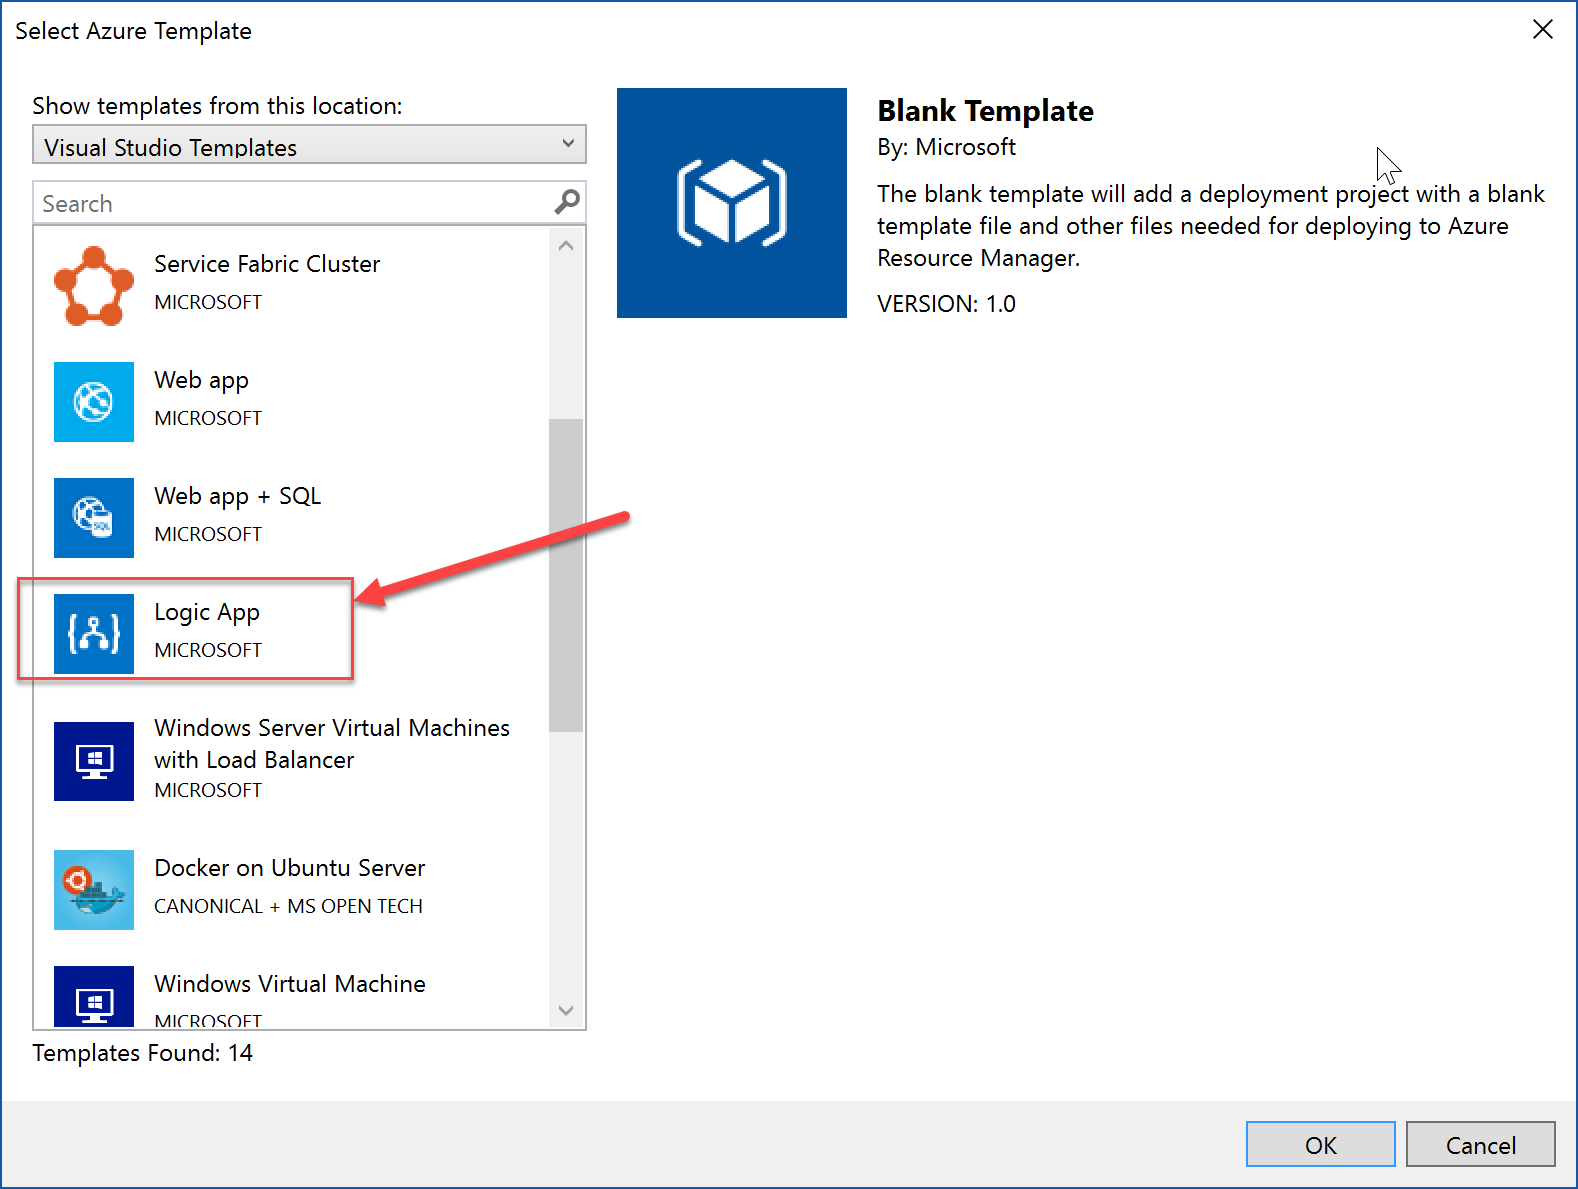
This is the best way to work with Azure LogicApps in terms of consistency and recommended practices. With Visual Studio, developers within a large team can get things off the ground quickly by using predefined templates or getting access to shared secrets that can be used across multiple LogicApps. A good example here would be access to a custom connector or internal API. In addition, Visual Studio is the first step towards automation and DevOps because it provides features for developing, deploying and automating LogicApps. There are some prerequisites that need to be met before working locally in Visual Studio:
- Visual Studio 205 or later
- Azure SDK 2.9.1 or later
- Azure Powershell
- LogicApps VisuaL Studio Extension
As long as these prerequisites are met, developers can start developing and deploying LogicApps from Visual Studio by selecting the Azure Resource Group template and then choosing the LogicApps template as per the images below:
ARM Templates
This is possible but unconventional. LogicApps are in essence a JSON file that contains the definitions of the various connectors, triggers and actions and the order of execution for each action. Although it is possible to create a LogicApp using any standard JSON editor, it would be very hard to create a fully functional complex solution without tooling support such as code intellisense. What is quite common, on the other hand, is to work directly with the Code View (JSON file) to add functionality that’s not supported by the Designer. For example, you may want to add an “On Action Failure” action to capture errors during execution. You can then use this action to log the error message along with the context and associated data to something like a database or Azure storage table or a queue for further processing.
Performance
LogicApps are “infinitely scalable” or at least as scalable as your wallet. They also provide another performance benefit. Unlike their ‘Functions’ counterpart, LogicApps always have a “hot” start so there’s no need to modify or configure for that. Skipped actions, multiple actions in a sequence, and inactivity don’t not negatively impact performance. Consequently, apart from truly scalable, LogicApps are always ready for execution. Nonetheless, LogicApps are not immune to latency and there are some gotchas that developers need to be aware:
- calling services that may be cold (‘Functions’, App Service without being warmed up, 3rd party API) may cause latency issues
- Hitting connection throttles can manifest as slow performance. This is because some connectors have hard limits on the available requests per second, sometimes as low as 300 r/m. After that, the connector sends back 429 responses for the LogicApp to slow down.
Deployment
LogicApps are extremely lightweight which makes the whole DevOps story as simple and efficient as it can be. Because LogicApps consist of a couple of JSON files (ARM Templates and Parameters file), they are easy to deploy. Visual Studio Team Services (VSTS) has built-in tasks for deploying LogicApps. Alternatively, developers can create a custom deployment task for CI/CD using their favorite tools and either Azure PowerShell or the Azure CLI. Both options are straightforward to setup and support all platforms (Windows, Linux, MacOS)
Lightweight APIs for microservices
An emerging pattern is to use ‘Functions’ and LogicApps to create microservices. Since LogicApps support HTTP triggers that can be called externally, they are the ideal candidate for creating API endpoints that can easily integrate with a plethora of enterprise and client oriented solutions. In cases where there’s a requirement to unify and expose these endpoints as a single product, developers can add an Azure API Management solution in front to act as the single entry point for that product. API Management also supports many other features such as throttling, caching, and authorisation. By using this service on top of your existing API solution, you can significantly enhance the security and robustness of the whole API with minimal effort.
Conclusion
LogicApps is a simple yet extremely powerful service that allows developers and enterprises to create cloud-based integrations and workflows with off-the-self, ready-made components. Instead of trying to work out which libraries, API and frameworks to use, the focus is placed on achieving as much as possible with as little effort as possible. LogicApps are easy to develop and deploy. They come with a great DevOps story that can take the implementation from development to production in a few simple, reproducible steps with the power of ARM templates. New connectors are added daily, and the service is growing fast to accommodate a wide range of enterprise integration requirements.
Load comments