


Microsoft does not yet support this edition of Ubuntu, but there are some workarounds to make it work. This should not be used for production usage and this blog is for educational/testing purposes only.
For my installation, I am using an AWS EC2 Ubuntu 24.04 with 2 GB of Ram. 2GB of RAM is the minimum required. This guide is targeted towards people who have installed SQL Server on previous versions of Ubuntu.
It is not an unknown thing to want to do, as you can see in this thread on learn.microsoft.com. So I went out to see what I would need to do. This guide contains the steps I went through.
There are two major things I will cover installing. SQL Server itself, and then PowerShell Core.
Installing SQL Server Engine
Step 1 Update system packages
To ensure that the host system is up-to-date.
|
1 |
sudo apt update && sudo apt upgrade -y |
Step 2: Import the Microsoft SQL Server GPG Key
This is the Gnu Privacy Guard key that will be used to encrypt and decrypt files in the install.
|
1 |
wget -qO- https://packages.microsoft.com/keys/microsoft.asc | sudo tee /etc/apt/trusted.gpg.d/microsoft.asc |
Step 3: Add the Microsoft SQL Server Repository
As I said before , Ubuntu 24.04 is still not supported by Microsoft, therefore we can use the Ubuntu 22.04 repository for that because it is compatible.
|
1 |
sudo add-apt-repository "$(wget -qO- <em>https://packages.microsoft.com/config/ubuntu/22.04/mssql-server-2022.list</em>)" |
After that do the system refresh again.
|
1 |
sudo apt update |
Now we need to install these packages to SQL server works because as of incompatibly with Ubuntu 24.04.
|
1 2 3 4 5 |
wget http://archive.ubuntu.com/ubuntu/pool/main/o/openldap/libldap-2.5-0_2.5.11+dfsg-1~exp1ubuntu3_amd64.deb sudo dpkg -i libldap-2.5-0_2.5.11+dfsg-1~exp1ubuntu3_amd64.deb sudo apt install -y libcurl4 libssl-dev libgnutls30 |
Step 4: Install and Configure Microsoft SQL Server
The next few steps will do the installation steps.
Step 4a: Execute the installation
|
1 2 3 |
sudo apt install mssql-server sudo /opt/mssql/bin/mssql-conf setup |
Step 4b: Select an edition and set a sa password
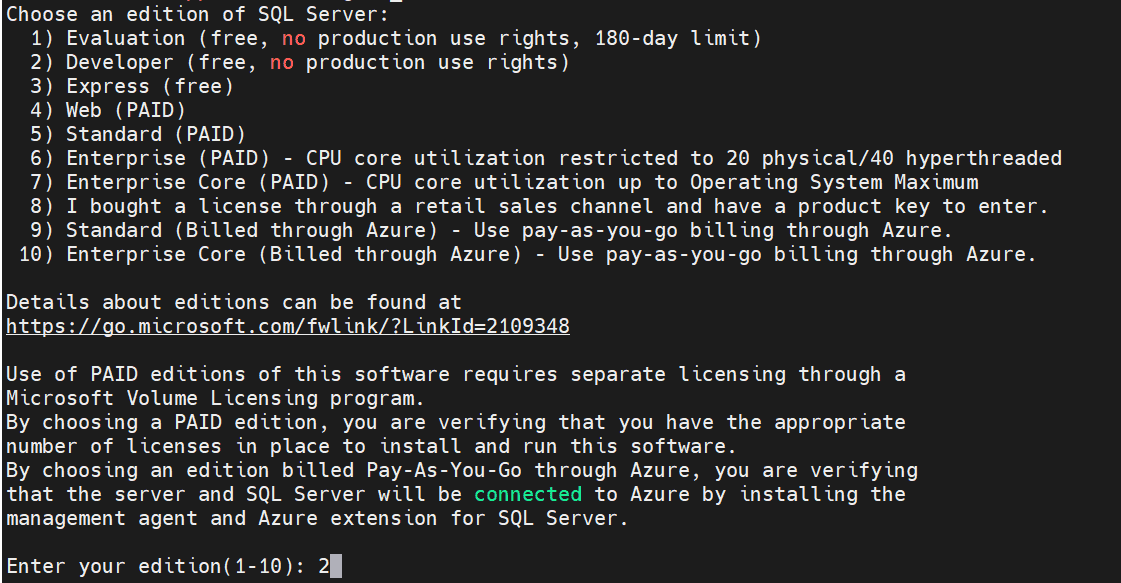
Most likely, you will select the developer edition (2) that has all features from the enterprise but you cannot use in production environments. This would likely be the only version you would want to install on the unsupported version of Linux.
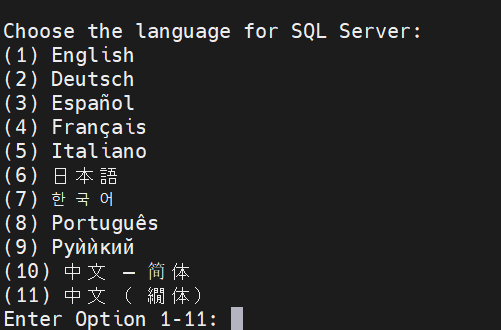
After that will prompt you to choose the language.
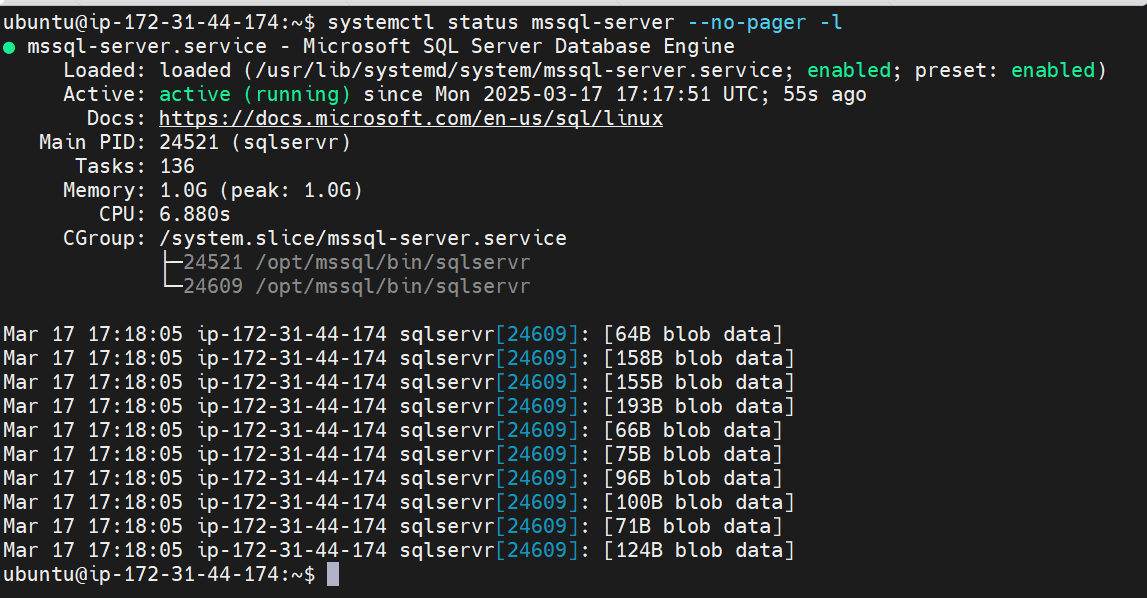
The service is started automatically but you can check typing
|
1 |
systemctl status mssql-server --no-pager -l |
Step 5: Install SQL Server Command-Line Tools (sqlcmd and bcp)
Add the Microsoft repository for SQL Server tools
|
1 |
sudo add-apt-repository "$(wget -qO- https://packages.microsoft.com/config/ubuntu/22.04/prod.list)" |
And update again:
|
1 |
sudo apt-get update |
Next install mssql-tools:
|
1 |
sudo apt install mssql-tools unixodbc-dev |

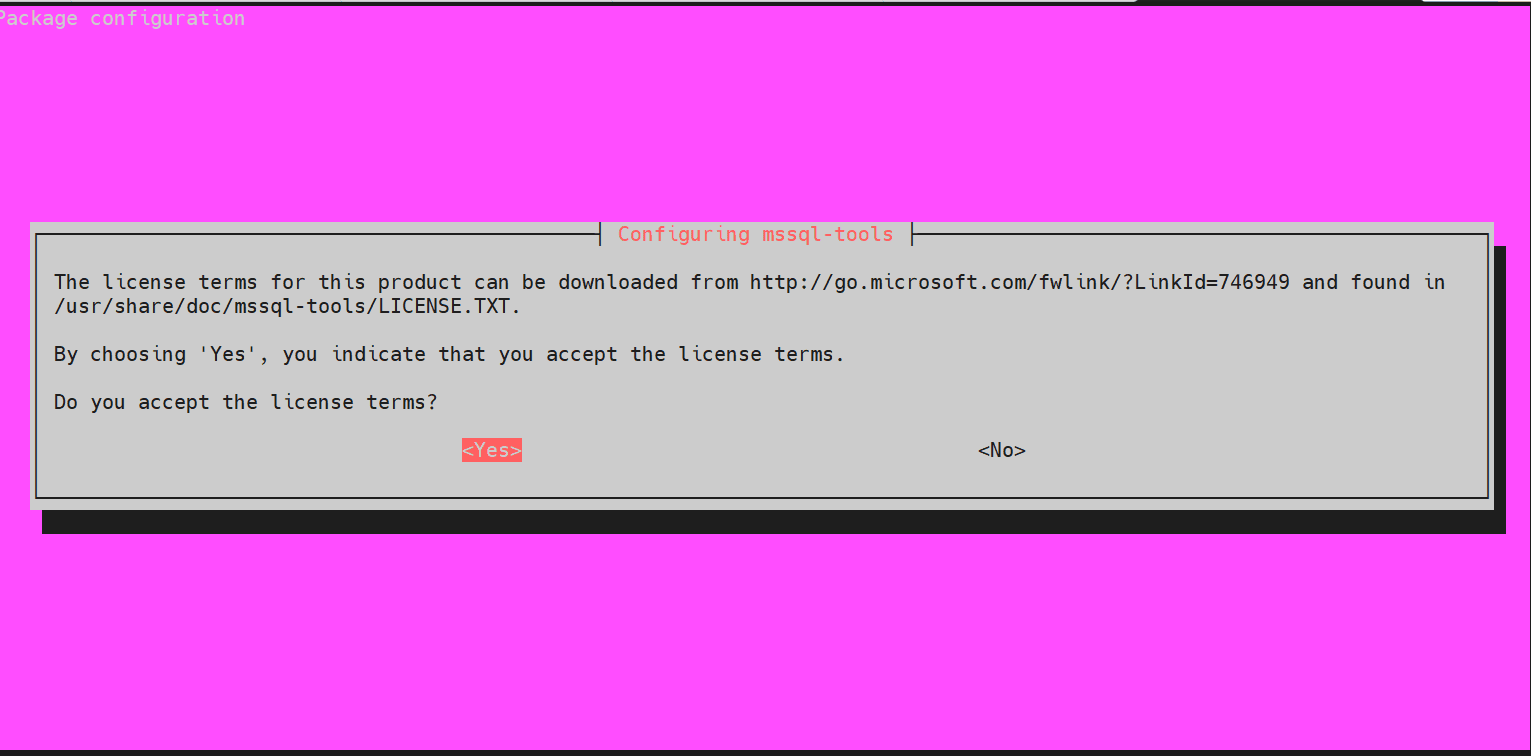
Next select <yes> for the license terms:
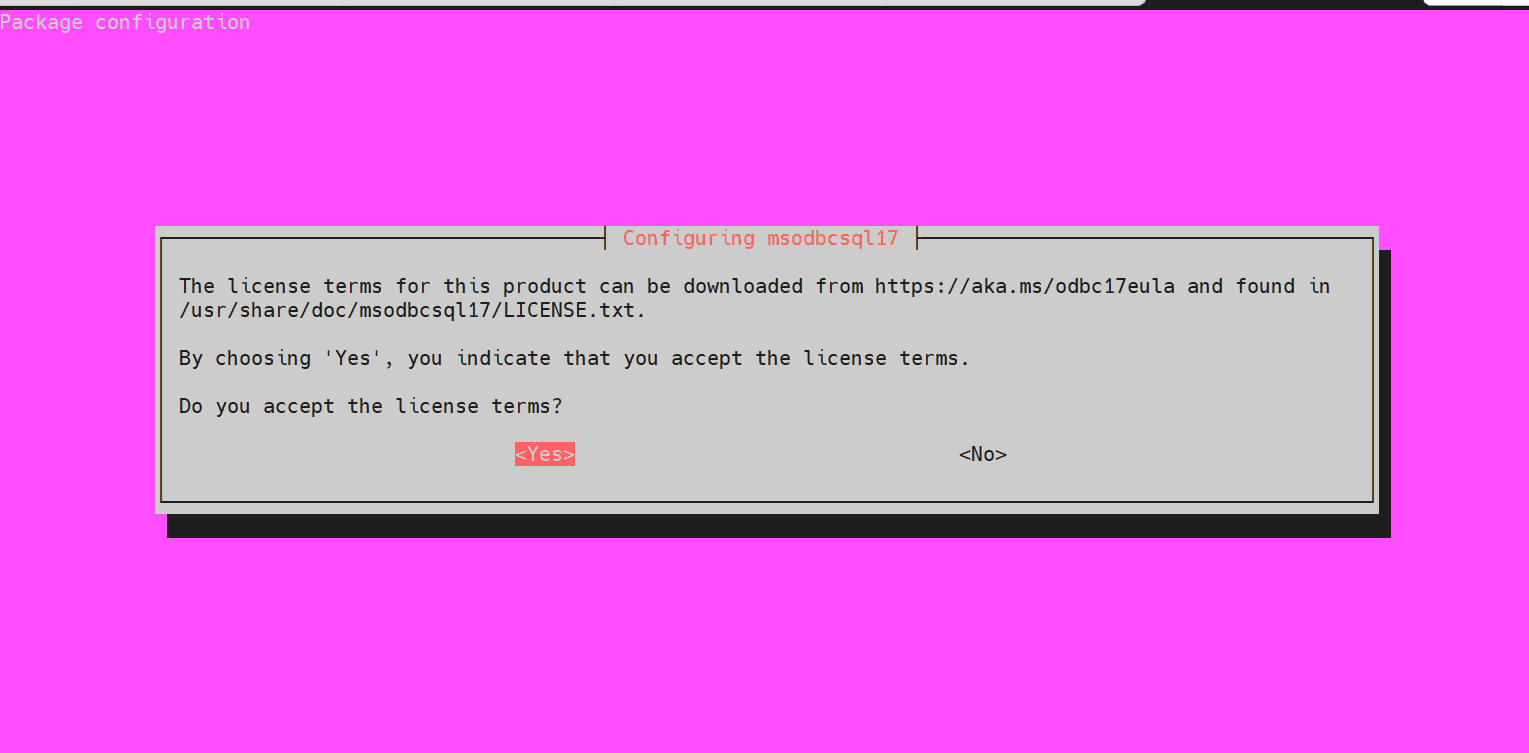
And <yes> again for the next license terms (you can see in the title they are for different things.)
Now let´s add the mssql-tools to the path variable. This way you can call sqlcmd from whatever you be
|
1 2 3 |
echo 'export PATH="$PATH:/opt/mssql-tools/bin"' >> ~/.bash_profile source ~/.bash_profile |
Step 6: Configure the Firewall
Let´s open the port 1433 to access our SQL Server remotely”
|
1 2 3 |
sudo ufw allow 1433/tcp sudo ufw reload |
Step 7 – Open the port 1433 on AWS
Next, in the AWS interface for your VM, select the Security tab:
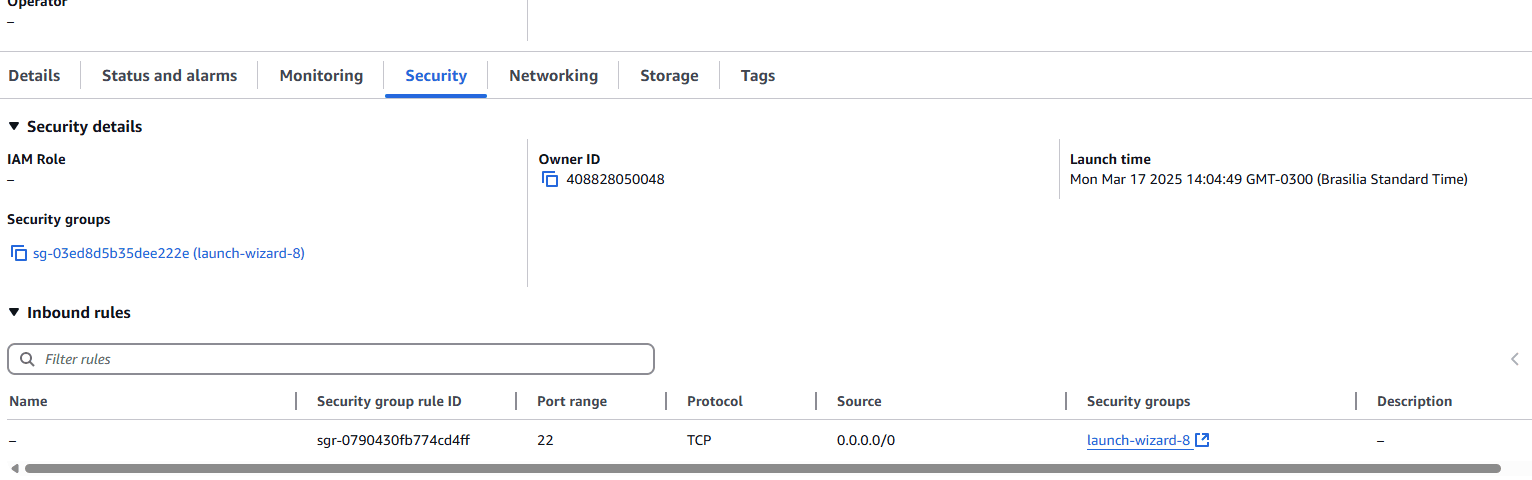
Select the security group
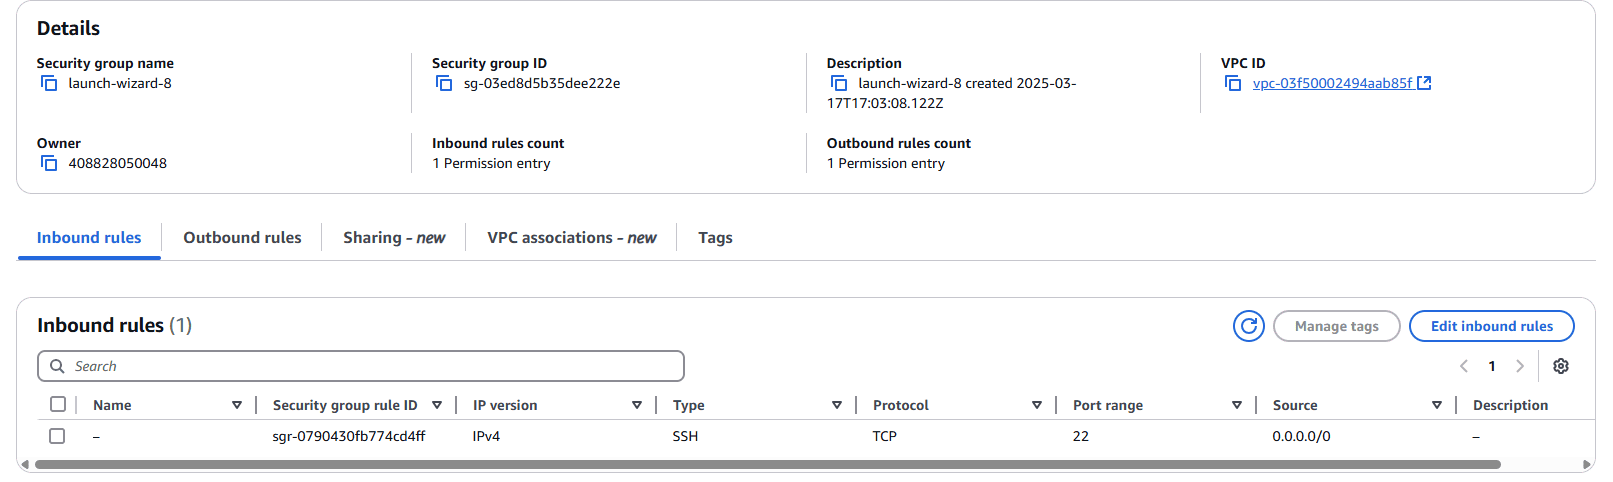
Click on Edit Inbound Rules and click in the add Rule box
Select the MSSQL in the combo box and 0.0.0.0/0 to open the port 1433:

Step 8 – Enable SQL Server agent
If you need the SQL Server Agent, this will enable it for use:
|
1 2 3 |
sudo /opt/mssql/bin/mssql-conf set sqlagent.enabled true sudo systemctl restart mssql-server |
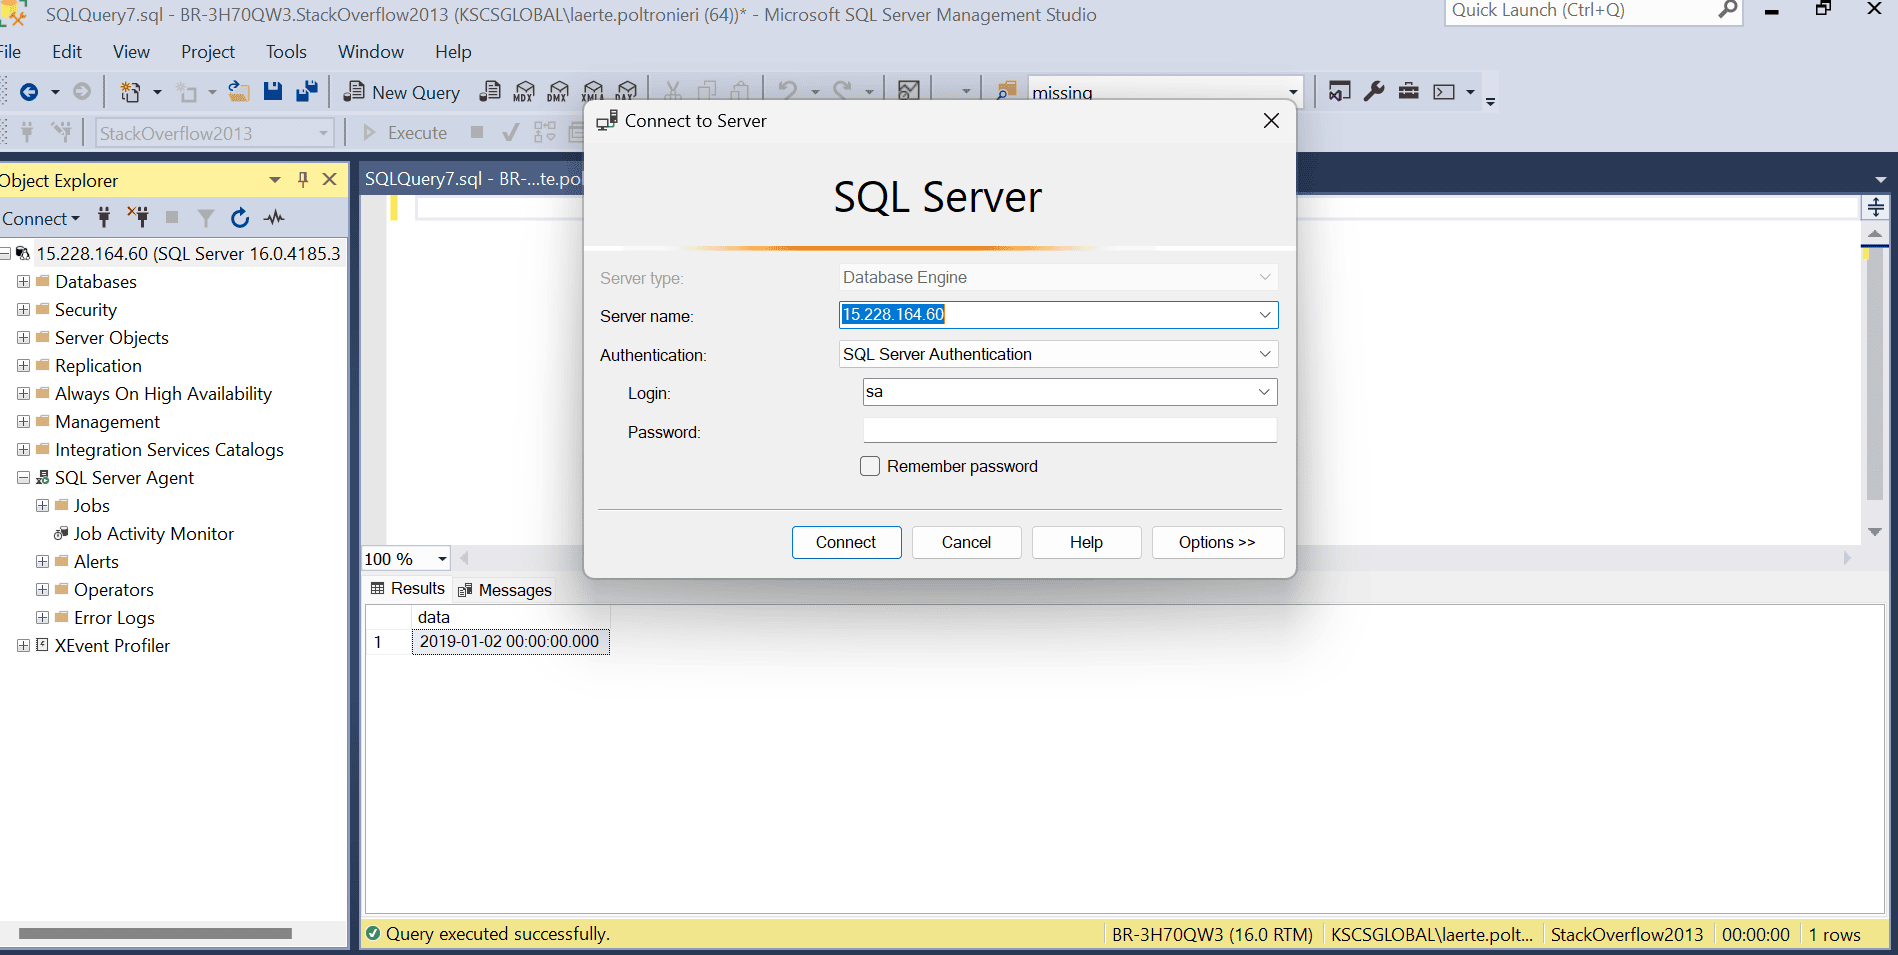
Now you can just connect over the SSMS using the public IPv4 Adress and sa password.
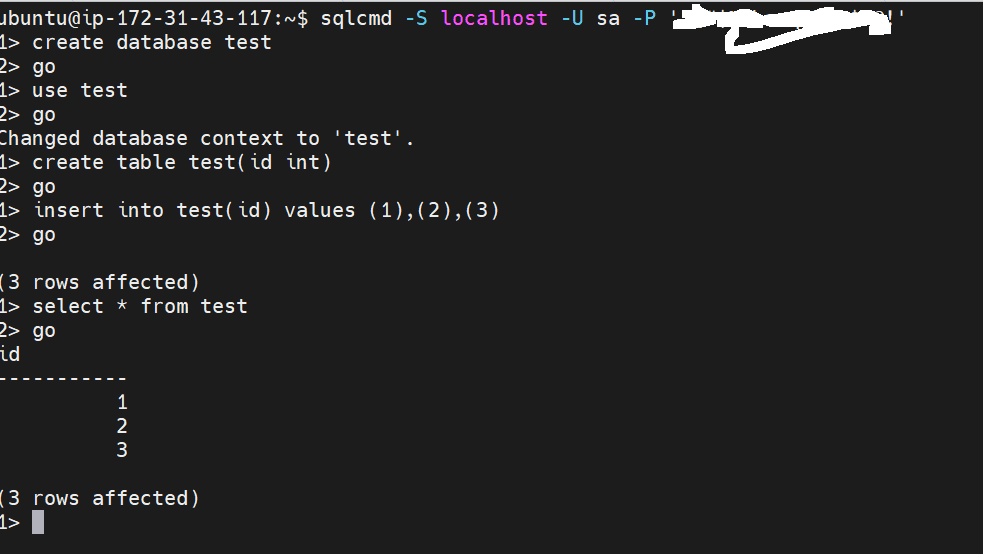
Or you can use sqlcmd
|
1 |
sqlcmd -S localhost -U sa -P '<password>' |
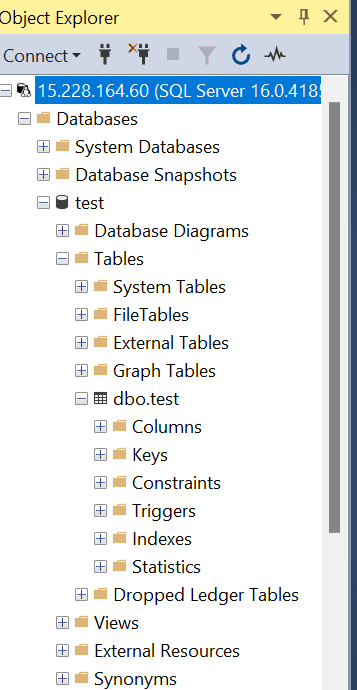
And if we refresh the SSMS:
There are plenty of configurations that you can apply to your instance . To check the list and what is use (or do it in the SSMS)
|
1 |
sudo /opt/mssql/bin/mssql-conf list |
Installing PowerShell Core
Next we will install PowerShell Core.
Step 1 – Download the required installable files for PowerShell
|
1 |
wget -q https://packages.microsoft.com/config/ubuntu/$(lsb_release -rs)/packages-microsoft-prod.deb -O packages-microsoft-prod.deb |
Step 2 – install the files
|
1 |
Sudo dpkg -i packages-microsoft-prod.deb |
Step 3- Update the repository with the latest changes or updates from the Microsoft Updates CDN related to ‘Powershell’ commands or features updates and install ‘Powershell’
|
1 2 3 |
Sudo apt-get update -y Sudo apt-get install powershell -y |
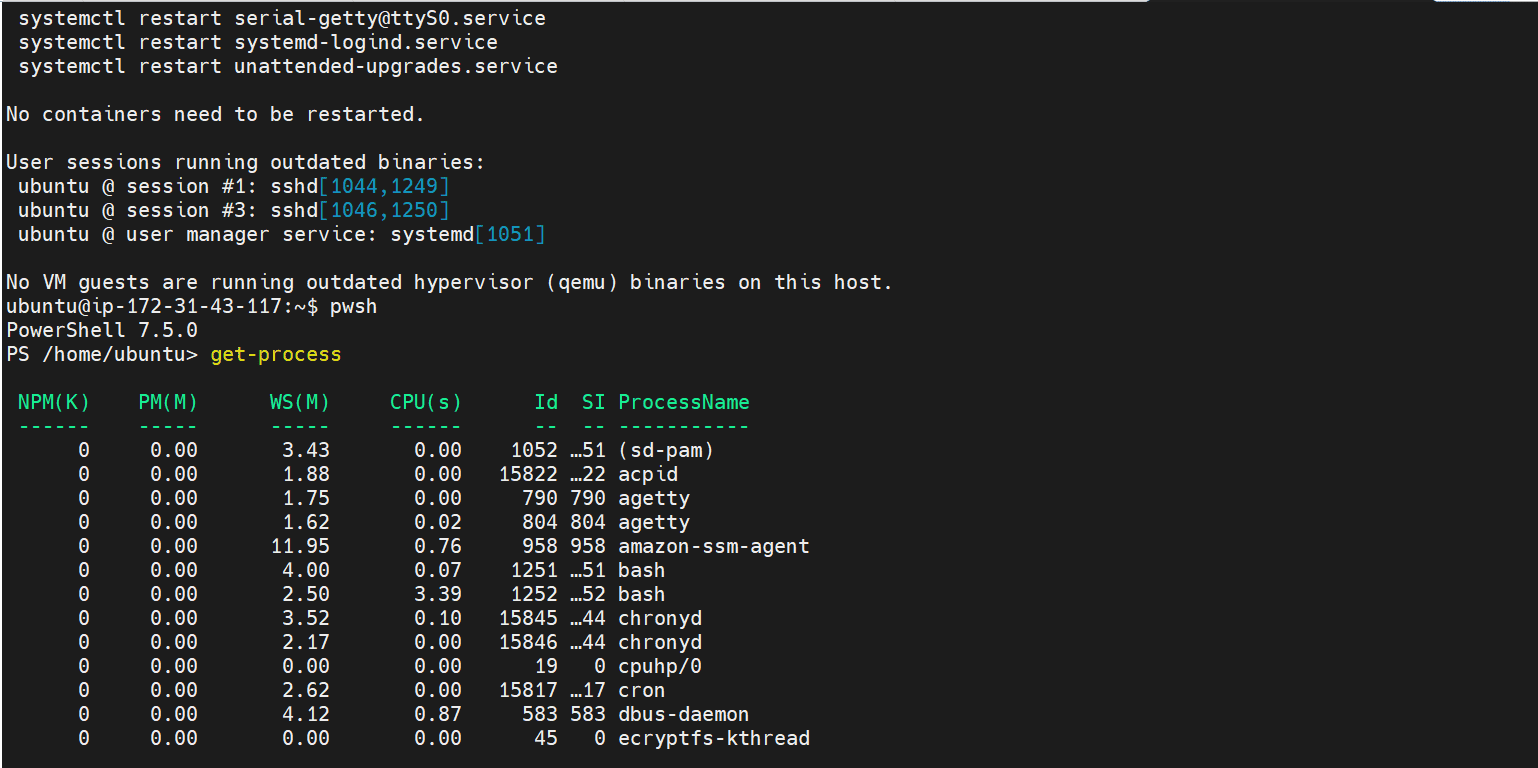
Then it is just call Powershell and test it out.
|
1 |
pwsh |
Extra: Installing SQL Server module on Powershell
To install the sql server module it is just (on Powershell terminal)
|
1 |
install-module sqlserver |

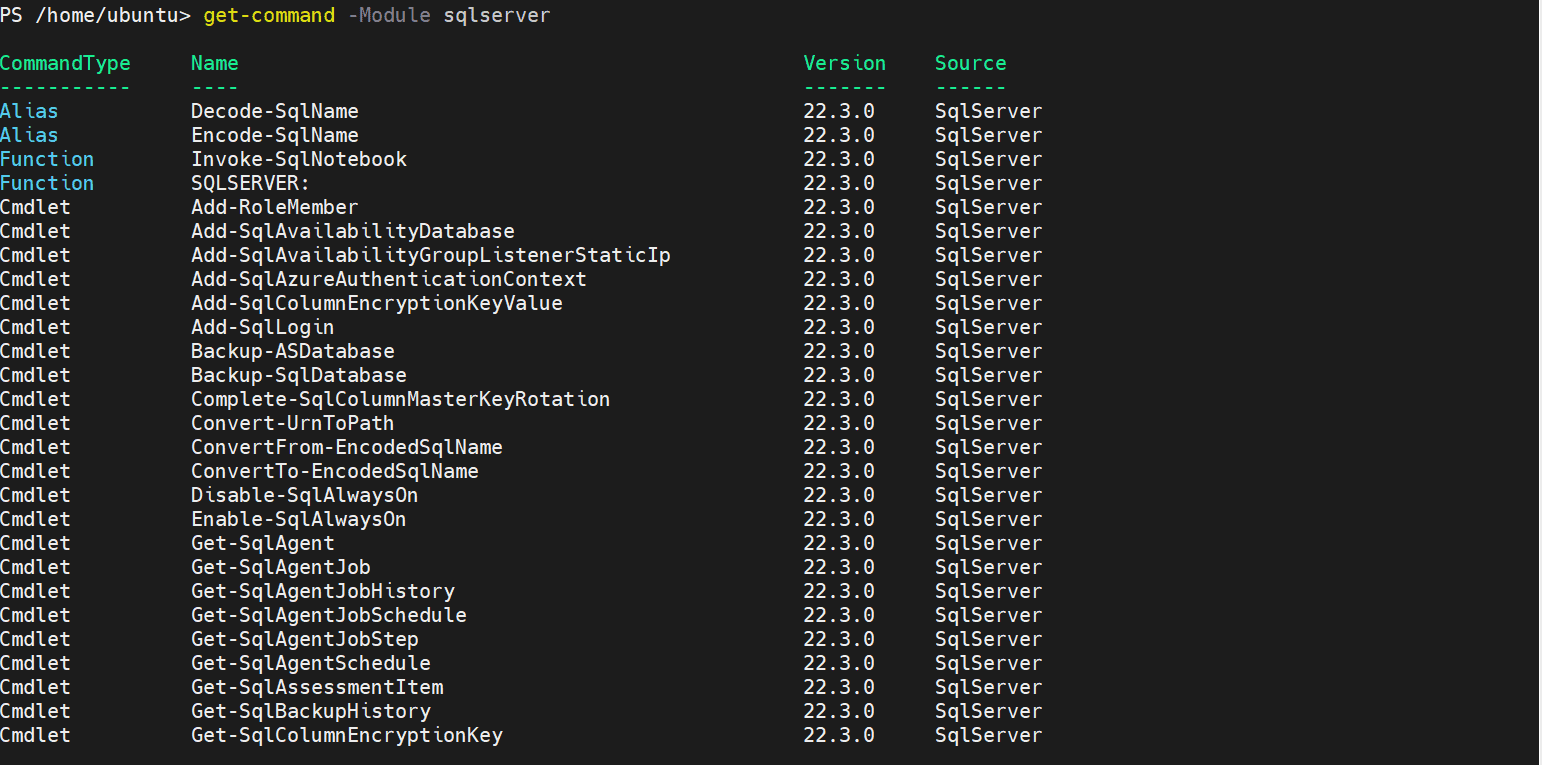
And now we can use the sql server module
To check whit cmdlets you can use :
|
1 |
get-command -Module sqlserver |
If you want to use your favorite PowerShell library, like dbatools, you can now install it. For example, for dbatools:
|
1 |
Install-module dbatools |
Conclusion
Now you should have a fully operational version of SQL Server running on the new version of Ubuntu. As a reminder, this is not supported yet, and should only be used for educational/testing purposes.


Load comments