
According to research made by Statista in 2022, the amount of data that is being worked with globally is expected to reach more than 180 zettabytes. Part of that is because more and more data is being introduced to the online world – but another part has its roots in software development. There are approximately 24.3 million software developers in the world (source: InApps), and with the number increasing every year, there‘s bound to be a lot of work with data.
The one thing that has always helped software developers work with data are databases – databases are not all made equal though. Some are said to be a fit for working with bigger data sets (MongoDB comes to mind), some are fit for timescale data (think TimescaleDB), some are a good fit for other use cases.
However, MySQL is MySQL – the RDBMS has been here for ages, and undeniably, it‘s here to stay. As with every database management system, MySQL has its upsides and downsides – one of the biggest notable downsides of MySQL is that many people think that it‘s not a fit for working with big data.
However, that’s not exactly true – MySQL is powering some of the biggest websites in the world from Facebook (for Facebook, MySQL is one of the main database management systems of choice as the social network stores almost all of the necessary data in it), to some of the biggest & fastest data breach search engines in the world letting people secure themselves from identity theft.
MySQL is a powerful, but a complex beast and in this blog, we will tell you how to back up big data sets within that beast.
The Infrastructure of MySQL
Before working with bigger data sets inside MySQL, you should familiarize yourself with its infrastructure. The most frequently used storage engine specific to MySQL is InnoDB and its counterpart XtraDB developed by Percona. Both InnoDB and XtraDB have a couple of properties unique to themselves:
- The functionality of InnoDB is based on the InnoDB buffer pool – the buffer pool is an area used to cache the data and indexes when they are accessed. The bigger it is, the faster certain types of queries that are using the buffer pool or its data (
SELECT,LOAD DATA INFILE) will complete. - InnoDB supports the ACID model guaranteeing data atomicity, consistency, transaction isolation, and durability. Note that even though InnoDB is known to offer support for ACID properties by default, it can also be made to exchange ACID for speed (and vice versa.)
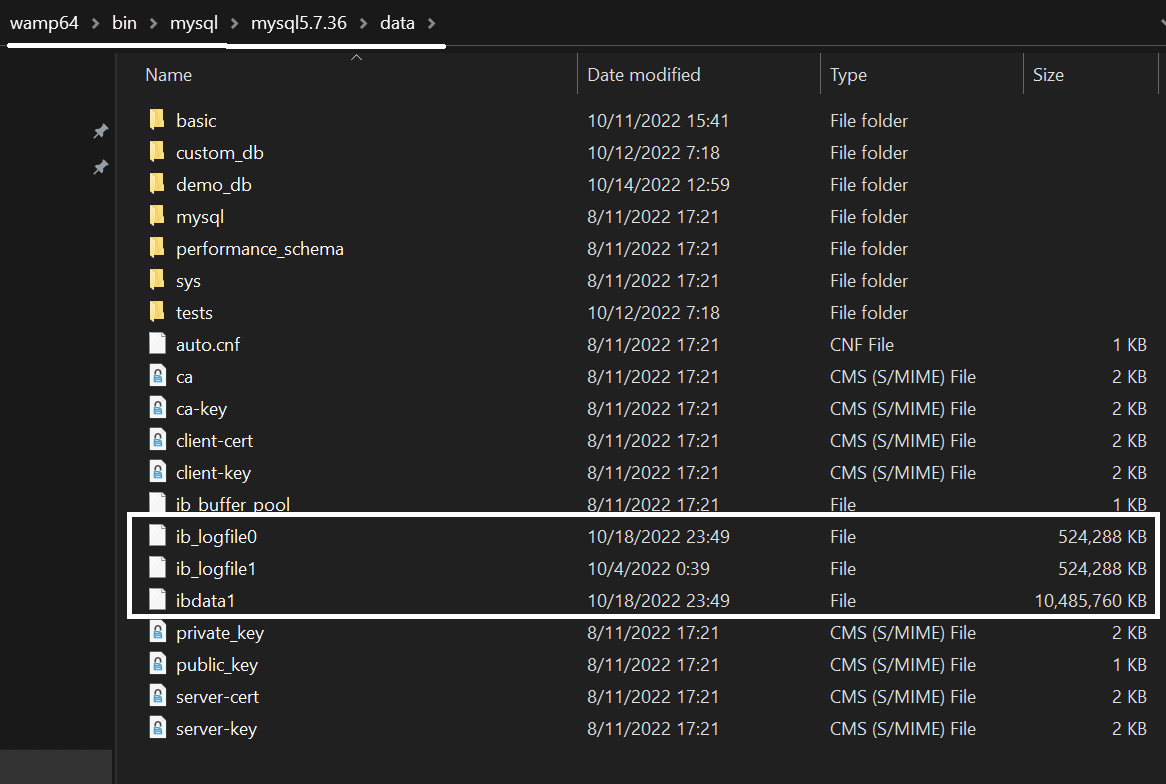
- InnoDB has a couple of acquaintances – while InnoDB data is stored in the ibdata1 file, InnoDB also has a couple of log files –
ib_logfile0andib_logfile1– that are used to store undo and redo logs. Undo logs contain information about undoing changes made by a specific transaction, while redo logs store information about how to re-do them (hence the names.) Both files can be found either in the/var/lib/mysql/mysql*.*.**/datadirectory if Linux is in use, or in the/bin/mysql/mysql*.*.**/datadirectory if you find yourself using Windows (*.*.** represents the MySQL version):
- All of the settings relevant to InnoDB can be configured via the settings present in my.cnf.
Now as far as backups are concerned, we don‘t need to know much about the internals of InnoDB (or any other MySQL storage engine for that matter) because we can simply take them using mysqldump, mydumper, or through phpMyAdmin by heading over to the Export tab:
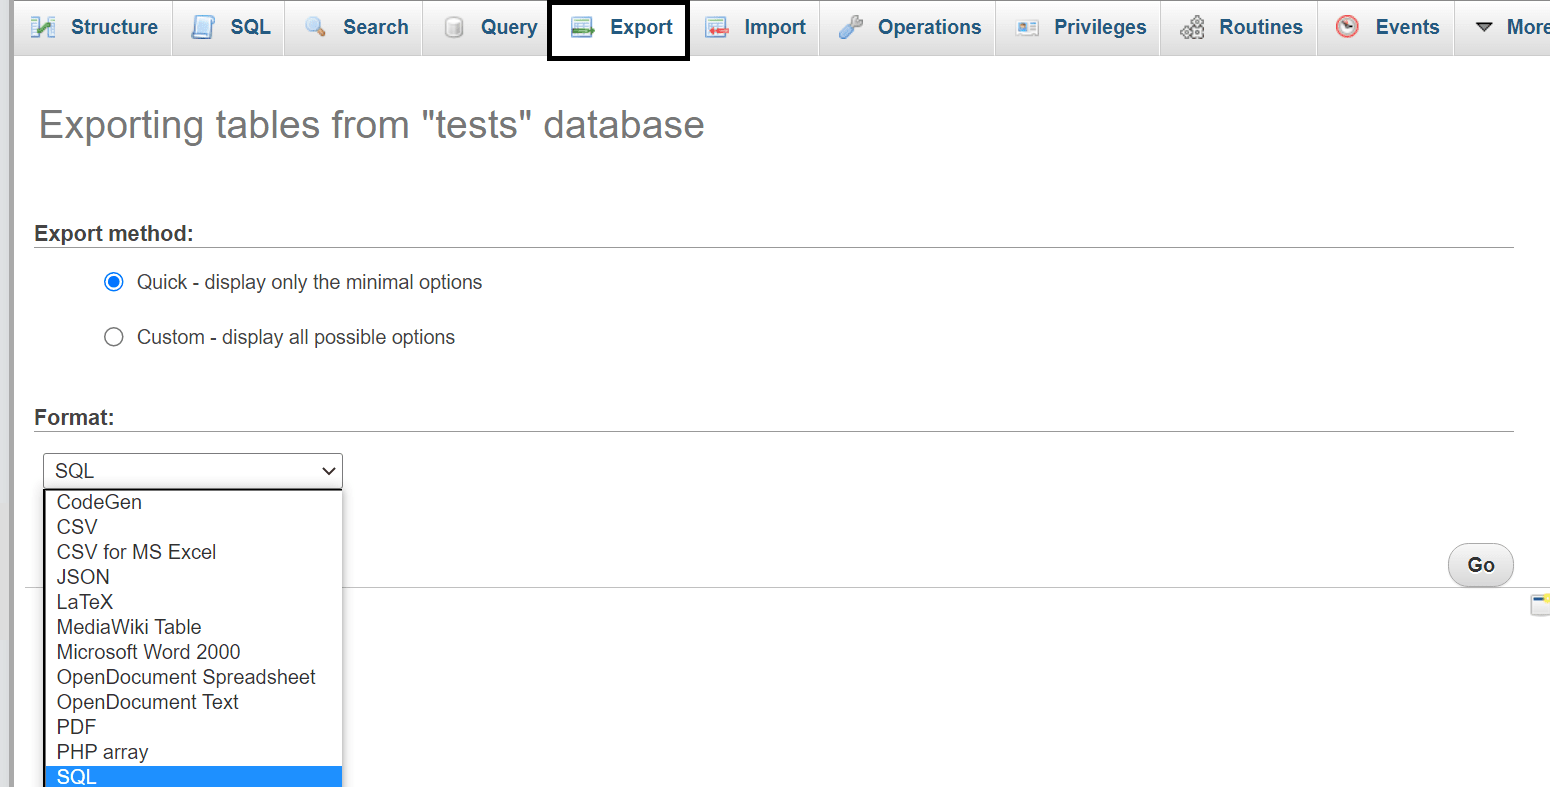
All of those tools will provide us with logical backups that can be used to restore data whenever we please, however, for those of us that work with bigger data sets, neither of those tools are an option – as INSERT statements contained in the backups derived from those tools usually come with a lot of overhead, developers frequently find themselves needing to dip their toes in other waters instead.
Backing Up Big Data
Logical Backups
In order to back up data sets that are bigger in size, developers need to keep a couple of things in mind:
- First off, if a logical backup is being taken, we should avoid creating a backup filled with
INSERT INTOstatements – this article should provide you with a little more information what these are, but the main reason such statements are to be avoided is because such statements come with a lot of overhead that MySQL has to consider. In order to execute a singleINSERTstatement, MySQL has to check for permissions, open the necessary tables, initialize the query, acquire all locks that are needed for the query to execute, run the query, finish the work (let the query run until it’s finished), close tables and perform additional clean up operations. Of course, these might be relatively quick to complete in the grand scheme of things, but we need to consider that we would be working with hundreds of millions of rows at a time. - Working with big data sets would require a dedicated server, or at the very least, a VPS. This one is probably already out of the question (you’ve done your investigation into the hosting provider before choosing one, right?), but nonetheless, choosing the right server for our big data project is always a necessity.
- How many databases are we backing up? How many tables are inside of those databases? Do all of those need to be backed up? You would be surprised how many times we can limit the amount of data that is being backed up by simply thinking ahead.
- Did we work with bigger data sets before? Our experience in the past teaches us more lessons than we could imagine – however, if we didn’t have much experience beforehand, we can also just ask around – if our colleagues are well-versed in the field, the answers to most pressing questions shouldn’t be too far away.
Once the basics are covered and we’ve decided what we’re backing up, it’s time to move on. The best way to take a logical backup of a bigger data set is to use the LOAD DATA INFILE query – since the query comes with many of its own bells and whistles, it’s significantly faster than ordinary INSERT statements:
- MySQL needs little overhead to parse the query.
- Users can easily skip lines or columns.
- Users can easily specify the columns to load the data into at the end of the query.
It’s important to note that MySQL offers two ways to use LOAD DATA to load data into our infrastructure – LOAD DATA LOCAL is another query that users can use. The local option only works if we didn’t define the local-infile option to be 0 or if the local-infile option is defined within my.cnf underneath the [mysql] and [mysqld] headings. The LOAD DATA LOCAL query is widely considered to be insecure because the parsing of data happens on the server side – the local option:
- Invokes certain security functions of MySQL that must be followed.
- Changes the behavior of MySQL when searching for the file to import.
- In some cases (when dealing with errors, etc.), it has the same effect as
IGNOREdoes.
The most important security considerations are explained here.
The main reason LOAD DATA INFILE works so well with bigger data sets though is because the files created with it only contain the data that is being backed up separated by a specific character (“:”, “|”, “,”, Tab, etc.) – MySQL can then load the data straight into a specific column without performing any additional operations and know where the set of data “ends” as well. A basic query looks like so:
LOAD DATA INFILE ‘file.ext’ INTO TABLE demo_table [options]; where:
file.extis a file bearing any extension other than SQL (.txt, .csv, etc.);demo_tabledefines the table that the data will be loaded into.- After the file and the table are defined, we can choose to define certain options:
TERMINATED BYwill make our columns end with a certain character (it can be useful when our file has a lot of records that are terminated by a character):
LOAD DATA INFILE ‘file.ext’ INTO TABLE demo_table TERMINATED BY ‘|’;CHARACTER SETwill make MySQL use a specific character set when importing the data. This feature can be very important when loading in data that comes from a different geographical place than the existing data (e.g. if our data is from England, and we’re importing data from Korea, China, Russia, etc.) – it will help us avoid errors when importing such data sets – learn more about charsets here.
LOAD DATA INFILE ‘file.ext’ INTO TABLE demo_table CHARACTER SET latin1;PARTITIONwill make MySQL able to insert data into a specific partition – that’s very useful when working with bigger partitioned data sets – the partition can be specified like so (p1,p2, andp3defines the partitions):
LOAD DATA INFILE ‘file.ext’ INTO TABLE demo_table PARTITION p1, p2, p3;IGNORE LINES|ROWScan be used to ignore certain lines or rows – this feature can be very useful when we want to ignore a certain amount of rows or lines when importing big data sets – perhaps we only want to import rows starting from the row #25527? (we can either ignore lines or rows):
LOAD DATA INFILE ‘file.ext’ INTO TABLE demo_table IGNORE 25526 LINES|ROWS;
All of the options can be found at the MySQL documentation.
As far as backups of big data are concerned, the most popular options that are used are as follows:
TERMINATED BYPARTITIONCHARACTER SETIGNORE LINES|ROWS
Each of those options have their own upsides (see above) and when combined with an exceptionally large data set (think 100M rows and above), they make the LOAD DATA INFILE operation even more powerful than before.
To take a backup that can be restored by using the LOAD DATA INFILE statement on the other hand, we’d need to use the SELECT [columns] INTO OUTFILE statement:
SELECT * FROM demo_table INTO OUTFILE ‘backup.txt’ [options];
The options remain the same. That’s it!
Another consideration that is worth mentioning is the IGNORE keyword: the keyword will ignore all of the errors derived from the query: think not all entries having enough columns, some rows being wrongfully terminated (terminated with the wrong character), etc. – to make use of the keyword in LOAD DATA INFILE operations, specify it like so:
LOAD DATA INFILE ‘path/file.txt’ IGNORE INTO TABLE demo_table [options];
To make use of the keyword in SELECT ... INTO OUTFILE operations, make use of the keyword like so:
SELECT * INTO OUTFILE ‘demo.txt’ IGNORE FROM demo_table [options];
Contrary to popular belief, the IGNORE keyword has more use cases than we could think of – can you imagine how much time is saved by ignoring thousands or even millions of errors?
Physical Backups
As far as physical backups are concerned, backing up big data sets is not that different from backing fewer amount of rows – here’s what we have to consider:
- We can either take a hot or cold backup (a hot backup is taken when a database is still running, while a cold backup is taken while the database is down.)
- We need to consider whether we will use tools or take the backup manually (the tools that come to mind in this space include MySQL Enterprise Backup and others.)
If you decide to take a hot backup, most of the time you will be advised to use mysqlbackup (MySQL Enterprise Backup) as it provides good results with minimal downtime.
If we decide on a cold backup, the following steps should help:
- Shut down MySQL.
- Copy all of the files relevant to your storage engine of choice – if you’re using InnoDB, take a backup of ibdata1, ib_logfile0, and ib_logfile1 and store them somewhere safe (If you’re using MyISAM, simply take a backup of .MYD and .MYI files in your MySQL data directory and stop here.)
- If you’re using InnoDB, take a copy of all of the tables in the data directory of MySQL (start from the
/var/lib/mysql/bin/directory if you find yourself using Linux – if you’re using Windows, follow the path given below):

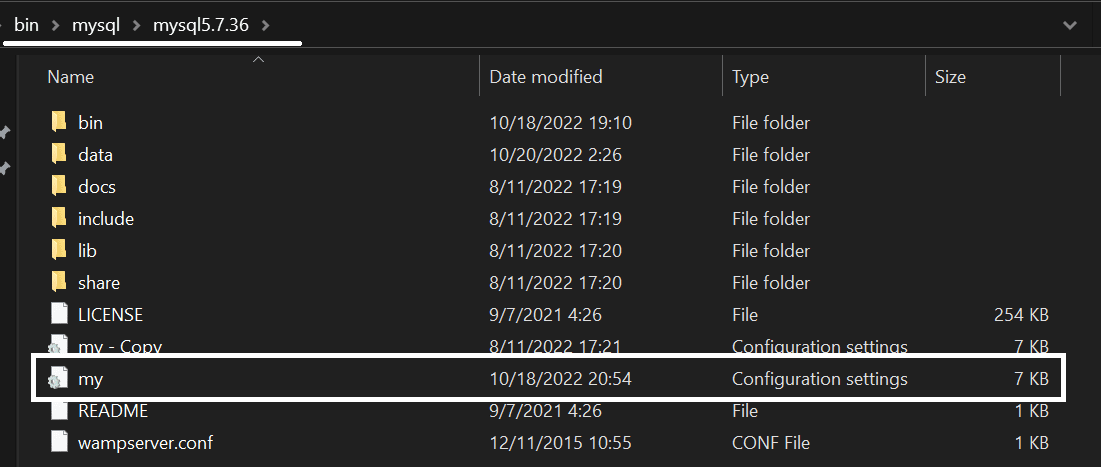
- Finally, take a copy of my.cnf – the file can be found in
/var/lib/bin/mysql/mysqlversionwhen using Linux – if you find yourself using Windows, the file is called my.ini and it can be found here (keep in mind that taking a copy of the file can be useful to review old settings as well):
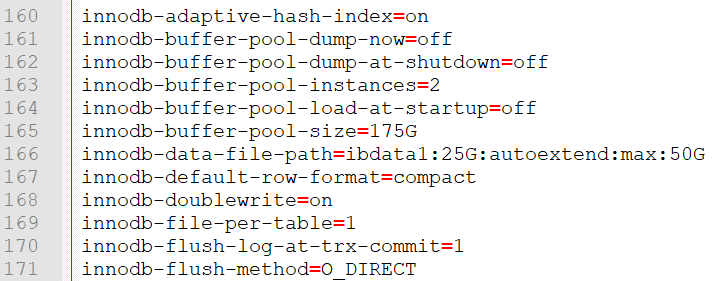
For those who are interested, the settings within the file will most likely look like so – if you want to, feel free to explore the file, then come back to this blog:
Anyhow, here’s why performing all of these things is a necessity:
- Shutting down MySQL will ensure that nothing interferes with our backup operation.
- The backup of ibdata1 will take a backup of all of the data existing in InnoDB, while backing up the ib_logfile0 and ib_logfile1 will back up the redo logs.
- Taking a copy of the .frm and .ibd files is necessary because as of MySQL 5.7.8, only table metadata is stored in ibdata1 to prevent congestion – the actual table data is stored in the .frm and .ibd files (an .ibd file contains the data of the table, while an .frm file contains table metadata.)
- Taking a copy of my.cnf (or my.ini if we find ourselves using Windows) is an absolute necessity as well because the file contains all of the settings relevant to all storage engines in MySQL. That means that even if we are using an obsolete storage engine like MyISAM and want to continue running the engine on the server that we’re loading the backup onto for some reason (MyISAM provides faster
COUNT(*)operations because it stores the number of rows in the table metadata – InnoDB does not), we can. - Finally, make sure to store everything in a safe and accessible place – doing so allows us to recover data whenever we need to.
To restore a hot backup taken by using MySQL Enterprise Backup, once again refer to our blog, and to restore a cold physical backup taken by following the steps above, follow the steps below (the steps are specific to InnoDB):
- While MySQL is still down, copy over your my.cnf file to your server and adjust the settings within the file to your liking.
- Place the folders contained within the data folder when backing up back into the data directory.
- Place the ibdata1 file and the log files back into the data directory of MySQL (see above for an example.)
- Start MySQL.
To recover your MyISAM data, simply copy over the data folder to your server. No further action is necessary due to the fact that MyISAM doesn’t store additional data in files as InnoDB does.
To take and restore physical backups of InnoDB, we can also use PITR (Point-In-Time Recovery) – some say that the PITR method is significantly easier, but that depends on the person. Anyway, the MySQL manual should walk you through all of the necessary steps.
Summary
Backing up big data sets in MySQL is not the easiest thing to do – however, with knowledge centered around how the main storage engine (InnoDB) works internally and what queries we can run to make our backup process faster, we can overcome every obstacle in our way.
Of course, as with everything, there are certain nuances, so make sure to read all about them in the MySQL documentation chapters surrounding the necessary functions you need to employ – came back to this blog for more information about database functionality and backups within them, and until next time!
This document contains proprietary information and is protected by copyright law.
Copyright © 2026 Red Gate Software Limited. All rights reserved


Load comments