
Blueprints are (or should be) an important feature for Azure Cloud provisioning.
Probably you already know about ARM templates. We can say they are the basic notation for deployment in Azure. But what happens when we need to deploy multiple items at once? Here are some options:
- Build everything in a single ARM template, what will make them difficult to read and re-use
- Build each item in a different ARM template and use a new one to link all the individual files. The syntax isn’t much straightforward
- Use a Terraform template to link the ARM template in a single deployment. Many people would say this is an anti-pattern. I don’t agree, but this is a subject for another time.
- Use Blueprint visual Ui to link many ARM templates in a single re-usable blueprint.
This list talks by itself, illustrating how Blueprints are one of the easiest option to organize a deployments, as easier as Terraform, but with a UI to make things easier. However, there are some important tricks you need to be aware about.
Let’s review some basic concepts and jump into the important details you need to know
Blueprints basic concepts
Let’s analyse 3 basic concepts of the blueprints:
- The artifacts supported
- Versioning
- Link to the deployment
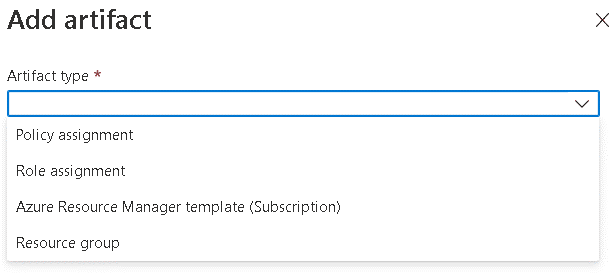
Artifacts
The blueprints can make the deployment of the following artifacts:
- A resource group, to organize the items we are deploying
- Policy Assignment, to control the governance of the environment
- Role Assignment, to control access permissions
- ARM Templates
On a first look this may seem limited. On the other hand, an ARM template can specify any object on Azure, so we are not limited in relation to what we can deploy.
Blueprint Versioning
The blueprints are versioned. Once a blueprint version is created, it can’t be changed anymore. You can create new versions of the blueprint, but you can’t change an existing one. The version is created on the moment you publish a Blueprint you already completed.
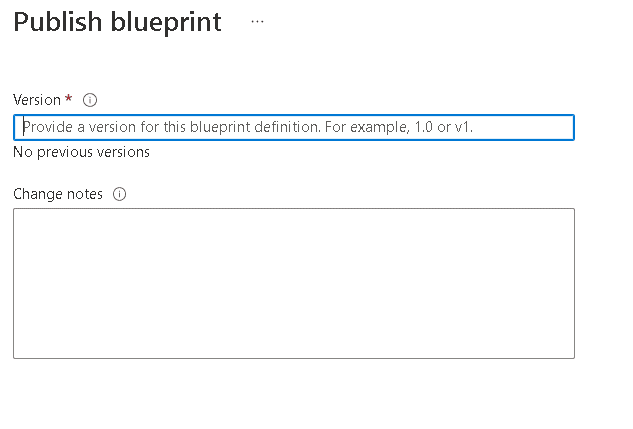
This ensures we have control about what’s deployed. We can compare the version number of a deployed blueprint with the current version number and identify if any change on the blueprint has not be deployed yet.
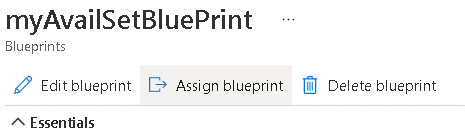
Link to the Deployment
The deployment of the blueprint is made by creating an assignment between the blueprint and a subscription. The deployment is always on subscription level, since we will be deploying at least one resource group.
The assignment creates a relationship between the blueprint and the deployment. It’s also possible to lock the deployment, forbidding changes on the objects. This is basically the creation of lock objects on the deployed objects.
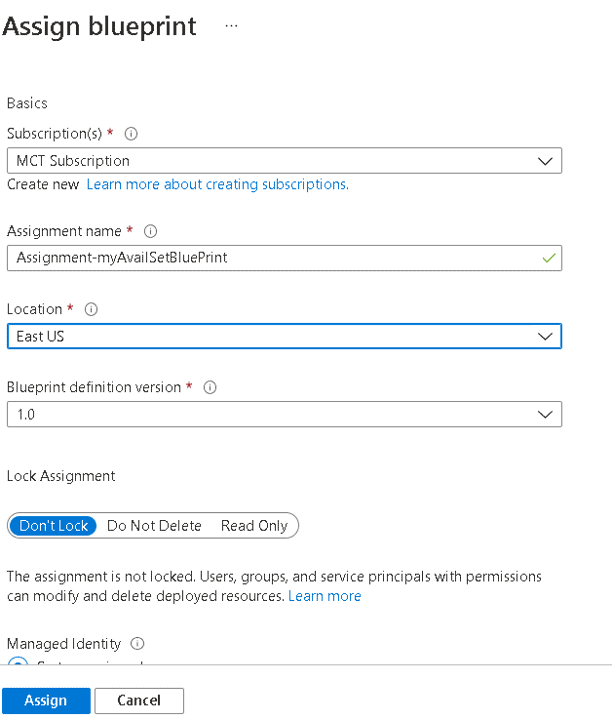
This relationship allows us to keep the deployed objects updated. We can, for example, upgrade the version of a blueprint used on an assignment.
Steps to build a Blueprint
- Locate Blueprints in the portal and get into the Blueprint screen
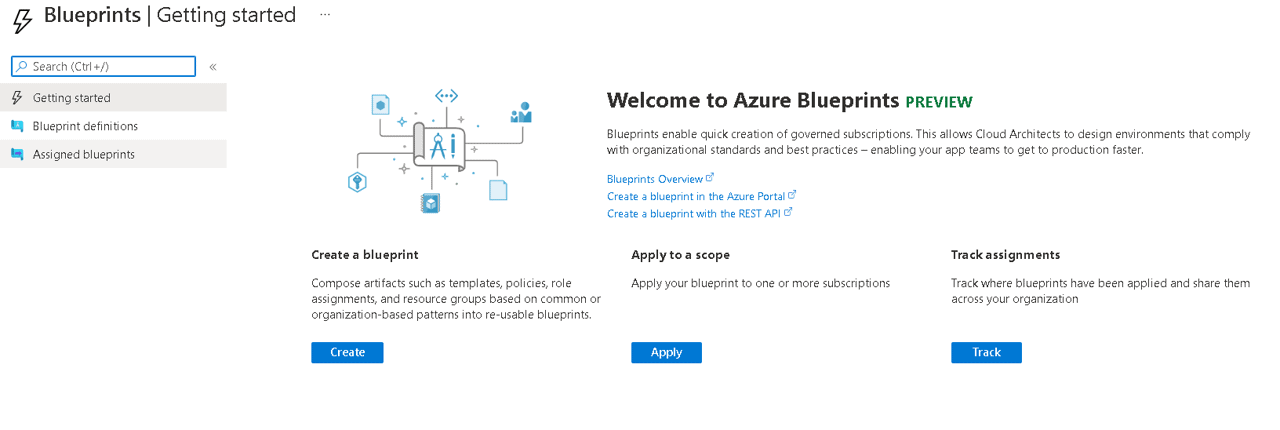
1)Click The Create button
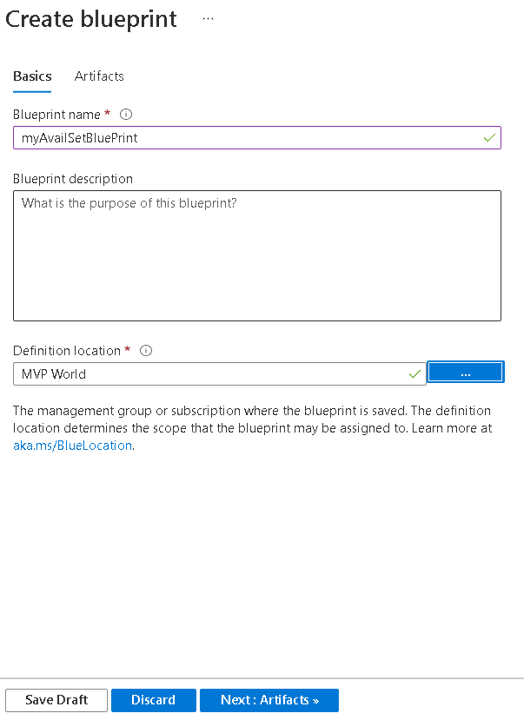
2) Define the basic values for the blueprint. This includes where the blueprint will be saved. We usually save a blueprint in a management group, so it can be used on any subscription under the hierarchy of that management group
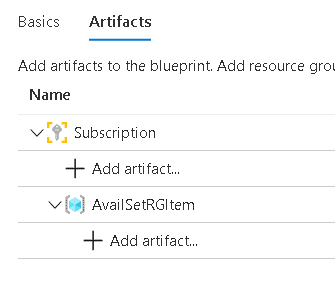
3) On the artifacts tab, include a resource group
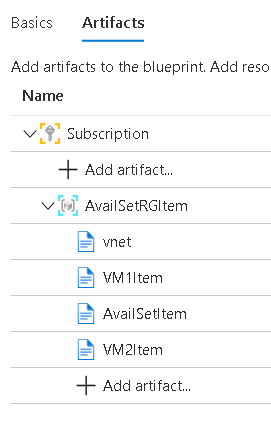
4) Under the resource group, include the ARM template. On this example I will include a Virtual Network, an Availability Set and two Virtual Machines
5) Save the blueprint as draft. Before publishing the blueprint you need to control the order of deployment. The Virtual Network needs to be deployed first, followed by the Availability Set and the Virtual Machines
Managing the deployment order
We may include many ARM templates in a single resource group. For example, a virtual network, multiple virtual machines, a load balancer and so on. The items deployed may have dependencies between each other. This requires us to be able to control the deployment order of the deployment inside a resource group.
The Bad News: The UI has no way for us to set dependencies between the artifacts or set a deployment order.
The Solution: This can be done using Azure CLI. We can execute this on the cloudshell
Using Cloudshell to set the dependency
The blueprint extension is not default on Azure CLI. The first step we need is to install the blueprint extension using the following statement:
|
1 |
az extension add --name blueprint |

The second secret is about the artifact names. The beautiful names we see and set while building the blueprint are in fact an alias. Each artifact receives a GUID as a name. We need to list the artifacts in the blueprint and take a note of each artifact GUID. We will use the GUID later. This statement list the artifacts in the blueprint:
|
1 |
az blueprint artifact list --blueprint-name myAvailSetBlueprint --management-group 38c8950d-4b86-48cd-b555-9ff7d12c902d |
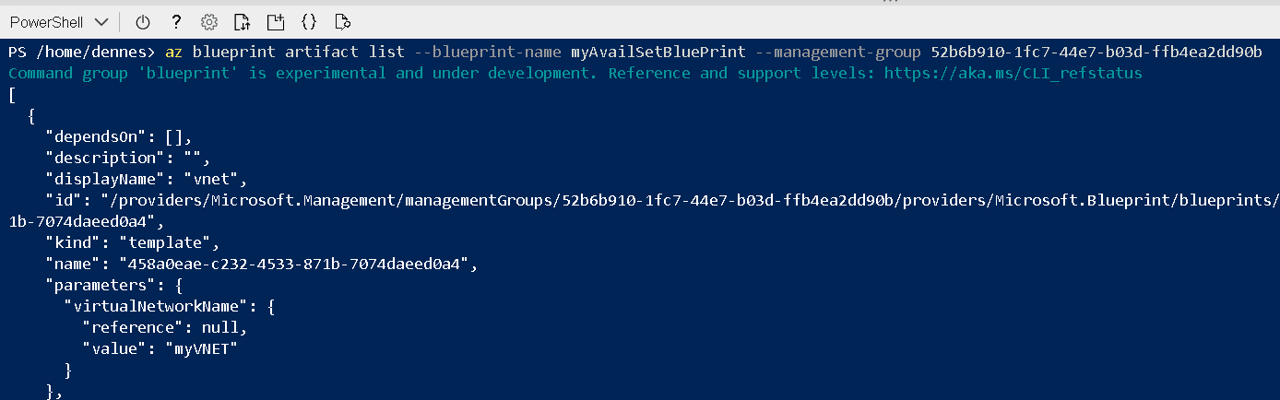
As you may notice, the management group is also specified as a GUID. Another bad news: Internally the blueprint is a JSON document which contains ARM templates. ARM templates are also JSON documents. The result of the above statement will be a huge JSON listed on the screen and you will need to identify where each artifact starts, so you can find its name.
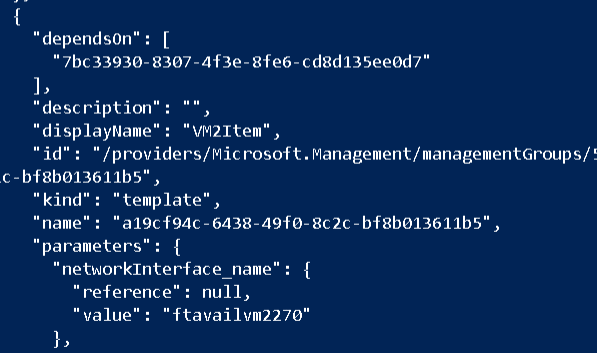
Once you took note of the GUIDs, you can execute the statement below to set the dependency between the artifacts.
|
1 |
az blueprint artifact template update --blueprint-name availabilitySolution --artifact-name <span style="background-color: #fff0f0">"c4ac3a4f-9d3c-4910-a9a1-642230f63acc"</span> --depends-on <span style="background-color: #fff0f0">"53ec7c79-14f8-4ae3-9cd8-1cad667f8c1b"</span> --management-group 9c519b25-28e9-41ac-bd8d-e7235e5ea153 |
After updating the artifacts, you can list them again. You will find a “Depends” field on the artifacts, included by the above statement. This will set the order of the deployment.
The future of Blueprints
Blueprints are in an interesting situation in relation to Azure. At the same time they are still in preview, Microsoft decided to not evolve them further. Microsoft is focused on BICEP, a new language for Azure provisioning, easier than directly coding in ARM. In some ways, we can consider them deprecated.
Summary
The Blueprint UI is still very useful and the blueprint as a whole is easy to use, even considering the dependency problem between the artifacts. Managing this problem, we have a powerful tool for Azure deployments.
This document contains proprietary information and is protected by copyright law.
Copyright © 2026 Red Gate Software Limited. All rights reserved


Load comments