
This article is about how to create Kubernetes Deployments and Services using YAML files and Kubectl. You will also learn how to containerize and deploy any containerized application to Kubernetes. We will create a basic React.js application, containerize it using Docker, and then deploy it to Kubernetes using the Kubernetes Deployment YAML file. We will also create a Kubernetes Service YAML file to expose the application pods via an external IP address. You can then input the external IP into your browser to access the deployed Kubernetes application.
Additionally, we will use Kubectl to execute the YAML files. The Kubectl commands will deploy the Kubernetes Deployment and Service to the Kubernetes Cluster.
Prerequisites
To follow along easily with this article, you need to:
- Install Docker Engine: We will use Docker Engine to build the Docker Image and container for the basic React.js application in this article.
- Know how to create Docker containers: You can go through the official Docker documentation for a refresher
- Install Minikube locally: Minikube will be our local Kubernetes Cluster.
- Install Kubectl: Command line interface tool for Kubernetes.
What are Kubernetes Deployments and Services?
Kubernetes Deployments and Services are key Kubernetes Objects that are created within a Kubernetes Cluster. They are utilized for deploying containerized applications. The most common way of defining Kubernetes Deployments and Services files is in YAML format. A YAML file encapsulating all necessary configurations for the application.
Kubernetes interprets these YAML files, executes the specifications in the files, and deploys the Kubernetes application onto the cluster. In the process, it ensures the Kubernetes application meets the desired state. During the deployment process, you will also need Kubectl.
What is Kubectl?
Kubectl is a command-line interface tool specifically designed to manage Kubernetes clusters. In this article, we will use Kubectl commands to execute the YAML files. In doing so, we will effectively deploy the Kubernetes Objects onto the Kubernetes Cluster.
You also need to know how to use the Kubectl command line interface tool for Kubernetes. We will use the Kubectl tool to execute the YAML files and deploy the Kubernetes Deployment and Service to Kubernetes Cluster to Kubernetes Cluster.
Now that you understand our article’s theoretical part let’s start implementing it practically. Before we create the YAML files for both the Kubernetes Deployment and Kubernetes Service, the first step is to create a basic React.js application.
Setting up a Basic React.js Application
To set up a basic React.js application, run the following npx command below:
|
1 |
npx create-react-app basic-app |
This command will create a directory named basic-app, generating all necessary files for a functional React.js application. To launch the application, navigate into the basic-app directory and execute the following npm command:
|
1 |
npm start |
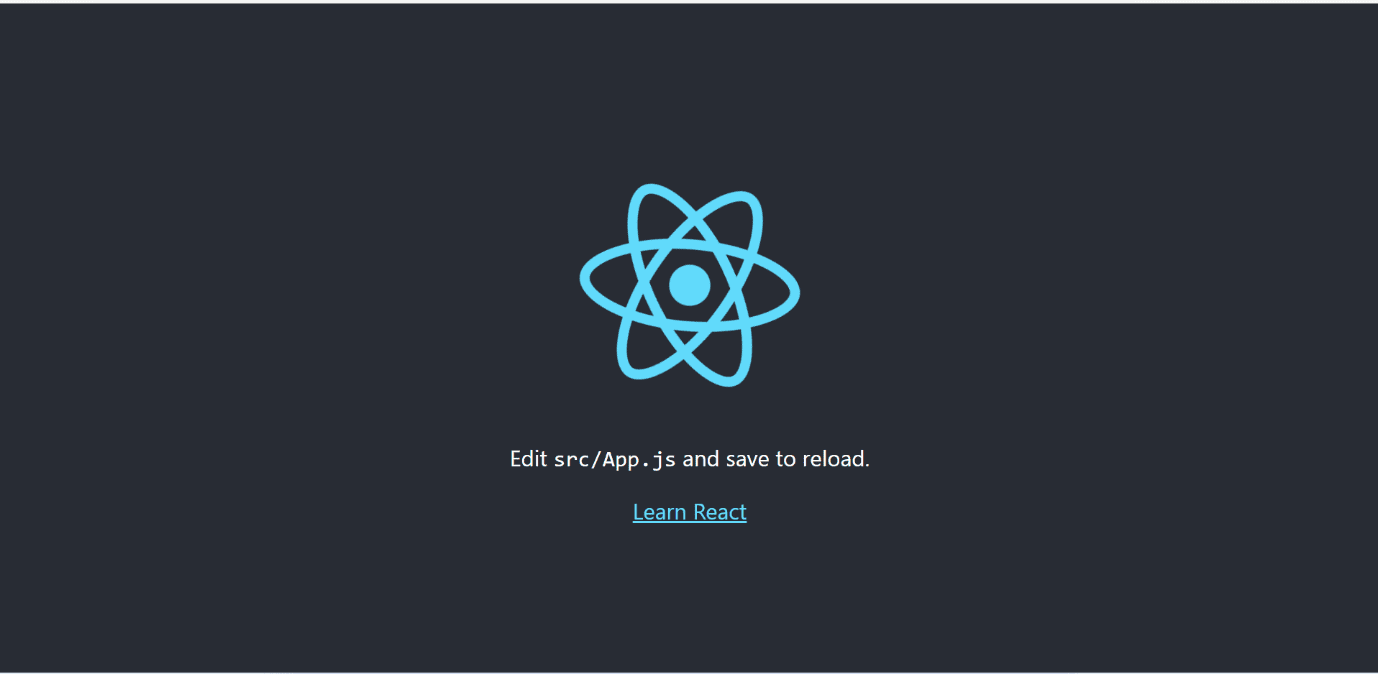
Executing this npm command will initiate the application, making it accessible at http://localhost:3000/:
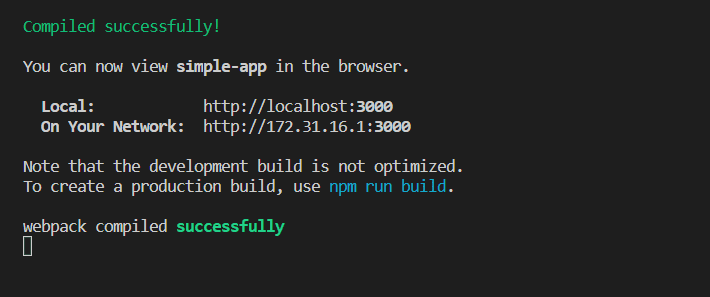
You can enter this URL into your browser to view the React.js application.
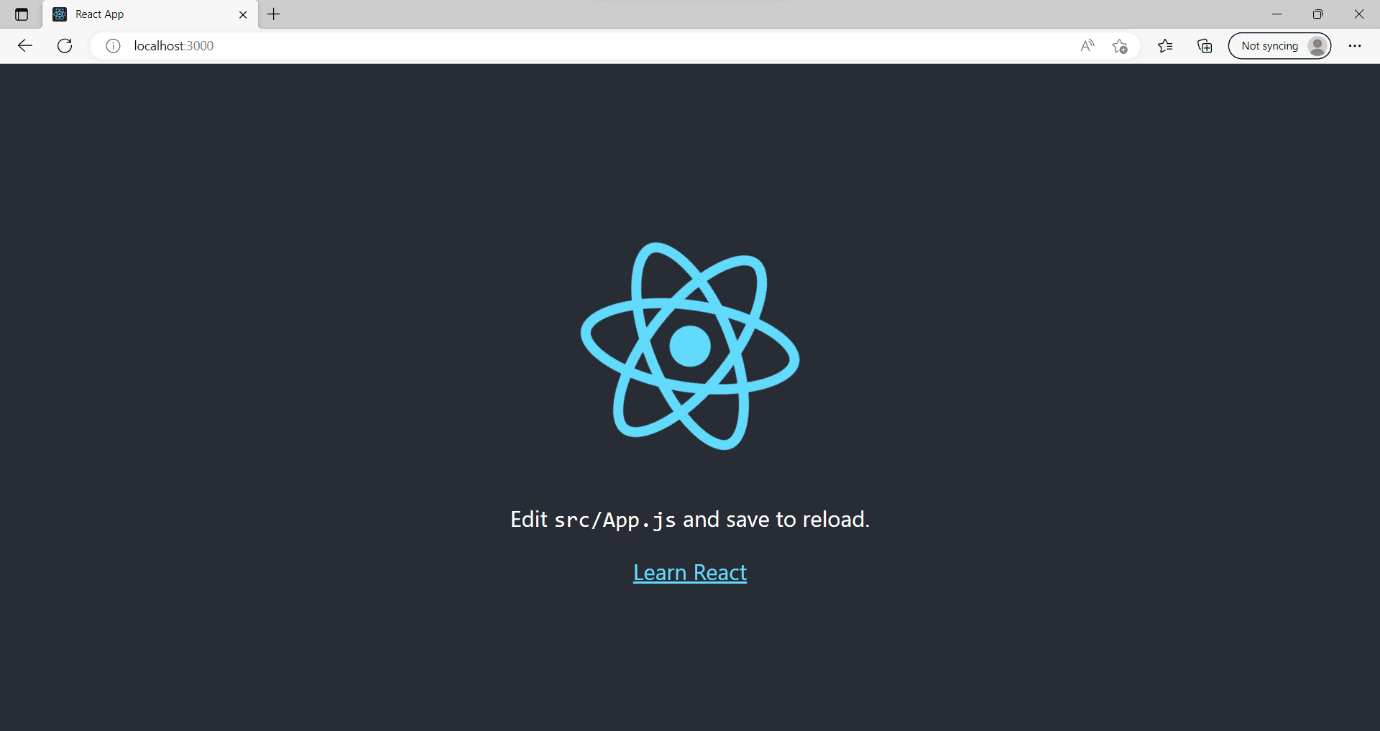
The React.js application is now up and running. Now that we have our React.js application operational, the next step is to containerize it using Docker.
Containerizing the Basic React.js Application using Docker
To containerize the basic React.js application using Docker, we will first build a Docker image using a Dockerfile. In the basic-app directory, create a Dockerfile. After creating the file, add the following instructions:
|
1 2 3 4 5 6 7 8 |
FROM node:21-alpine WORKDIR /basic-app COPY package.json . COPY package-lock.json . RUN npm install COPY . . EXPOSE 3000 CMD ["npm", "start"] |
Docker will use these instructions within the Dockerfile to build a Docker image for our basic React.js application. To now build the Docker image, run the following Docker command:
|
1 |
docker build -t <image-name>/<tag-name> . |
NOTE: When naming the Docker image, use the same name as your Docker hub account username. It will make it easier to push your Docker image to your Docker hub repository and subsequently deploy the containerized application to the Kubernetes cluster.
Initiating a Docker Container
To launch a Docker container for the React.js application, run the Docker image with the following docker command:
|
1 |
docker run -p 3000:3000 <image-name>/<tag-name> |
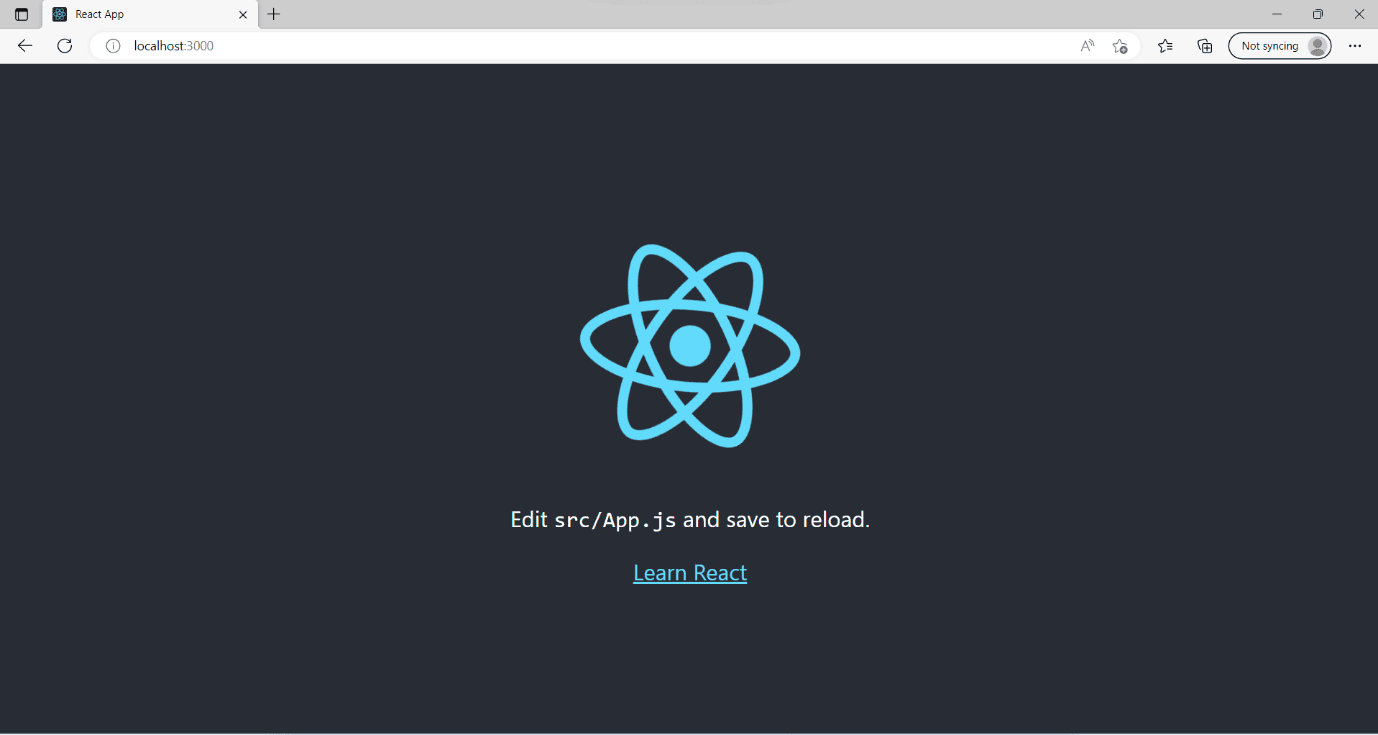
This command will initiate and launch the React.js application within a Docker container. You can access the containerized React.js application by entering http://localhost:3000/ into your browser.
Pushing the Docker Image to Docker Hub
To push the Docker image to Docker Hub, ensure you’ve set up a Docker Hub account and then create a Docker Hub repository. When creating the Docker hub repository, use this naming convention: <image-name>/<tag-name>
After completing the process, run the following commands one after the other in your terminal:
|
1 2 3 |
docker login docker push <image-name>/<tag-name> |
This process of pushing your Docker image to Docker Hub holds significant importance since we will specify the Docker Hub repository for our image in the Kubernetes Deployment YAML file. Kubernetes will then pull the specified Docker image from this Docker Hub repository and create a containerized application inside the Kubernetes Cluster.
The next step involves launching the Minikube Kubernetes Cluster. Inside Minikube, we will deploy the Kubernetes Deployments and Services.
Launching the Minikube Kubernetes Cluster
To launch the Minikube Kubernetes Cluster, execute the following commands sequentially:
|
1 2 3 |
minikube config set driver docker minikube start |
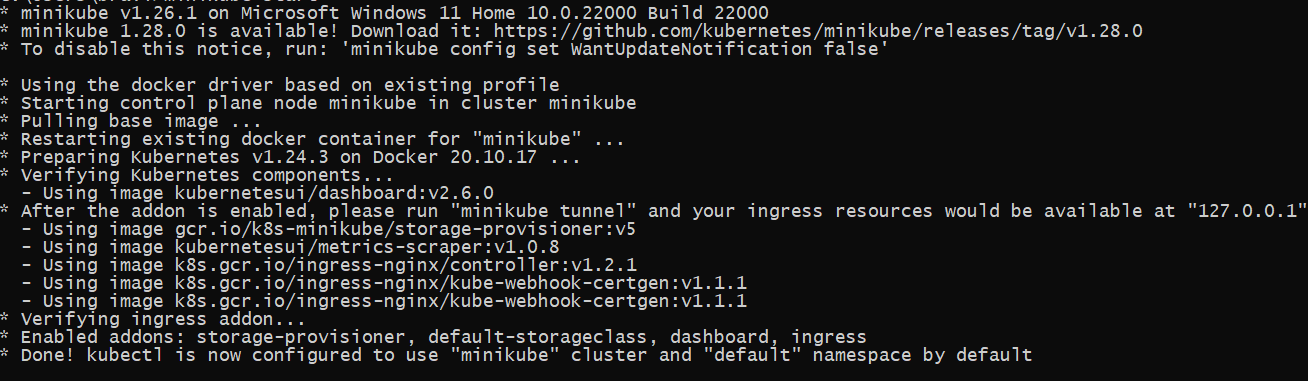
Executing these commands will activate and launch a Minikube cluster on your local machine, as depicted in the image below:
Next, ensure Kubectl is operational by executing the following command:
|
1 |
kubectl --version |
NOTE: If Kubectl is not operational, go through the official Kubectl documentation here and install it on your specific operating system.
After successful execution, everything should be configured and operational. The next step involves creating the YAML file for the Kubernetes Deployment and Service. Let’s proceed by creating the YAML file for the Kubernetes Deployment.
Creating the YAML file for the Kubernetes Deployment
In the basic-app directory, create a <file-name>.yaml file and add the following YAML code:
|
1 2 3 4 5 6 7 8 9 10 11 12 13 14 15 16 17 18 19 20 21 22 23 |
apiVersion: apps/v1 kind: Deployment metadata: name: <deployment-name> spec: replicas: 2 selector: matchLabels: app: <app-name> template: metadata: labels: app: <app-name> spec: containers: - name: <container-name> image: <image-name>/<tag-name> resources: limits: memory: "256Mi" cpu: "500m" ports: - containerPort: 3000 |
This YAML file is designed to create a Kubernetes Deployment named <deployment-name>. It will generate two replicas or pods within the Kubernetes cluster, with the application running on both pods. The file will pull the <image-name>/<tag-name> image from the Docker Hub repository and create a containerized application named <container-name> in the Kubernetes Cluster. Additionally, it configures resource limits for the running pods, with the container running on port 3000.
To create this Kubernetes Deployment, execute this subsequent kubectl command:
|
1 |
kubectl apply -f deployment.yaml |
After creating the Kubernetes Deployment, the next step is to create the YAML file for the Kubernetes Service.
Creating the YAML file for the Kubernetes Service
In the basic-app directory, create a <file-name>.yaml file and add the following YAML code:
|
1 2 3 4 5 6 7 8 9 10 11 12 |
apiVersion: v1 kind: Service metadata: name: <service-name> spec: type: LoadBalancer selector: app: <app-name> ports: - port: 4000 targetPort: 4000 protocol: TCP |
This YAML file is structured to create a Kubernetes Service named <service-name>. This Kubernetes Service will function as a LoadBalancerfor the operational pods. Kubernetes will allocate an external IP address to the application pods. You can then input the external IP into your browser to access the deployed React.js Kubernetes application.
The next step is to get information about the Kubernetes Deployment,t, and Service
Getting Information about the Kubernetes Deployment and Service
To get the information about the Kubernetes Deployment, execute the following command:
|
1 |
kubectl get deployment |
To get the information about the Kubernetes Service, execute the following command:
|
1 |
kubectl get service |
The next step is to access the deployed React.js Kubernetes application.
Accessing the Deployed React.js Kubernetes Application
To access the deployed React.js Kubernetes application, run the following command in your terminal:
|
1 |
minikube service <service-name> |
Minikube will establish a tunnel, assigning a unique external IP address to the pods, as illustrated below:
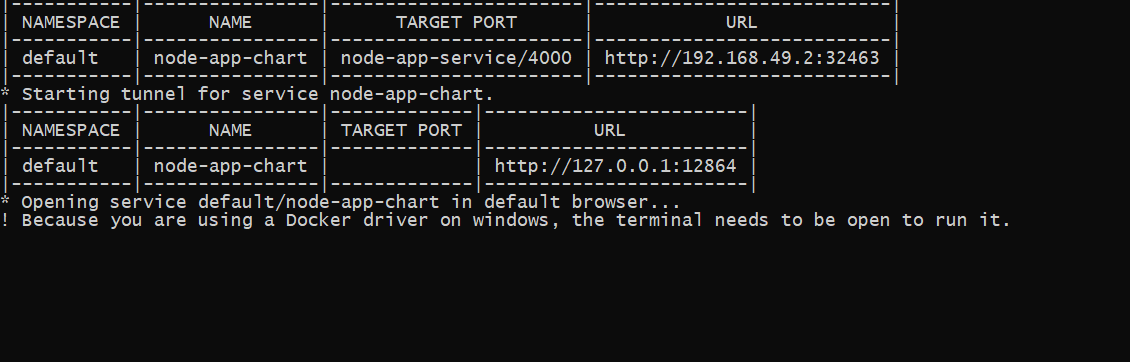
Enter the unique external IP address into your browser’s address bar to access the application:
Our React.js Kubernetes application is now operational inside the Minikube Kubernetes Cluster. We can also access the Kubernetes Deployment through the `<service-name>` Kubernetes Service. We have now successfully created Kubernetes Deployments and Services using YAML files and Kubectl.
Conclusion
In this article, you have learned how to create Kubernetes Deployments and Services using YAML files and Kubectl. These YAML files are crucial blueprints for creating all Kubernetes objects and application resources in a Kubernetes Cluster.
Regardless of the complexity of your application, you will always require YAML files to create Kubernetes Deployments and Services. I hope this article helps you understand the process of creating Kubernetes Deployments and Services using YAML files and Kubectl. That’s it for the article. Happy Learning!
This document contains proprietary information and is protected by copyright law.
Copyright © 2026 Red Gate Software Limited. All rights reserved


Load comments