
Resource groups and subscriptions sometimes are not enough to organize the content of our Azure Portal. I was preparing for a presentation and looking into a lot of resource groups, but during the presentation only a few of them should appear for me. How could I control this?
The need is the mother of the invention. Of course, I didn’t invented anything, probably I’m the last one to discover we can create views for each kind of resource we have.
Tag The Resources
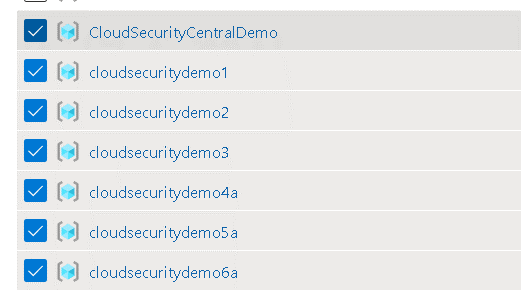
On this example, I was using many resource groups. How to include them, and only them, on the view? Tagging them. We can select many resources at once, in this case many resource groups at once and add a tag to all of them clicking on the button Assign Tag
Create a Filter
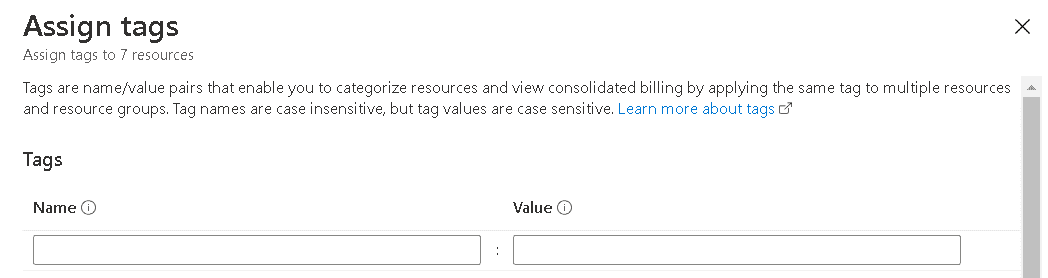
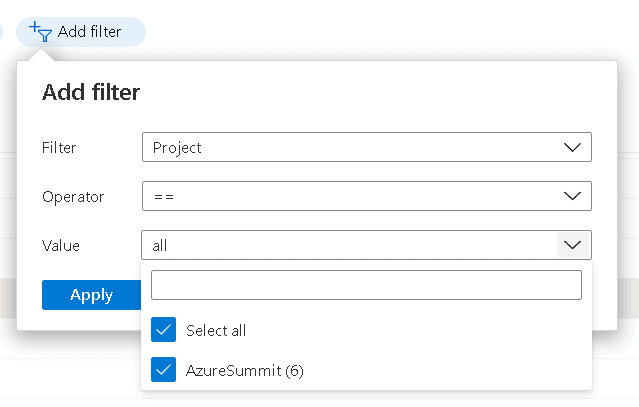
The screen has a filter option. You can filter based on many attributes of the objects, one of them is the value of the tags. Each tag you created will appear as a field and you can filter by the value of the tag, what could be the name of the project you are working on.
Create a View from your Filter
On the Manage View button, you create a new view from your filter clicking on Save View. That’s it: Every time you would like to see only that set of objects, you can select your view.

Play with the View Options
The button Manage View opens many options for us to manage views.
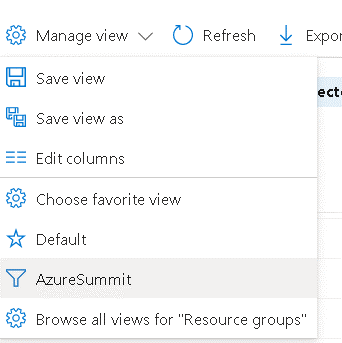
Save View: You will save the changes you made on this view or create a new one
Save View as: You will save the changes you made on this view as a new one
Edit Columns: Change the visible columns on this view
Choose favorite view: You can choose the view to use as default view
Default and Azure Summit : These are two existing views. The generated by the portal and the one I created
Browse all views for “Resource Groups” : This will allow you to manage all the existing views for Resource Groups. The interesting part of this option is to notice you can have different views for each kind for object and managed them isolated.


Load comments